
The time summary report is a retail POS feature that shows employees' work time periods and durations.
Clocking In and Out Setup
To keep track of your employees’ working hours, you must first set up Time Tracking Entities. Go to Employees > Time Tracking Entities > New. Type “1” under the Number section and “Clock in” in the Name section. Click the checkbox next to Paid Time.

You must create at least two entries in this area, one for clocking in and one for clocking out. The Paid Time box must be checked for the clock-in function and unchecked for the clock-out function.

Editing Time Tracking Entries From the Dashboard (Time Tracking Widget)
Time tracking entries may be located and adjusted for the current day using the time tracking widget. The listed entries are for the current day and may be selected for further adjustment. You may use the Gear Icon to view start and end times or specify to view only one.
Time Summary Report
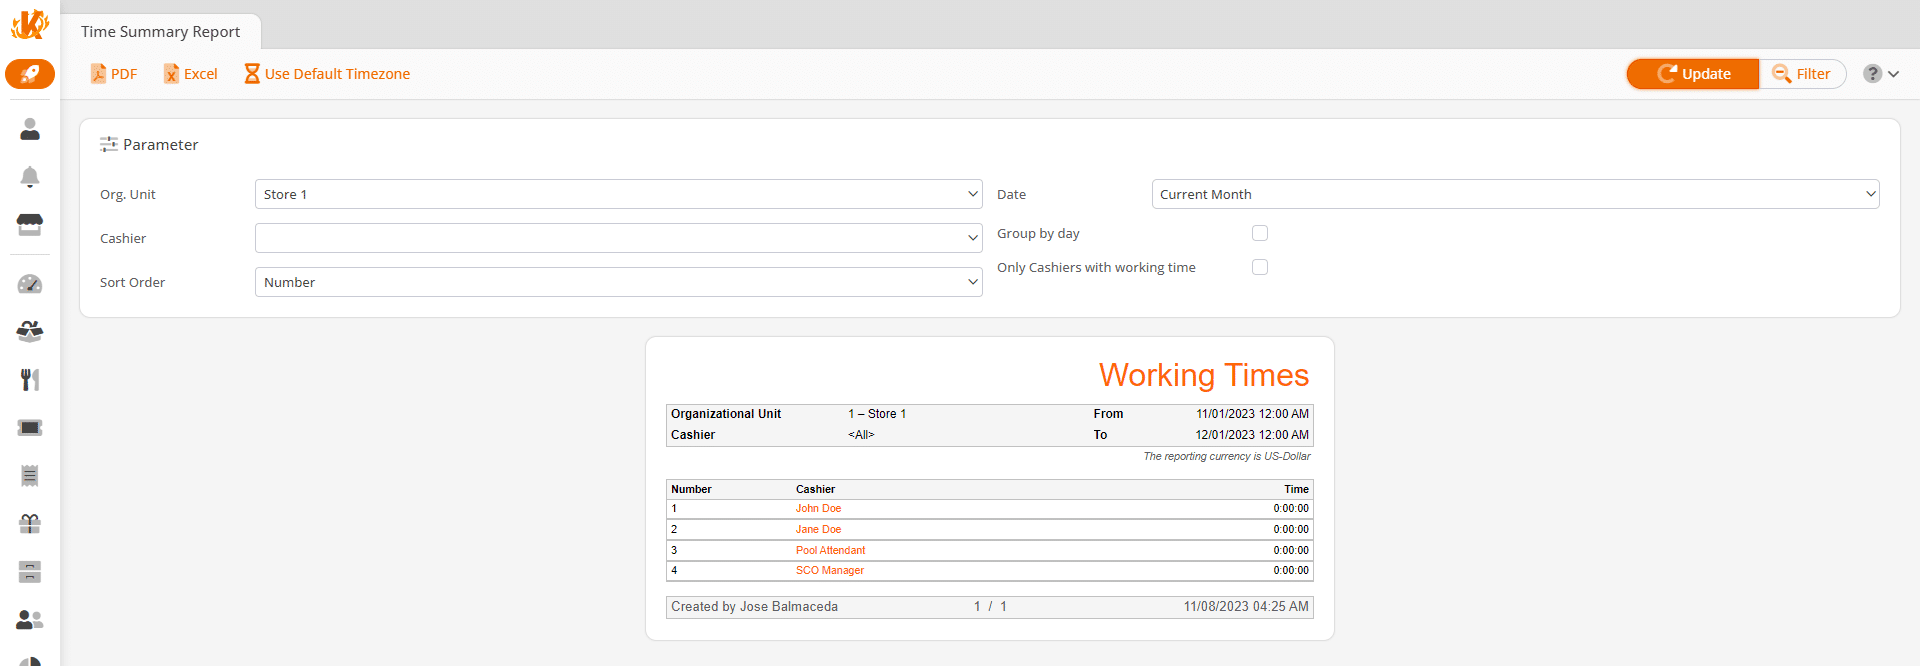
The Time Summary Report can be found under the Evaluations tab. If you can not locate it there, you may need to Edit Menu Entries.
You may Filter the overview by Organizational Unit, Cashier, and Date. It can be Sorted by employee number, first name, or last name. You also have the ability to Group by Day and show Only Cashiers with Working Time by simply ticking the corresponding checkbox. If the Group by Day box is checked, an additional option to Ignore Zero Days will appear.
You may select one of the cashier Names for these additional menu options: Edit Cashier, Time Tracking Entries, Account Transactions, Balance Statements, Cashier Report, Discount Reasons, Discount Report, Payment Method Report, and Receipts.
Finally, you may export this report into a PDF or Excel simply by selecting one from the top of the page.
Adding Time Tracking to the Terminal
Next, go to Settings > Button Configurations, select the button configuration you wish, and click Edit.
Then click Button Layout and select New > Empty Button Layout > Create.
Give this new layout a Number and a Name, and select 1×12 to Size. Then click an empty space on the light blue button layout on the right. Click Add Function > Time Tracking > Save.
Go back to Settings > Button Configurations and again click your layout, then Edit. Next, click Login. Using the drop-down menu on the right-hand side of the window, select the button layout you just created and click Save.
After hitting Retrieve Master Data on your POS and restarting, your employees should be able to clock in and out. They will have to touch the button on the right-hand side of the screen, type in their assigned employee number, and Clock In.
Important Note
Employee numbers and POS login numbers don’t necessarily need to be the same. This is up to the store manager. In the example below, John would use the number 1 to clock in and out and log into the POS. Jane, on the other hand, would use 2000 to clock in and out but 2 to log into the POS. This can be edited under Employees > Cashiers. A more detailed explanation can be found in Time Tracking Entry Setup.
