
To adjust cashier permissions and roles, please visit our Manage Cashier Roles and Permissions manual page.
Create Cashiers
To create new cashiers, navigate to Employees > Cashiers.
Here, you can create, edit, and delete from the list of cashiers for your organization.
By default, the system comes with 2 sample cashiers configured – John Doe and Jane Doe – with login codes “1” and “2,” respectively.

Click the +New button to add a new cashier.
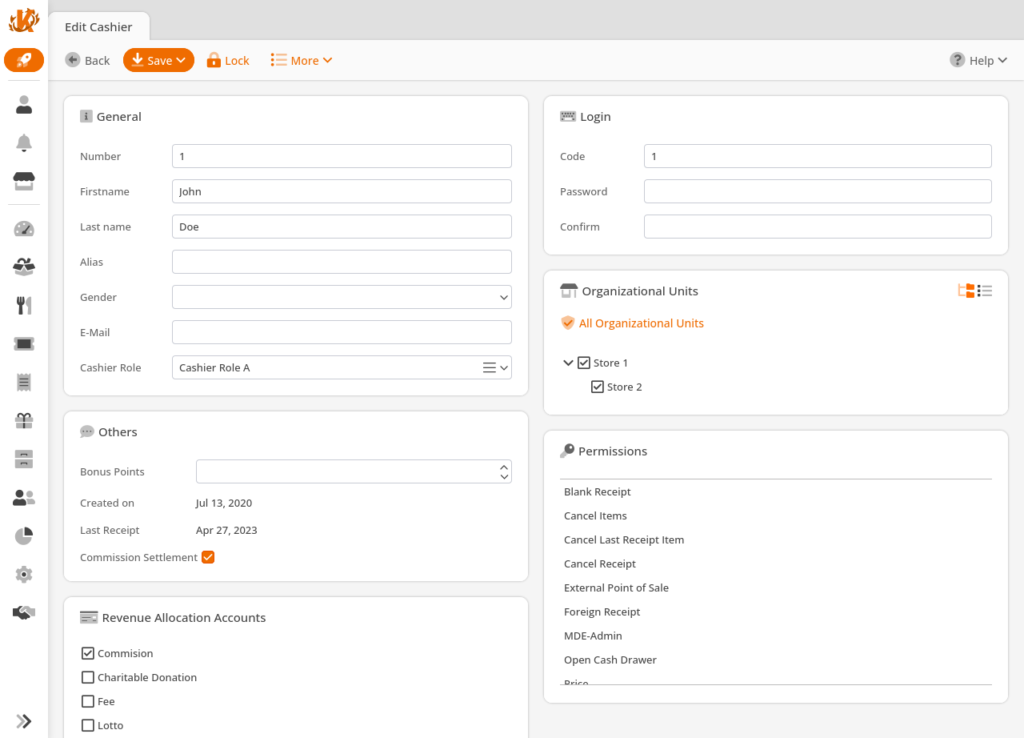
Each cashier is required to have their own unique number. The cashier number is used for time clock actions. You are required to fill out the first and last name fields. It’s not required that it’s actually their first and last name and can be any identifier the business wants to provide.
Please be aware that the full name is displayed on the receipt. If you do not want the cashier’s full name printed on the receipt, fill out the alias field in the back office. The receipt will then display the alias field instead of the full name.
Another required field is the Login Code for the point of sale. You can use the cashier number or an entirely different one. If you use login cards, you must enter the code programmed on the card.
The last required field is the Cashier Role, which will define granted permissions for this cashier. On the right side, you will get a preview of what permissions the cashier will have.
In this section, you can select the Settlement Commission checkbox to distribute the commission amount, and the Revenue Allocation Accounts box will appear. Revenue Allocation Accounts may be found under the Settings tab. If you can not locate it there, you must Edit Menu Entries.
The last cashier setting is optional and will only change the cashier’s background color on the POS. This can be particularly helpful if you have multiple cashiers sharing a single register. That way, cashiers can confirm they are on the right login with their corresponding POS background color.
Once you are comfortable with the changes you have made, press Save to apply them.
Edit Cashiers
To edit a cashier, select the desired cashier in the list and press the Edit button. You may select multiple at once by holding down the CTRL button on your keyboard as you make your selections.
Delete Cashiers
To delete a cashier, select the desired cashier from the list and press the Delete key. The system will ask you for confirmation before deleting the cashier. Please note that this change cannot be reversed.
If you still need to access employees’ work times for payroll purposes, we recommend changing the employees’ login codes to restrict access or locking the cashier using the Lock option before deleting the cashier record.