
A method of invoicing is needed to collect payments when taking and fulfilling customer orders. With the KORONA Invoicing package, users can generate invoices manually, from offers, delivery notes, customer orders, and rentals.
The menu for your invoices can be accessed by navigating to Invoicing > Invoices. Once you are on that screen, any paid invoices will not be shown. However, you can view all of your invoices by clicking the filter button.
Also, invoices that have not been booked will not have a number. If an invoice has not been sent, a red “X” will appear in the ‘Sent’ column. If it has not been paid, a red “X” will also appear in the ‘Paid’ column.
Creating an Invoice
Begin by clicking on the +New button in the Invoice overview. Your mandatory fields are the Customer, Organizational Unit, Warehouse, and Cashier. Any existing Delivery Notes will appear next to the field. You may select the listed delivery note to Remove it.
You can also choose the Payment Method. If you have set up a note for the payment methods, it will appear on the PDF. There, you can enter your bank details or specify a due date for the invoice.
On the right, you can enter a Description and a Comment. The description will appear on the invoice when it is sent. Comments can be considered as ‘internal notes.’ They cannot be viewed by the customer.
You can add products by clicking the +Add Product button. Products can be searched by name or number. For each product, you can adjust the Quantity, Default Price, Item Price, Discount percentage, and Discount amount (the discount amount will be reflected automatically once a discount percentage is pre-recorded).

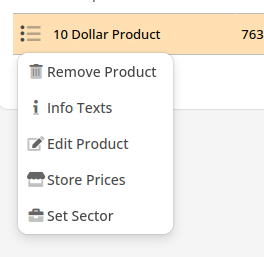
Next to each individual product is an orange drop-down menu. From this menu, you have the options to Remove Product, Show the Info Text, Edit the Product (this will launch the edit product page), and Store Prices (this will launch the store price screen).
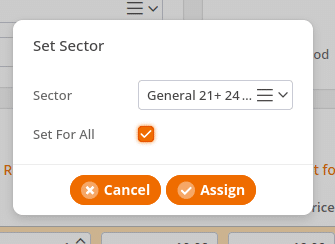
Finally, you may change sectors by clicking on the Set Sector option. A text box will appear with a drop-down menu where you can choose the appropriate sector for the product, and you may also check the ‘Set for All‘ checkbox to apply the sector to all items on your invoice.
Important Note
Promotions will not work on invoices.
When you have finished creating the invoice, click on Save. To book the invoice, click ‘Book’.
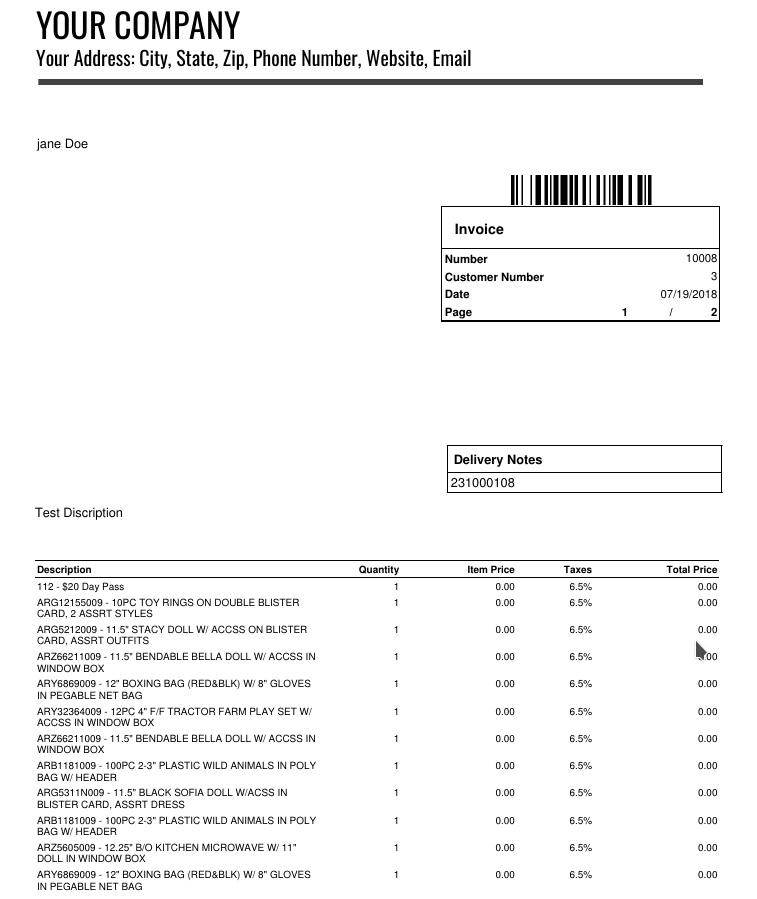
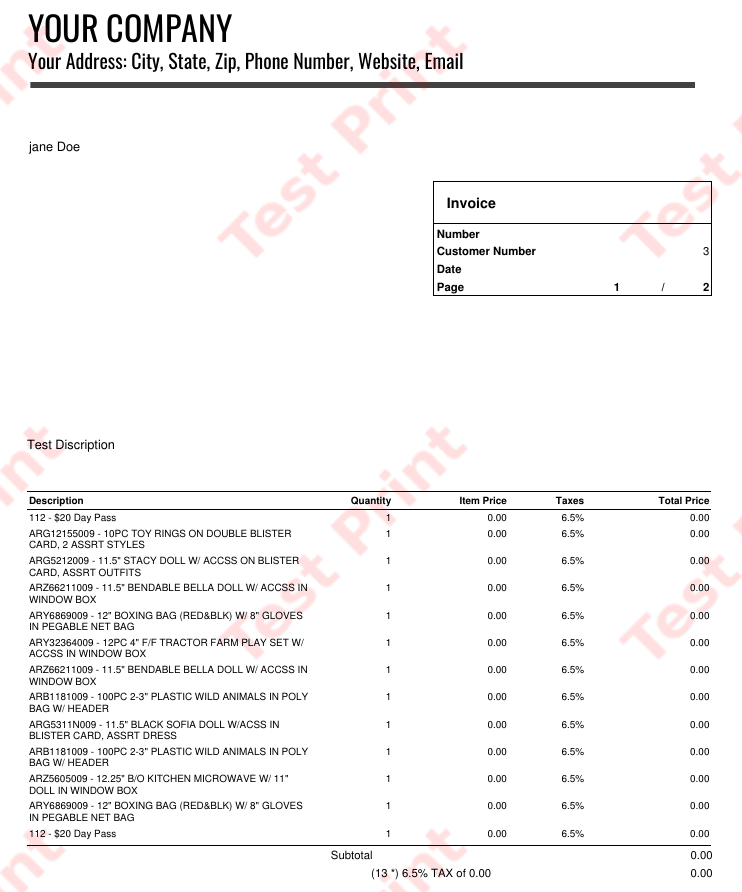
If an invoice is not booked, it will not have a Number, and the PDF for it will have test print watermarks. Product descriptions will also be listed on the invoice PDF. Once the invoice has been booked, only the Comment field may be adjusted.

After it has been booked, you can select whether or not the invoice has been paid. Click on the Unpaid button. The invoice will then be marked as paid and removed from the list of outstanding invoices.
Accessing Lists of Invoices
To see a full list of invoices, navigate to Invoicing > Invoices > and look in the right corner of the screen for Filter. All invoices should now be listed. Here, you may select filters to narrow down your search. Your filter options are Booked (status), Booked on (Date), Comment, Created by, Creation Date, Customer, Customer Group, Number, Paid, and Point of Sale (If the invoice was created from POS)
Creating Collective Invoices
If you have multiple customer orders that you want to convert to Invoices, you can first set them to be ready for pickup and then create Delivery Notes for them. If a customer has multiple Delivery Notes booked, when one of them is selected, a Collective Invoice can be created. After selecting one of the Deliver Notes, mouse over ‘More‘ and select ‘Create Collective Invoice‘.
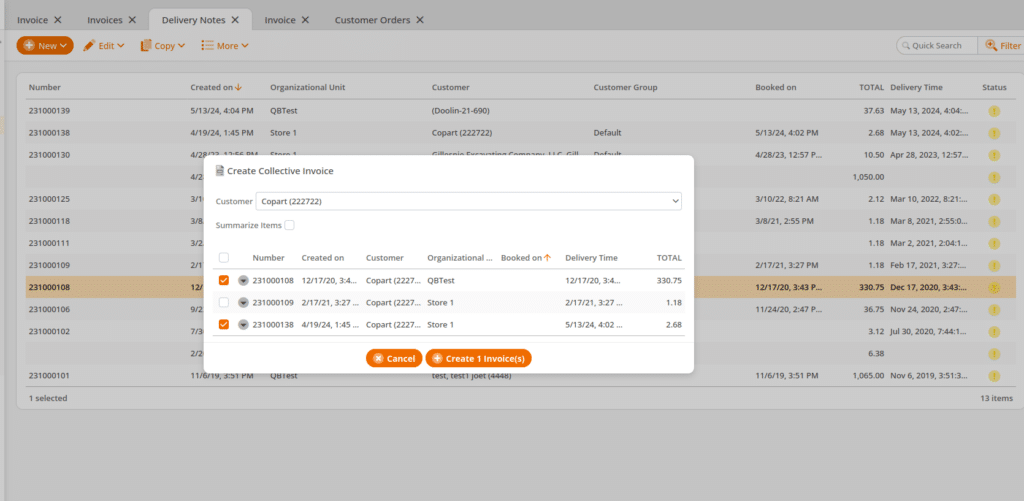
In the above instance, we are only combining two of the Delivery Notes into one Invoice, but all could be combined if preferred.