The Button Status function highlights product buttons based on a chosen selected tag tied to the button status. The Button Status function type will allow you to select a specific tag and a color. Common scenarios are “highlight gluten-free products” or “highlight vegan products.”
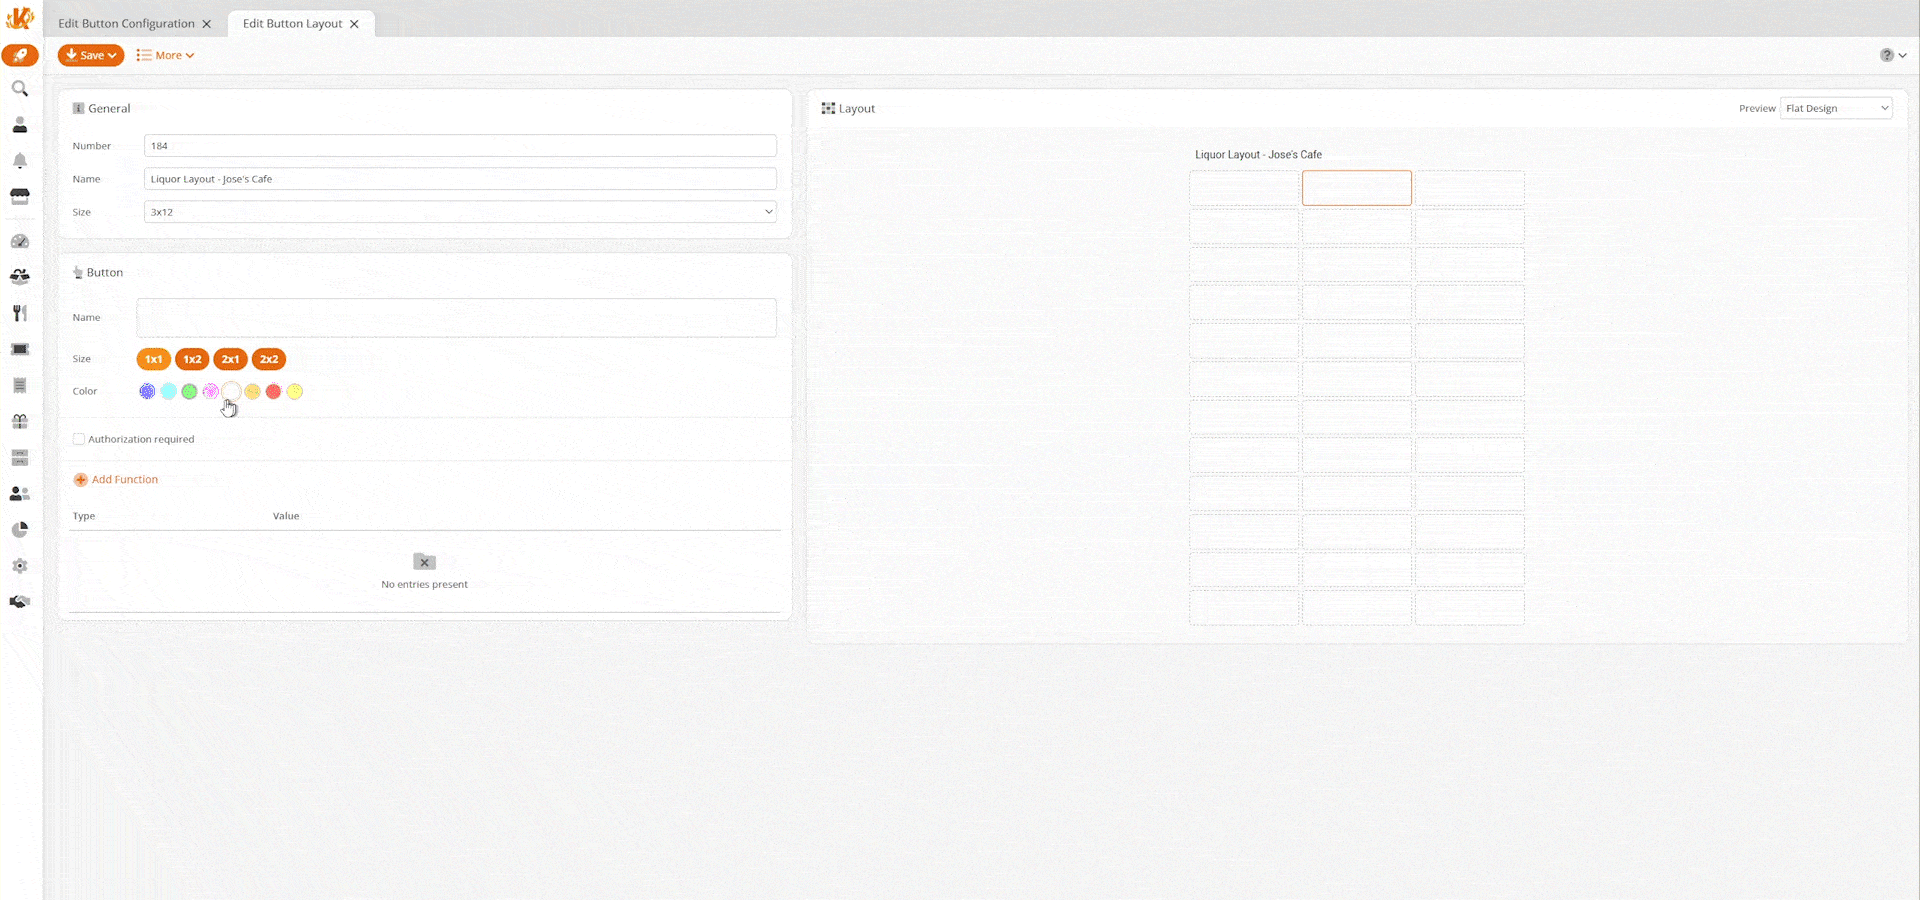
Navigate to Settings > Button Configuration. From there, you must edit the layout. You must select the add function.
From the Type drop-down menu, select Button status. Two additional drop-down menus will appear. Select a Tag in the first dropdown and a Status in the second.
The status colors will reflect on the tagged products at the POS. The ‘Hidden’ Option will temporarily hide the button from the display, and the Reset option will remove any button status already activated. Multiple button statuses may be applied at one time. To learn more about setting up tags, please refer to our Product Tag Setup manual page.
Once the button is selected at the POS, all tagged products will be highlighted with the corresponding colors. If the hidden option is chosen, the corresponding button will disappear. You can also press the Button Status a second time to toggle it on or off.

Switch Button Status Function
Another way to make only certain products available at the POS is by using the button function Switch Button Status. To do so, you must create the button for it first.
To learn more about creating buttons, please visit our Create POS Buttons/Button Configuration manual page. The button will also need to have the function type “Show Products with Tags” with the desired tag attached.
At the POS, the cashier would simply click the button. A page with all available products under that tag will launch for selection.
By default, once a selection is made on this screen, the system will automatically return to the main screen. To disallow this from happening, you may adjust the “Quick Key Return” settings under Point of Sales Profiles. To learn more about doing so, please navigate to our Point of Sales Profiles manual page.