When you receive a receipt printer from KORONA POS, you should first check the model. This will be visible on the box itself. Once you have confirmed the model, follow the link for the model and then download the driver. The driver will likely need to be unzipped, you can do so by going to the downloads folder, selecting the file and then hitting extract. Once you’ve extracted the file you want to open the folder and launch the installation. From there you will just follow the prompts to install the printer.
Epson TM-T88V
https://download.epson-biz.com/modules/pos/?page=prod&pcat=3&pid=36
Epson TM-T20III
https://download.epson-biz.com/modules/pos/index.php?page=single_soft&cid=6693&pcat=3&pid=6146
Aures
https://aures-support.com/en/receipt-printers/aures-printers/
Star
http://www.starmicronics.com/support/
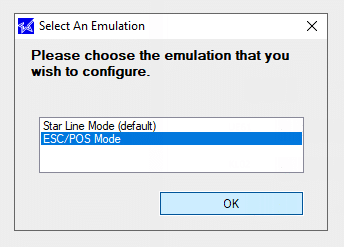
Make sure to set your printer to ESC/POS Mode, if the option is available.
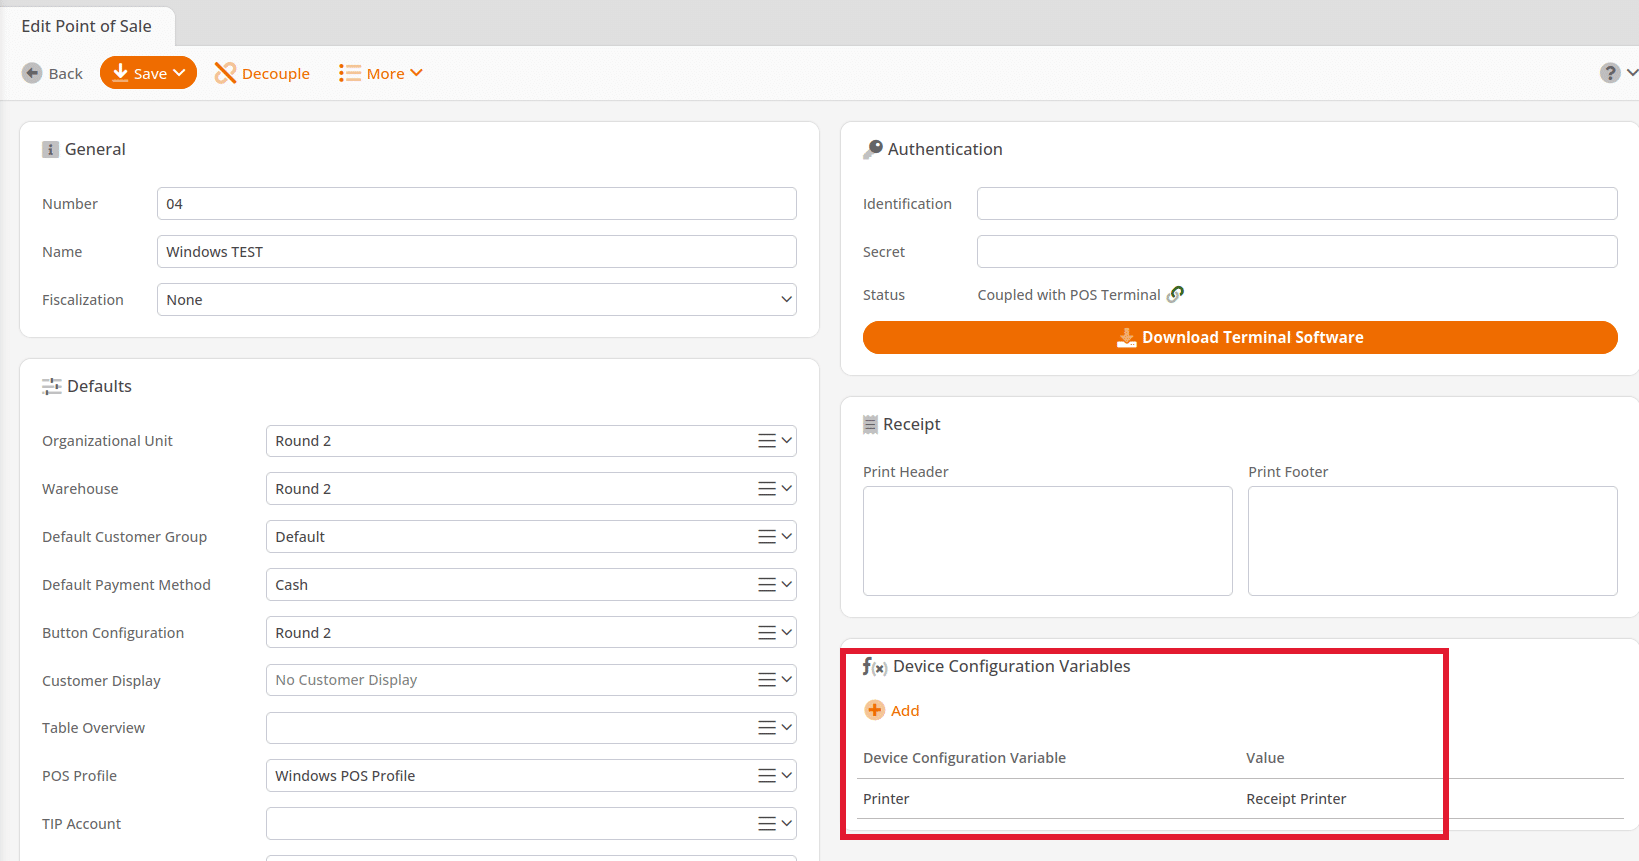
Once you have the printer installed, you want to go to system settings, then navigate to devices Printer and Scanners. You will want to copy the name of the printer within Windows. You can then head to the KORONA Cloud, select the point of sale you’re working on, then you want to make sure the POS profile is set up like this. If you are a new account, you can simply select the Windows profile and then hit add to Device Configurations Variables and select Printer.
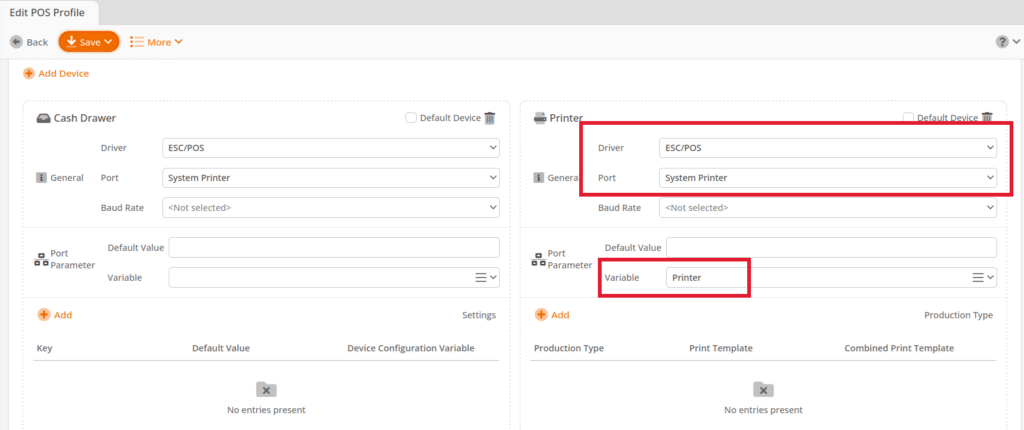
Then you will want to put the name of the printer you copied earlier into the Device Configuration Variables section as shown below.