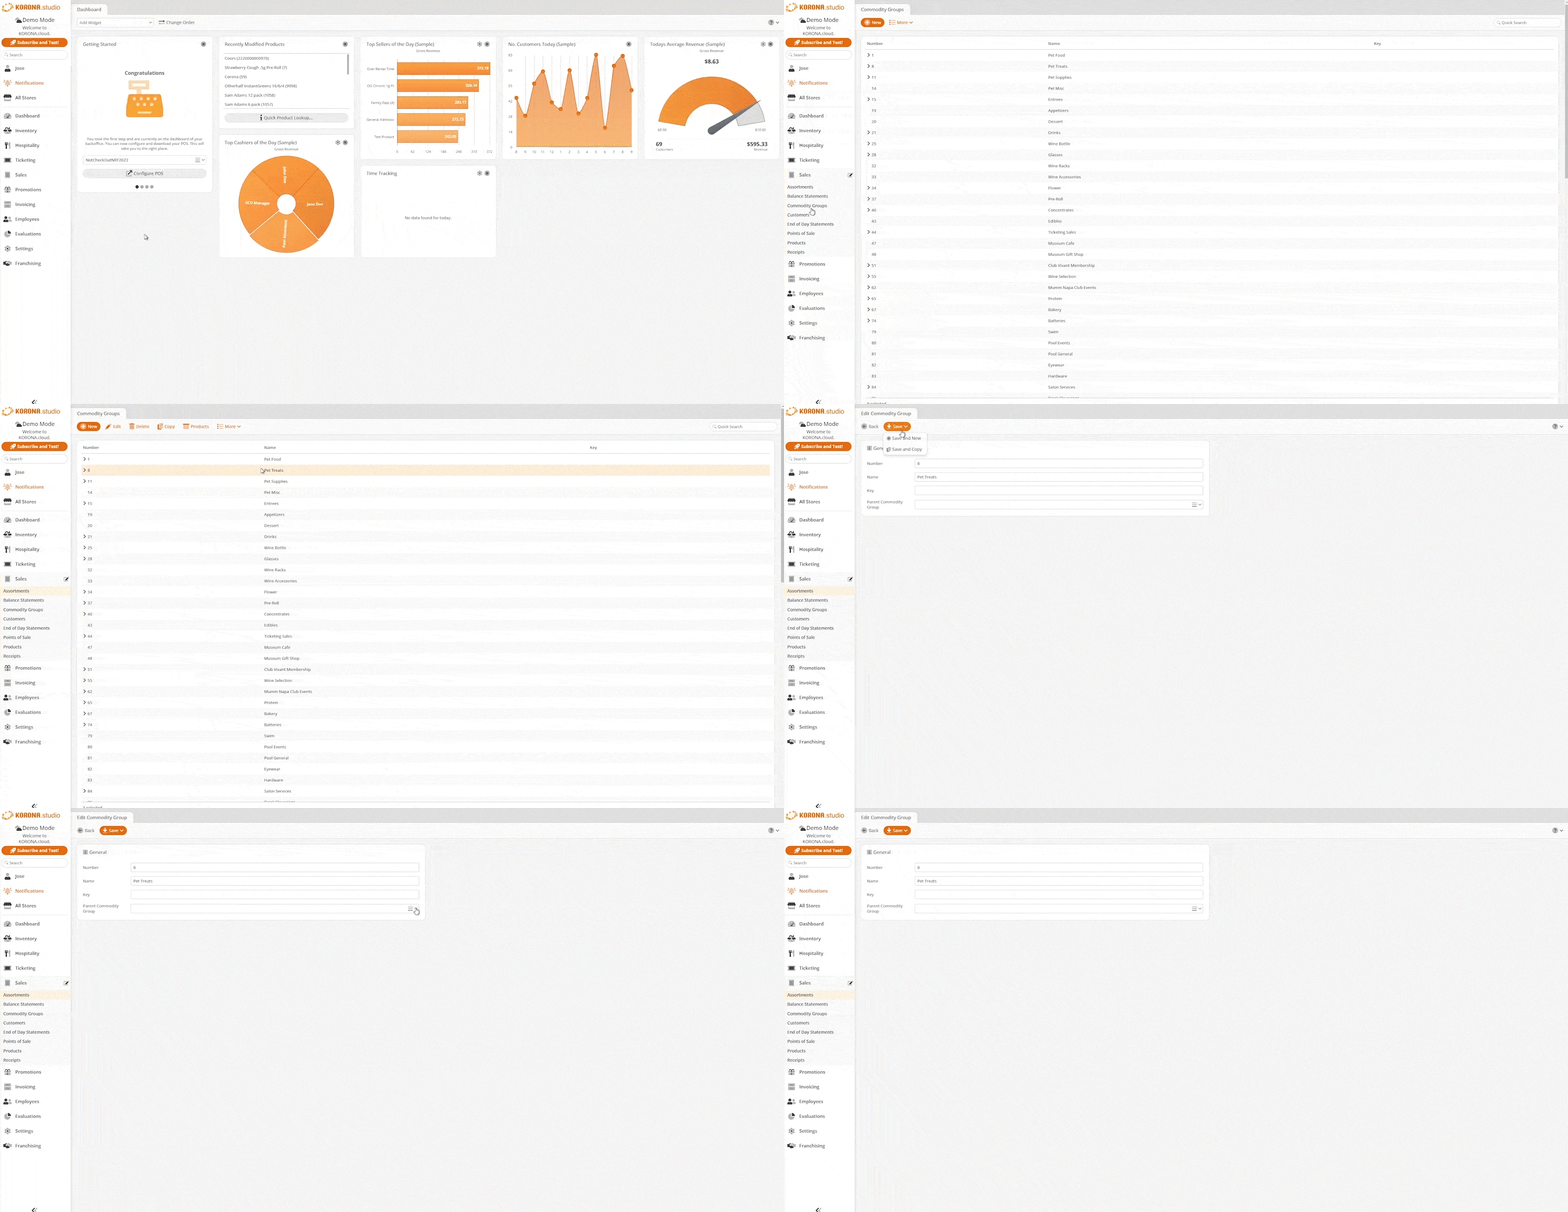
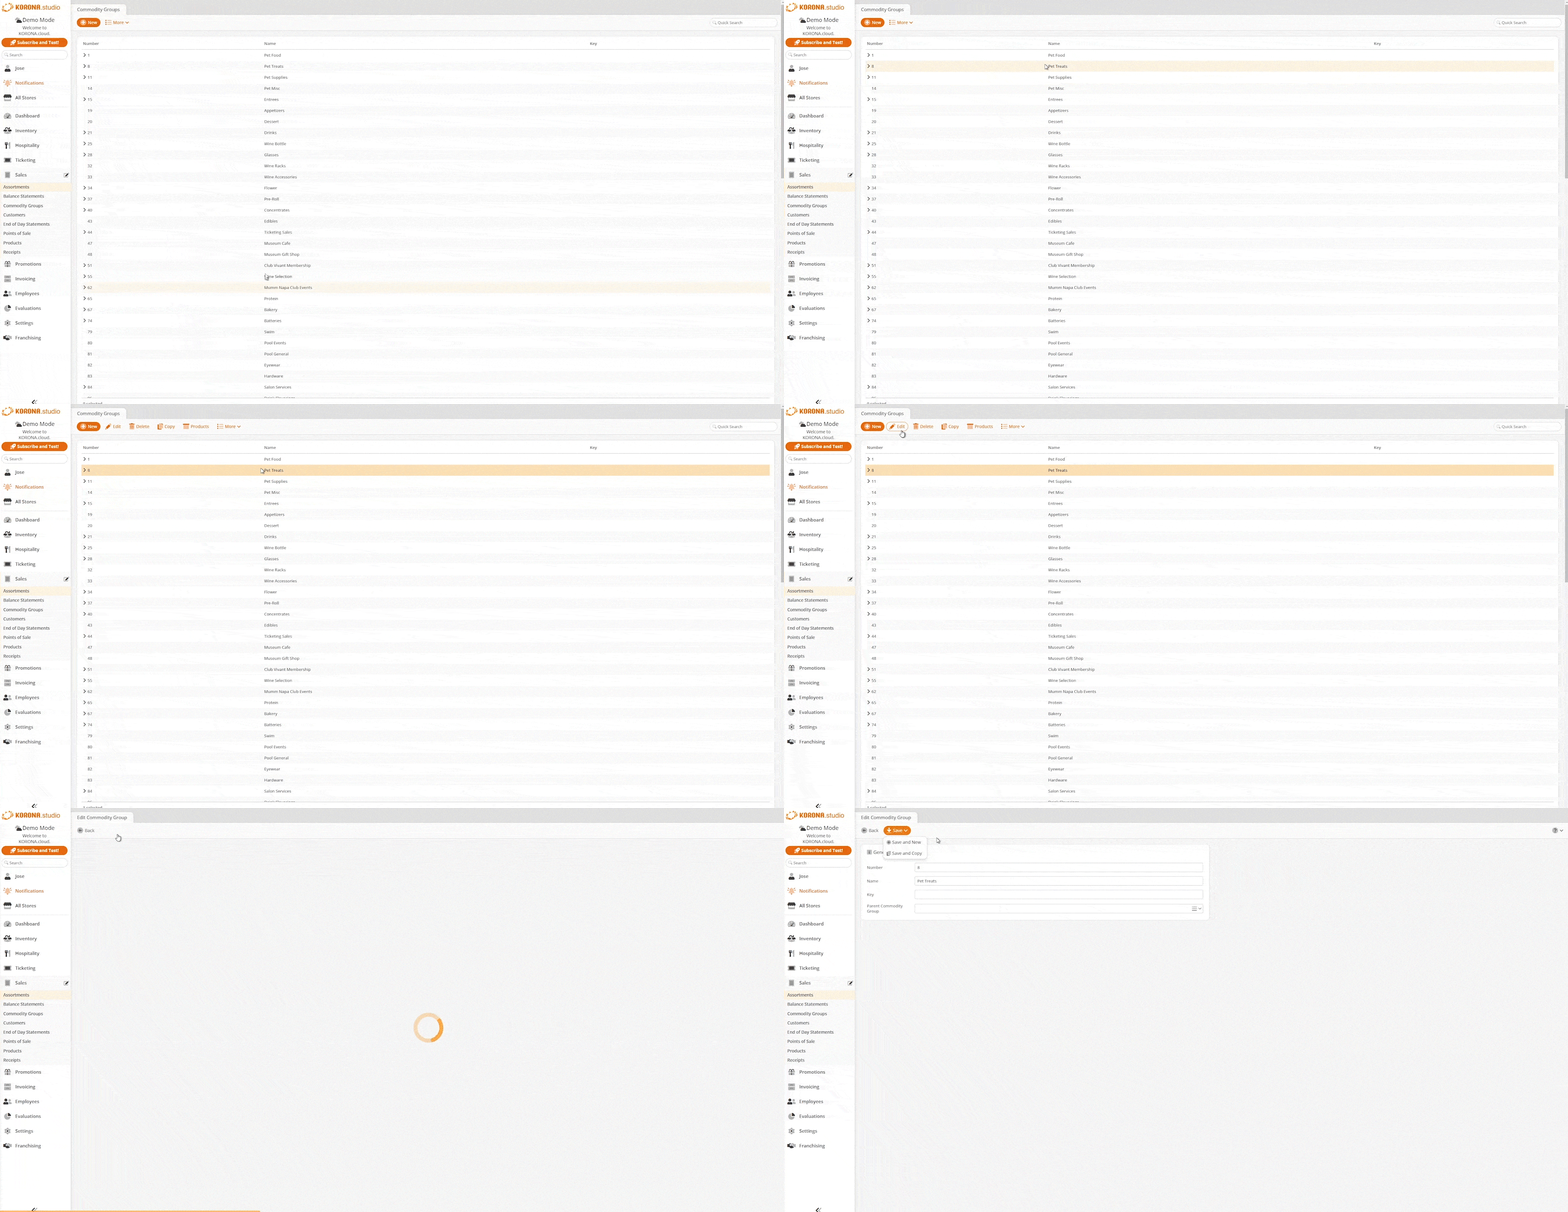
Commodity Groups are a very important aspect of categorizing your products. One of the most important aspects of Commodity Groups is that you can nest them, allowing you to create sub-commodity groups underneath each individual group. You can create as many subgroups as you wish, but remember that over-categorization can quickly complicate things.
Many retailers with large product databases set up their Commodity Group structure using Department > Category. Merchants with smaller product databases usually stick to a flat structure.
In your KORONA Studio account, you can review and manage your Commodity Groups under the Inventory tab. You can use the New button to add a new Commodity Group. The only required setting is the commodity group Name. The Commodity Group Number is auto-generated but can be changed or assigned manually.

Sub-Commodity Groups
When you create your Commodity Group structure, we recommend starting with the top-level groups.
To create sub-commodity groups, first set a Parent Commodity Group. The Parent Commodity Group can also be changed for existing commodity groups.
The Commodity Group list displays your commodity group structure as a tree. A ‘>’ symbol in front of a commodity group indicates that this commodity group has sub-commodity groups. By clicking the ‘>’ symbol, you can expand the tree item and view the sub-items underneath.
Once you have created your commodity groups, you can assign individual products to them by navigating to Inventory > Products > *Select the Product* > Edit. On the Edit Product screen, locate the Commodity Group drop-down menu and select the desired one. Once done, click Save.
You may also choose to mass-apply the commodity group by using the product filters. For more information, please visit our Mass Search and Edit Feature manual page.
*Note: To see the change at the POS, you will need to retrieve master data.


