
To set up employee commission, there are a few steps to be taken. Below is a step-by-step guide for commission setup and use at the POS.
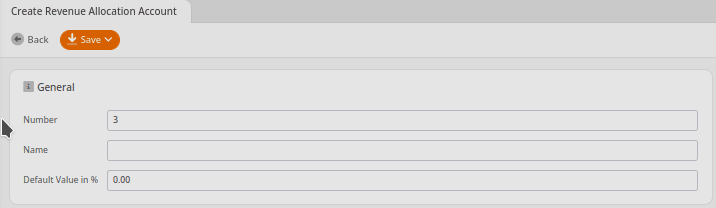
STEP 1: Create the Revenue Allocation Account
To create a Revenue Allocation Account, navigate to Settings > Revenue Allocation Accounts, and click on New. If you can not find it there, you must Edit Menu Entries.
Next, give the account a Number, Name, and Default Value. Once done, click Save.
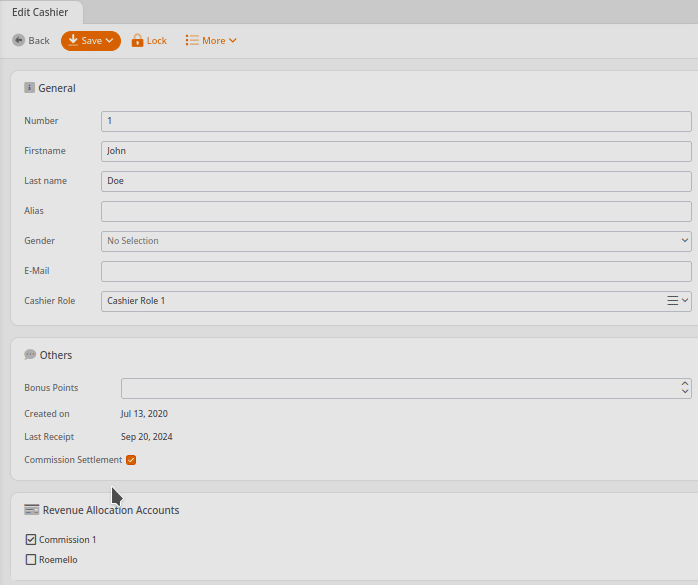
STEP 2: Set Cashier Commission (in KORONA Studio)
To do so, navigate to Employees > Cashiers. Select the desired employee, and click Edit. On the bottom right corner of the page, click on Commission Settlement. Listed are the Revenue Allocation Accounts. Select the appropriate account and, click Save.
STEP 3: Set Commission Settlement for Organizational Unit
You will need to set up a Commission Settlement for your organizational unit. To do so, navigate to Settings > Organizational Unit. Select the Organizational Unit you’d like to use, and click Edit. On the following page, scroll down and locate the Area Settings tab and check the Commission Settlement checkbox. Next, choose the Revenue Allocation Account from the list below, and click Save.

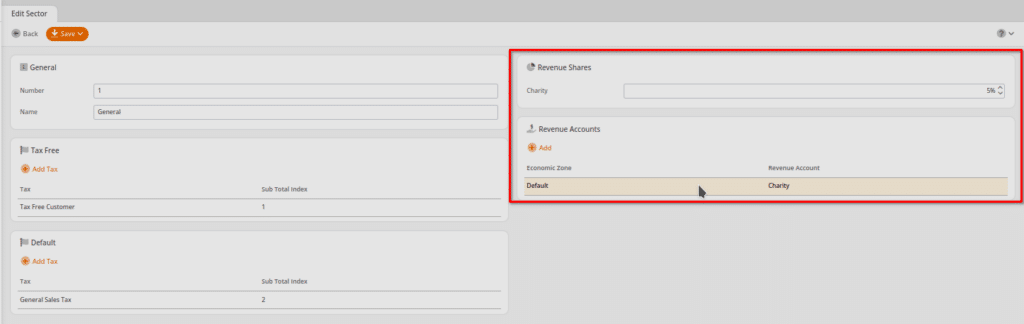
STEP 4: Set Commission for Each Sector
To set up Taxes for each Revenue Share, navigate to Settings > Sectors. Select the sector, and click Edit.
Locate the Revenue Shares tab, and adjust the percentage accordingly. If the percentage is non-adjustable, this means that the revenue account is controlled by a franchisor, in which case you will need to contact your franchisor for any adjustments.
STEP 5: Create the ‘Assign Sales Person’ button
Navigate to Settings > Button Configuration. Click on the layout, and click Edit. Above each section, you will find a drop-down menu that allows you to assign a different button layout for the section below. Click on the orange Edit button, which allows you to quickly edit the displayed button layout. Select the empty space desired, click Add Function, and add the function Assign Sales Person. Once done, click Save.

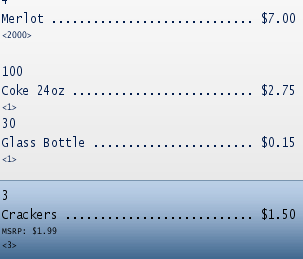
STEP 6: Applying Different Item Commissions to Different Salespersons at the POS
At the POS, you will need to Retrieve Master Data for the above changes to apply. Each item on the receipt may be assigned to a separate salesperson. To do so, select an item, enter in the appropriate employee number, and click “Assign Salesperson.” A reflection with the employees’ number should show below the product name in a <#> format. Once done, run the transaction as you normally would.
STEP 7: Viewing Reports of Individual Salespersons
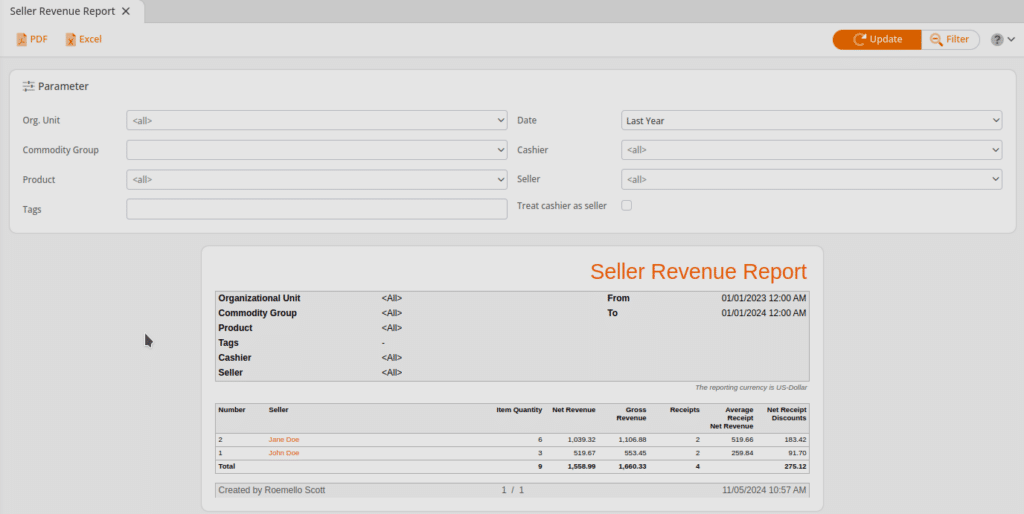
Seller Revenue Report
This will list the commissions for each individual seller. Also, it will list the Item Quantity, Net Revenue, and Gross Revenue for each individual salesperson. This report will give a total for each category.
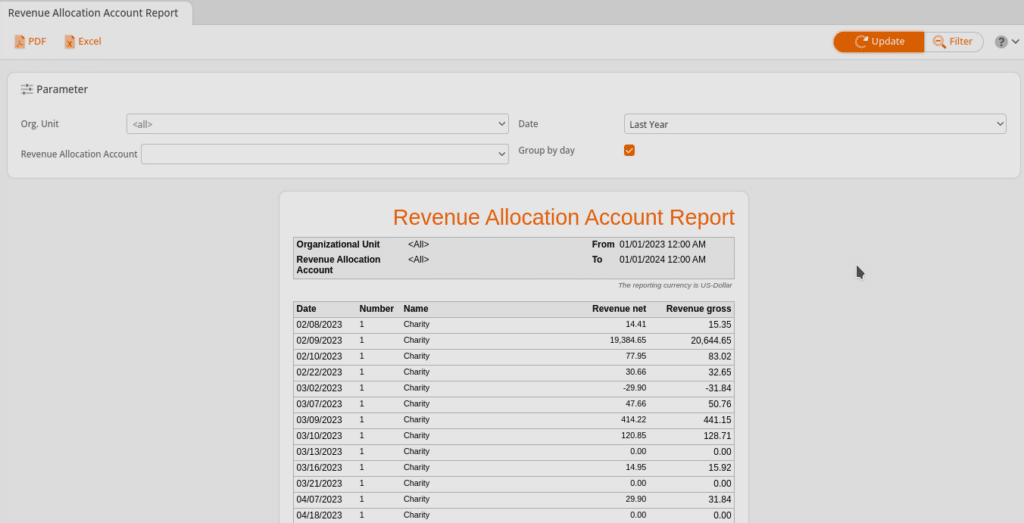
Revenue Allocation Account Report
This report lists the commissions by day and shows Net and Gross Revenue for each account.
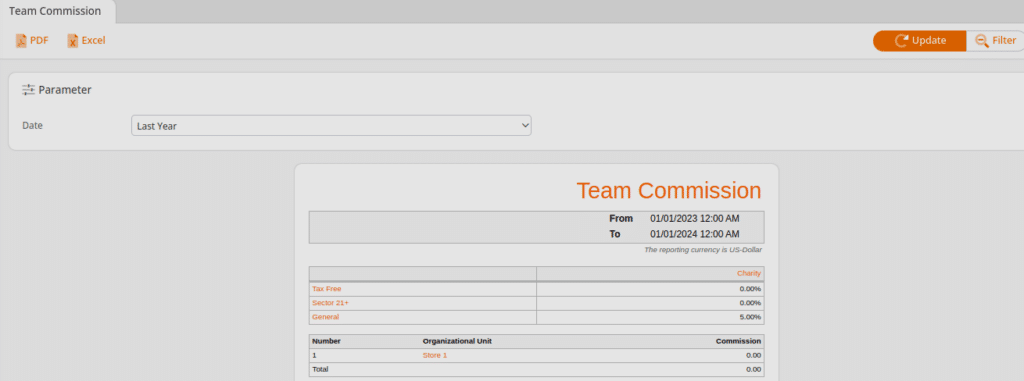
Team Commission
This report will list taxes accumulated for each revenue allocation account. It will also list the total monetary amount of commission accumulated per Organizational Unit. For more information, please click here.
Cashier Commission
This is the same report as Team Commission, However, it breaks the commission down per cashier.
