
Welcome to your new POS solution, KORONA POS!
The following guide is intended to give you quick, step-by-step instructions and a brief overview of how to get started with KORONA POS. After creating your KORONA Studio account and logging in for the first time, it is recommended that you set up your front point of sale.
Initial Getting Started Steps:
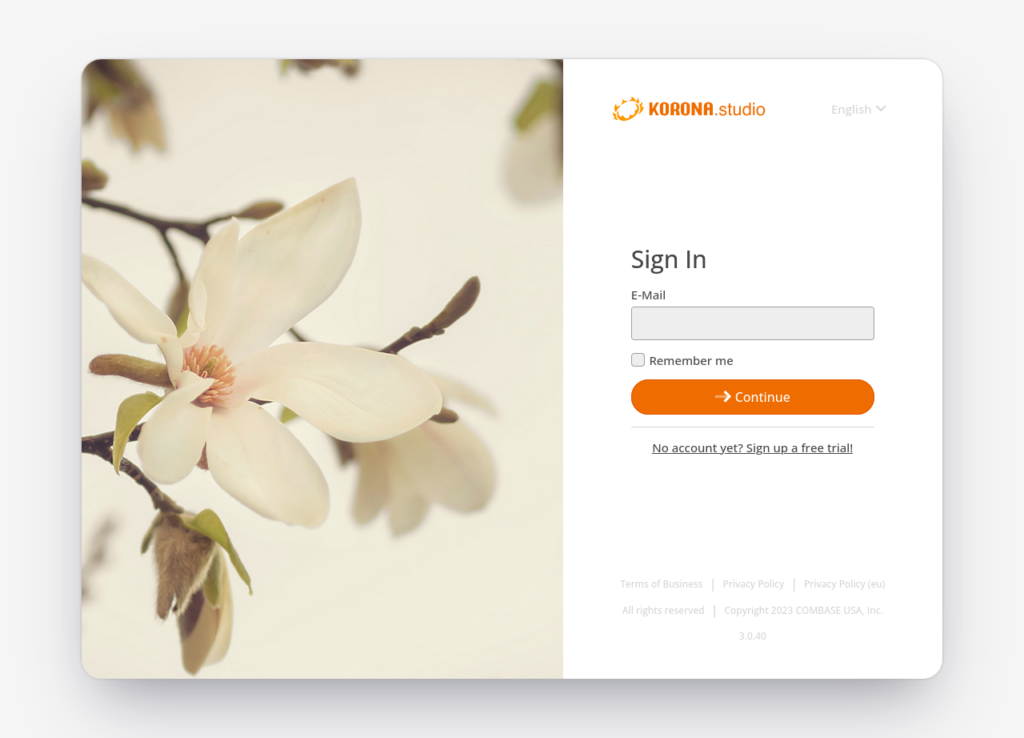
Step 1: KORONA Studio Login
- Go to your KORONA Studio login and enter your personal data to authenticate yourself. Usually, you will only need your email address and your password.
- If you restrict access to your computer at all times you can check the option “Remember Me“. This will keep you logged in and will not require you to authenticate yourself again when you return.
- Click “Login.”
Step 2: Download your Point of Sale Application
After successfully logging into your KORONA Studio account you will get to your dashboard.
The default dashboard configuration shows a POS quick access in the top left corner. The dashboard widget is called “Getting Started.” You can also access the configuration page through the left-side menu in Sales > Points of Sale, then choose the POS you want if you have multiple.
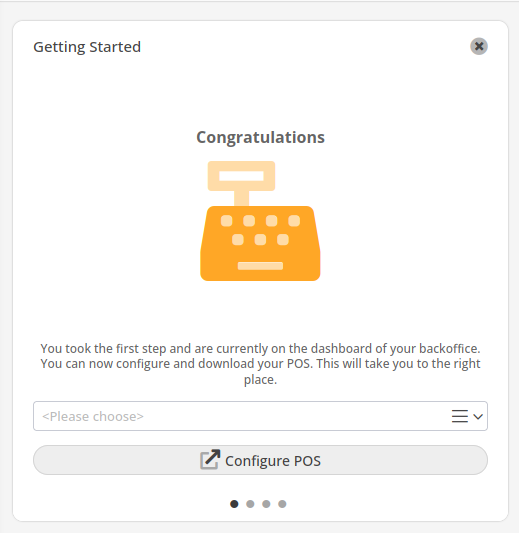
- First, click the button “Configure POS” to get to the point of sale configuration.
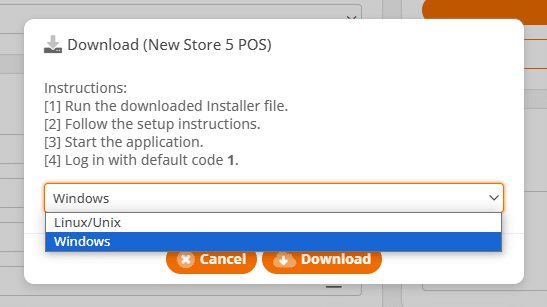
- On the configuration screen, under the Authentication section, click the “Download Terminal Software.”

- Then, you only have to select your operating system and confirm the download.
Windows (10 and newer)
Windows users will get a setup file. Simply execute the setup on the computer you want to use as your point of sale terminal and follow the setup. After the setup is complete, the POS application will start automatically.
Linux
All non-Windows users will get a zip archive as a download. Extract all files from the archive and make sure you have a version of Java 8 or higher installed on your computer. Then, navigate to the bin folder and execute korona-client.jar.
*Note: Upon initiating the client.exe download, some users could get a pop-up warning asking if they're sure they want to download. Go to the drop-down and select "Keep" to continue the download.
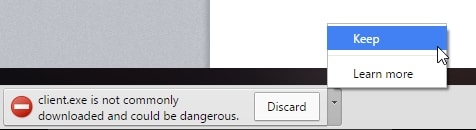
- Once the file download is complete, open and run the application. A new window will open with an installation code prompt.
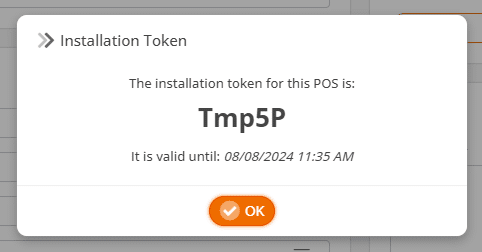
- To get the install code, navigate back to the KORONA Studio edit point of sale page and select the top button “Generate Installation Token” above the “Download Terminal Software” button.
Copy the code and paste it into the pop-up window to finish installing the KORONA POS terminal software.
Step 3: Couple Your POS
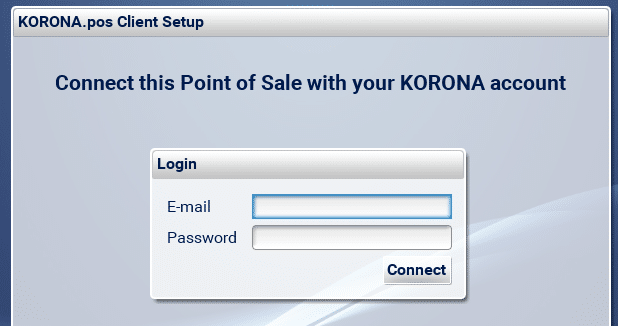
- If you start your POS for the first time, you will likely get to a login screen used to couple your POS to a KORONA POS cloud account.
*Note* The setup might be able to figure out the appropriate account automatically. Don’t be alarmed if the POS skips this step. - After the login, you can select the individual POS you are setting up. If you only have one available POS the system will pick that one automatically for you. Again, don’t worry if the system skips this step.
- After these first steps, the POS will remember its configuration and then restart the device. The first start after coupling the POS will usually take several minutes, but future POS starts will be significantly faster.
- Once the POS Client opens, you can start using your new POS.
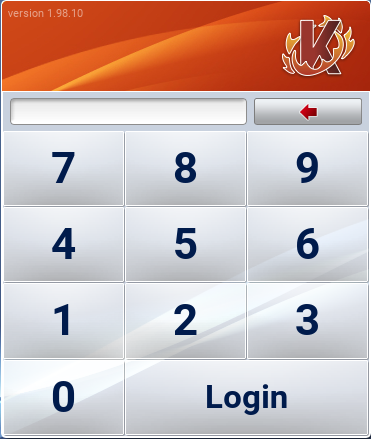
Step 4: POS Login
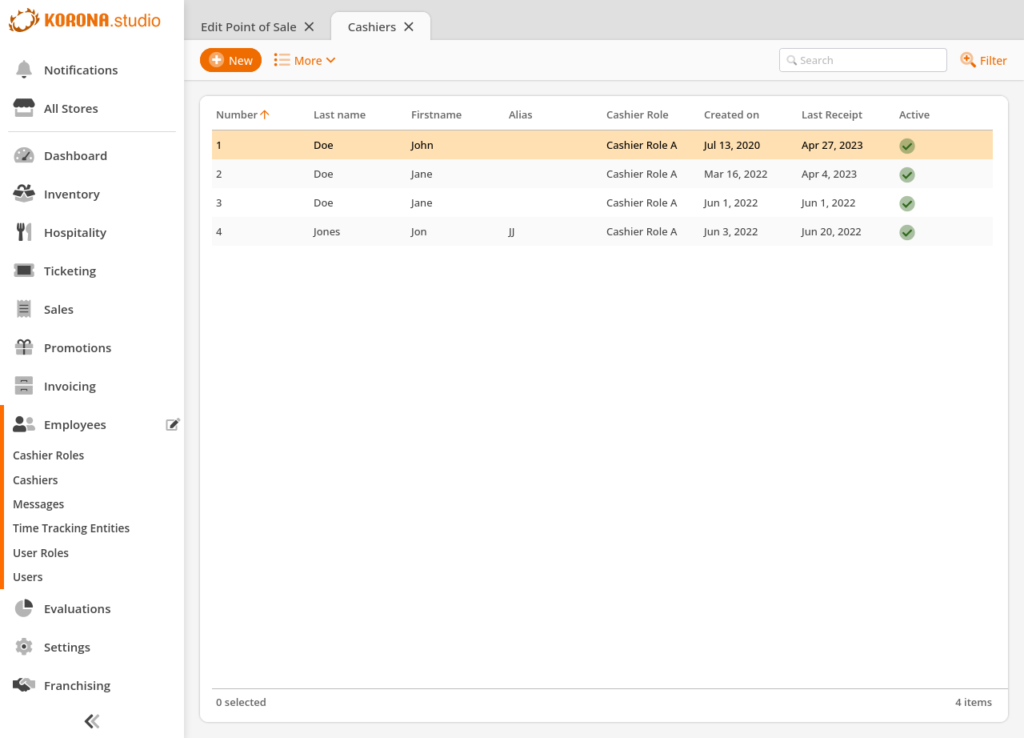
If you do not know your login code, try “1”. This is the default login code for new accounts. The default code for any new cashiers will be the number in the “number column”, this can be changed later. For more info, see our Create Cashier page.
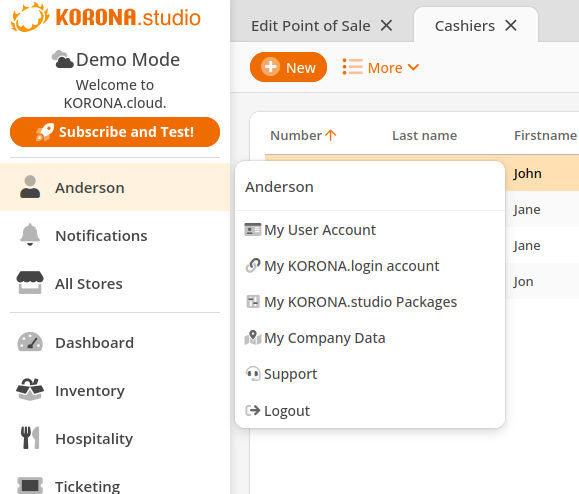
In KORONA Studio, you can change and add cashier logins under Employees > Cashiers.
Step 5: Add Additional POS Terminals or Add-On Packages
In KORONA Studio, move your mouse pointer to the welcome menu in the top right corner over your username. Then select “My KORONA.studio Packages.”
The next screen will give you the option to more point of sale terminals and additional packages.
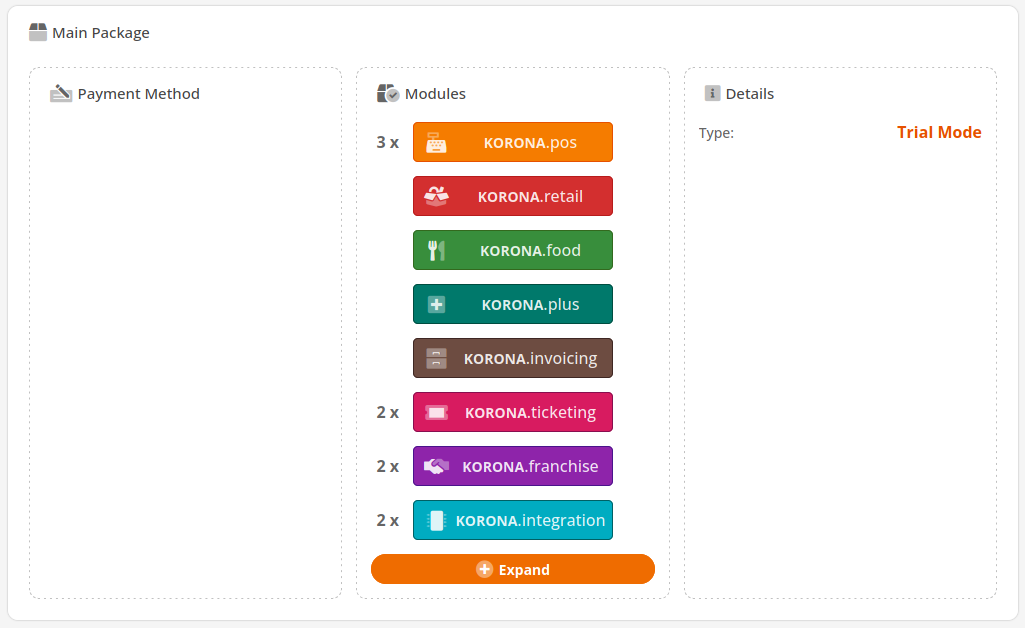
If you have questions regarding the add-on packages, please feel free to contact our sales team at 833.200.0213.