The customer's online function allows for a quick overview of the customer's information, last purchase, overall purchase count, outstanding accounts, and credit limit available.
To view a customer’s information at the POS, you must first create the POS online button function Customers. To learn how, please visit our Creating Buttons/ POS Button Configuration manual page.
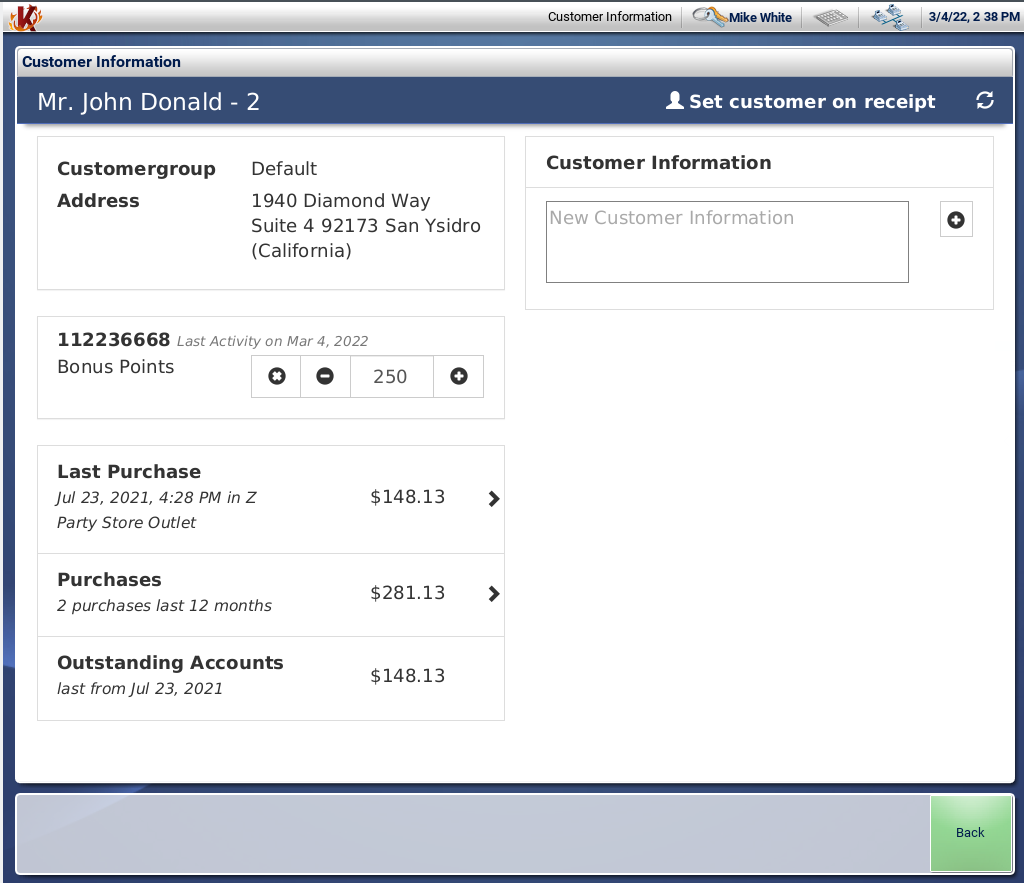
At the POS, type in the customer’s number on the pad and press the Customers button. The customer information window will launch. Listed on this screen is the Customer Group associated with this customer: Birthday, Address, Contact information (email, phone, etc.).
If you do not know the customer’s number, you can add the customer via Customer Lookup. Once the customer has been added to the receipt, you can then press the Customers (online function button) to bring up information about that specific customer.
Listed on the Customer Page is the Last purchase made. Clicking on the arrow across will open the last receipt. You may select specific items on that receipt for a return by clicking the “X” located next to each item. A red highlight should be the indication of the selected items for return. Once you have selected the products, clicking on Return Goods will consider the products as part of the inventory count. Return Perishable will count as a loss of goods, and a negative monetary reflection will occur.
A count of all Purchases for the year is listed below. Clicking the arrow across will list any purchase made within the last 30 days. You may click on the arrow across from each to open up the individual receipts and perform returns.
Oustanding Accounts are also listed with a total monetary amount and a date shown. Credit Limit for the customer is below that. Finally, the Creator of the customer, the Date they were created, and any Comments entered about the customer can be found at the bottom of the screen.
Bonus Points will list the Loyalty Card number assigned to this customer as well as their current Bonus Points value. You can edit the bonus points from this screen manually as well by using the + and – options.
You can also add any notes you wish for future records to this customer under the Customer Information section. This information is only visible to the cashiers and will not be included on the receipt at all.
Finally, you may assign the customer to the current receipt by clicking Set Customer on Receipt from the top of the screen.
Once done, click the Back button to be taken to the main screen.
Here is a video explaining customer purchase history:
Adding Customer to Sale
Below is a video explaining how to add a customer to a sale: