The Cross Selling function allows for multiple products to be related to one another without being added as ‘sub-products.’
To be able to use this button function, a specific tag must first be added to all related products. This will attach those items to the main product. This tag may be an already existing tag, or you may create a new one. Tags may be applied unanimously to multiple products.
To learn more about tag setup and the mass application of tags, please refer to our Product Tag Setup manual page.
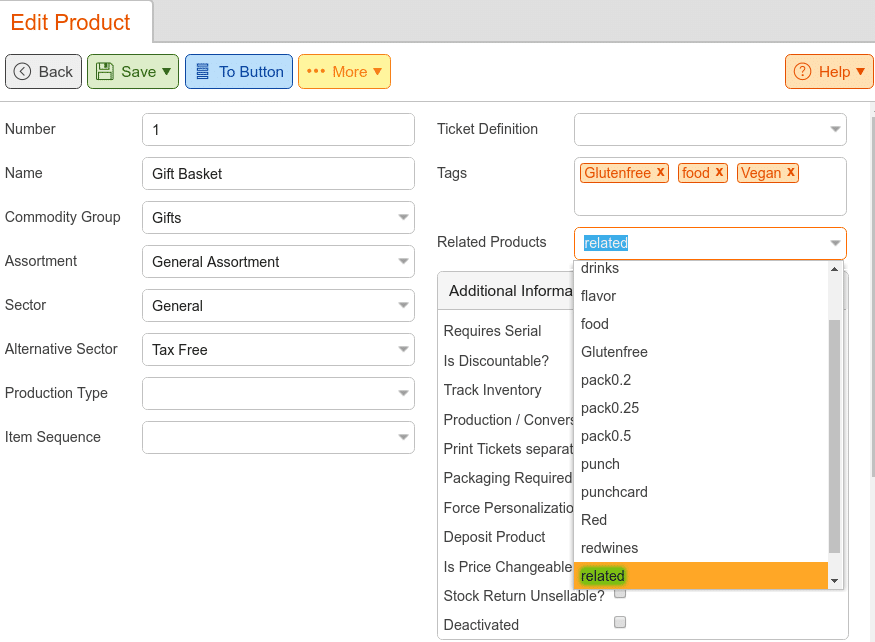
Once done, navigate to the main product that you would like all the related products to display. On the edit product page, from the Related Products drop-down menu, choose the Tag that was added to all your items previously and click Save.
Now, we must create the button for use at the POS. Do this by navigating to Settings > Button Configurations > Edit > +Add Function > Cross-Selling. To learn more about button setup, please navigate to the Create POS Buttons/Button Configuration manual page.
At the POS, you would simply select your main product and click on Cross Selling. All items with the appropriate tag will be listed for your selection. Once a selection has been made, the system will take you back to the main screen.
On the main screen, the newly selected item will be highlighted if the Cross Selling button is pressed once more. It will list all related items for the newly highlighted product instead of the original (if one is prerecorded in the back office). If you would like the same menu to appear, the same product must be highlighted each time before pressing the Cross Selling button.