As part of the Advanced Promotions function, Korona has recently introduced a Wizard Module to aid in the creation of promotions.
For more on this please see here.
Getting Started
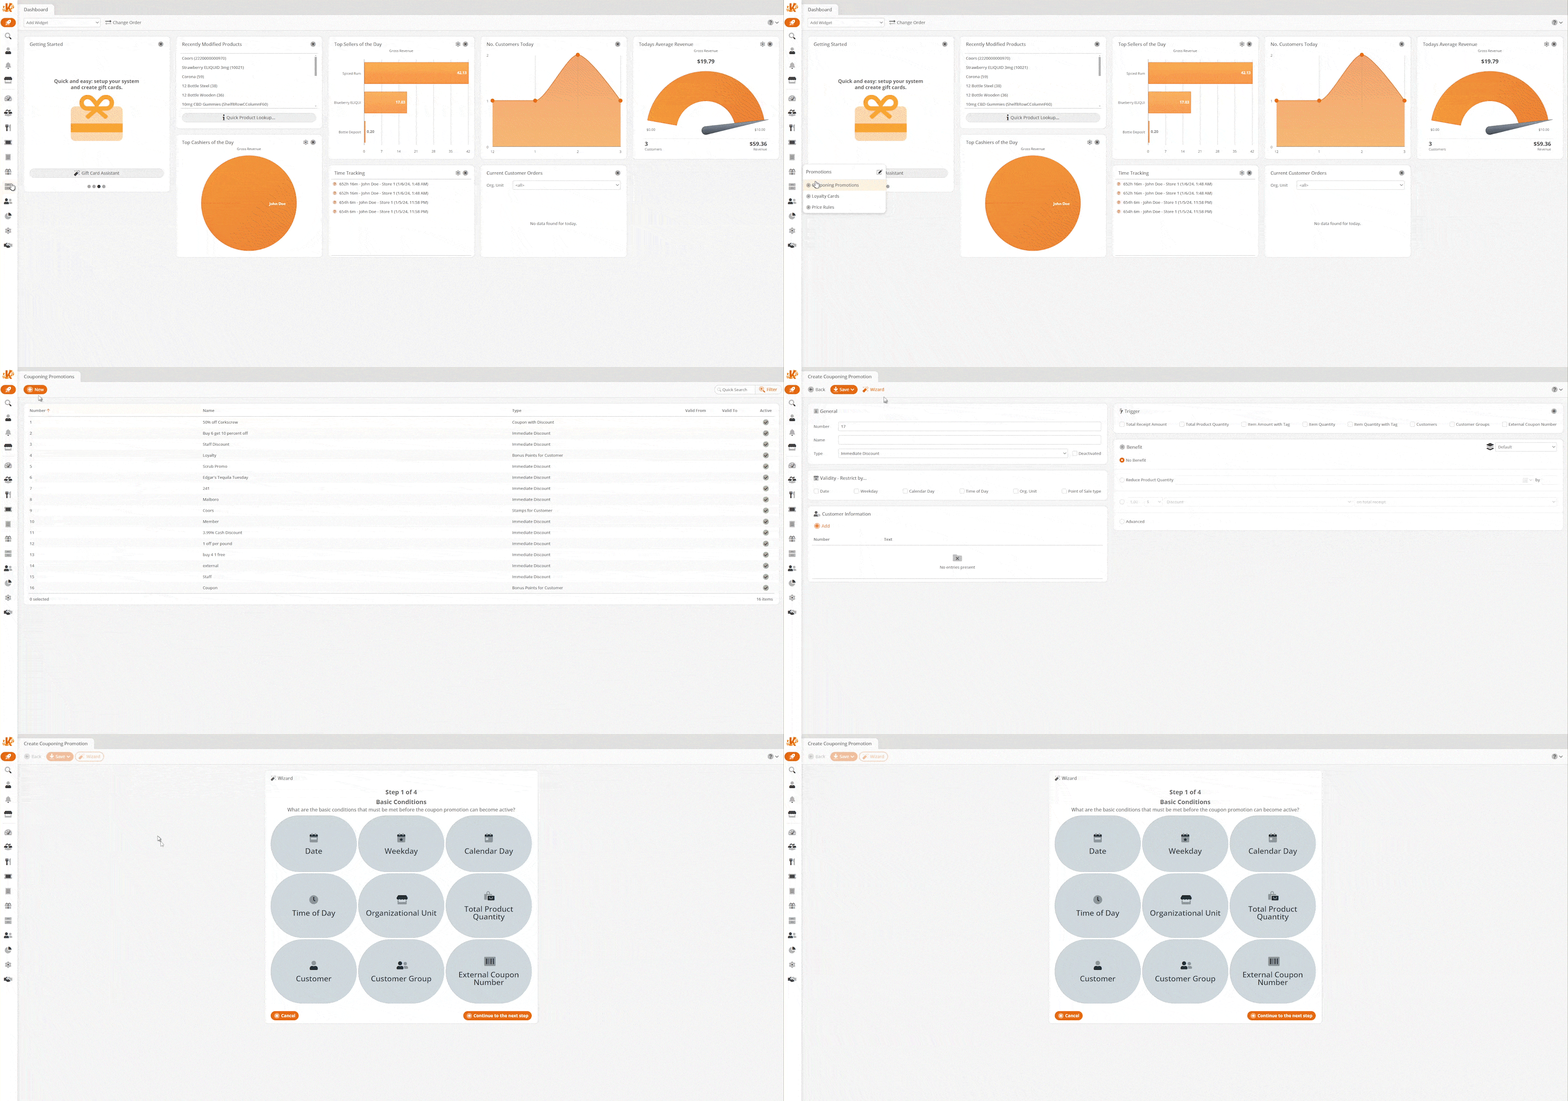
First navigate to Promotions < Couponing Promotions. At the top of the screen there will be a red New Button. Once a new page has opened, hit the purple Wizard button, on certain low resolution monitors the entire screen may have trouble displaying, if that happens just hit CTRL along with – to zoom your screen out.
Step 1 Basic Conditions
Basic Conditions refer to what set of circumstances must take place for a promotion to be triggered. For example, in the case of buy one, get one deal, the basic condition would be a Total Product Quantity of 2. These are also mix and matchable.
Weekday: Is this a recurring promotion that happens on a certain weekdays, ex. Wine Wednesdays or Taco Tuesdays.
Date: If a promotion is only available on certain dates, you would plug the dates in there, ex. Black Friday promotions.
Time of Day: Promotions limited to a certain time of day, ex. Happy Hour.
Organizational Unit: Limited to a specific store.
Total Product Quantity: A certain number of a product or products is required to trigger the promotion.
Customer: A certain customer receives the promotion.
Customer Group: A certain group of customers trigger the promotion, ex. A Staff Discount.
External Coupon Number: A coupon from an external source triggers it, requires the external coupon be defined using Number Ranges.
Step 2 Product Selection
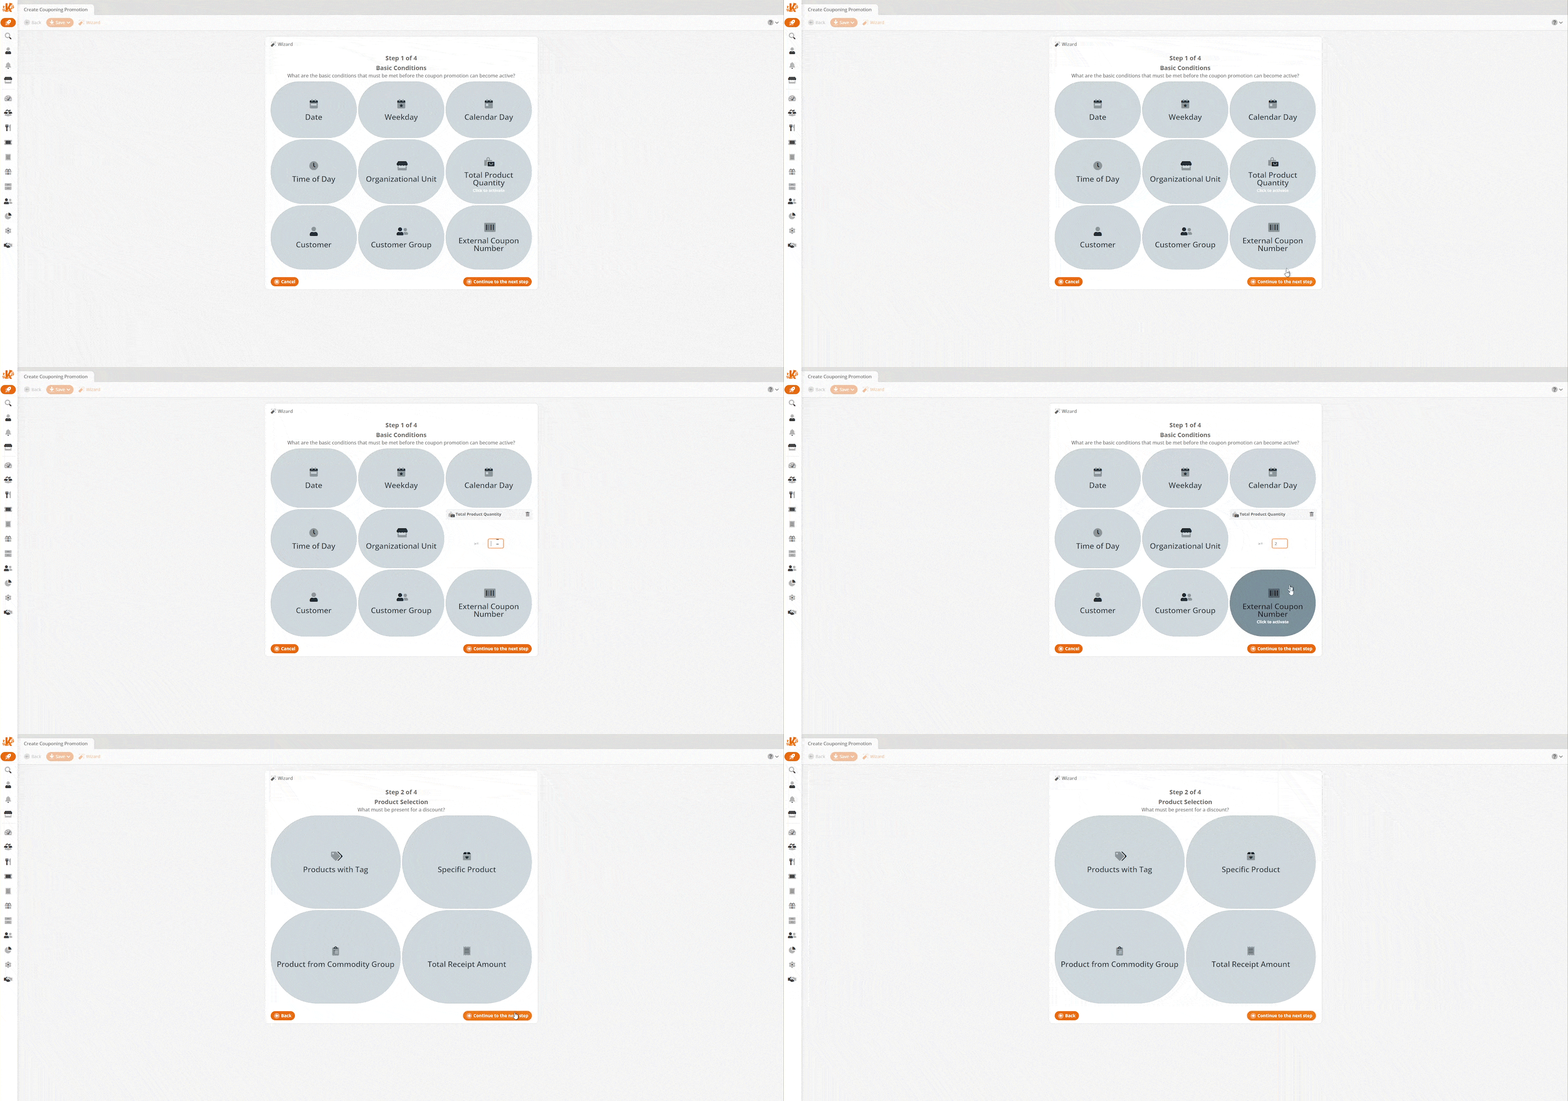
Products with tag: when products from this tag are present it will trigger the discount. If in the case of a BOGO deal, you can select how many of the items required would be discounted, such as of the two purchased only one will receive a discount. Additionally, anywhere where it has a clickable Pieces Button, you can change it to be based upon dollar amounts instead.
Specific Product: similar to Product with Tag, but instead of referring to a group of items that may be mix and matchable, this promotion would require this item to be present.
Product from Commodity Group: refers to an entire commodity group of products. For example, on a Wine Wednesday deal, it may run on any product within the wine commodity group.
Total receipt amount: Useful for deals where once you spend a certain amount you receive a discount.
Step 3 Discount
What is the benefit given to the customer?
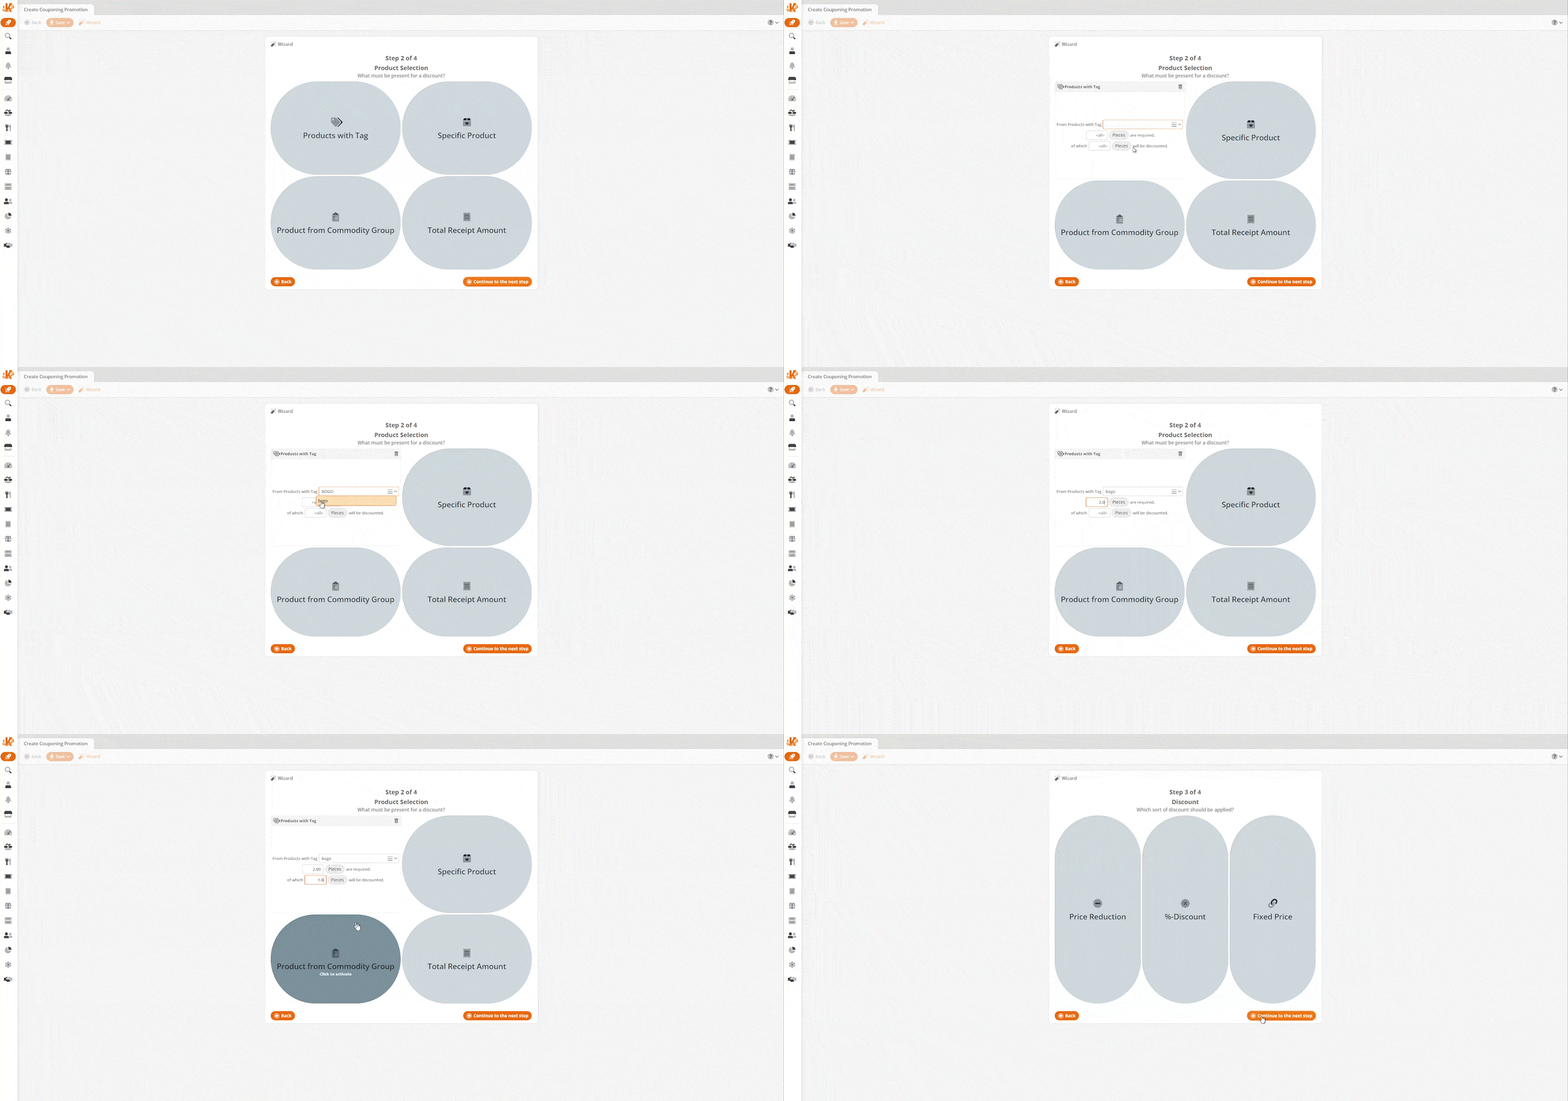
Price Reduction: Where someone gets a dollar amount off their purchase.
%-Discount: When someone gets a percentage off of their purchase.
Fixed Price: An item’s price is changed to be a flat amount, such as making a $10 item $5 instead, helpful in cases where multiple items with different price points can be used in a promotion where after the triggering of the promotion they’re a flat price.
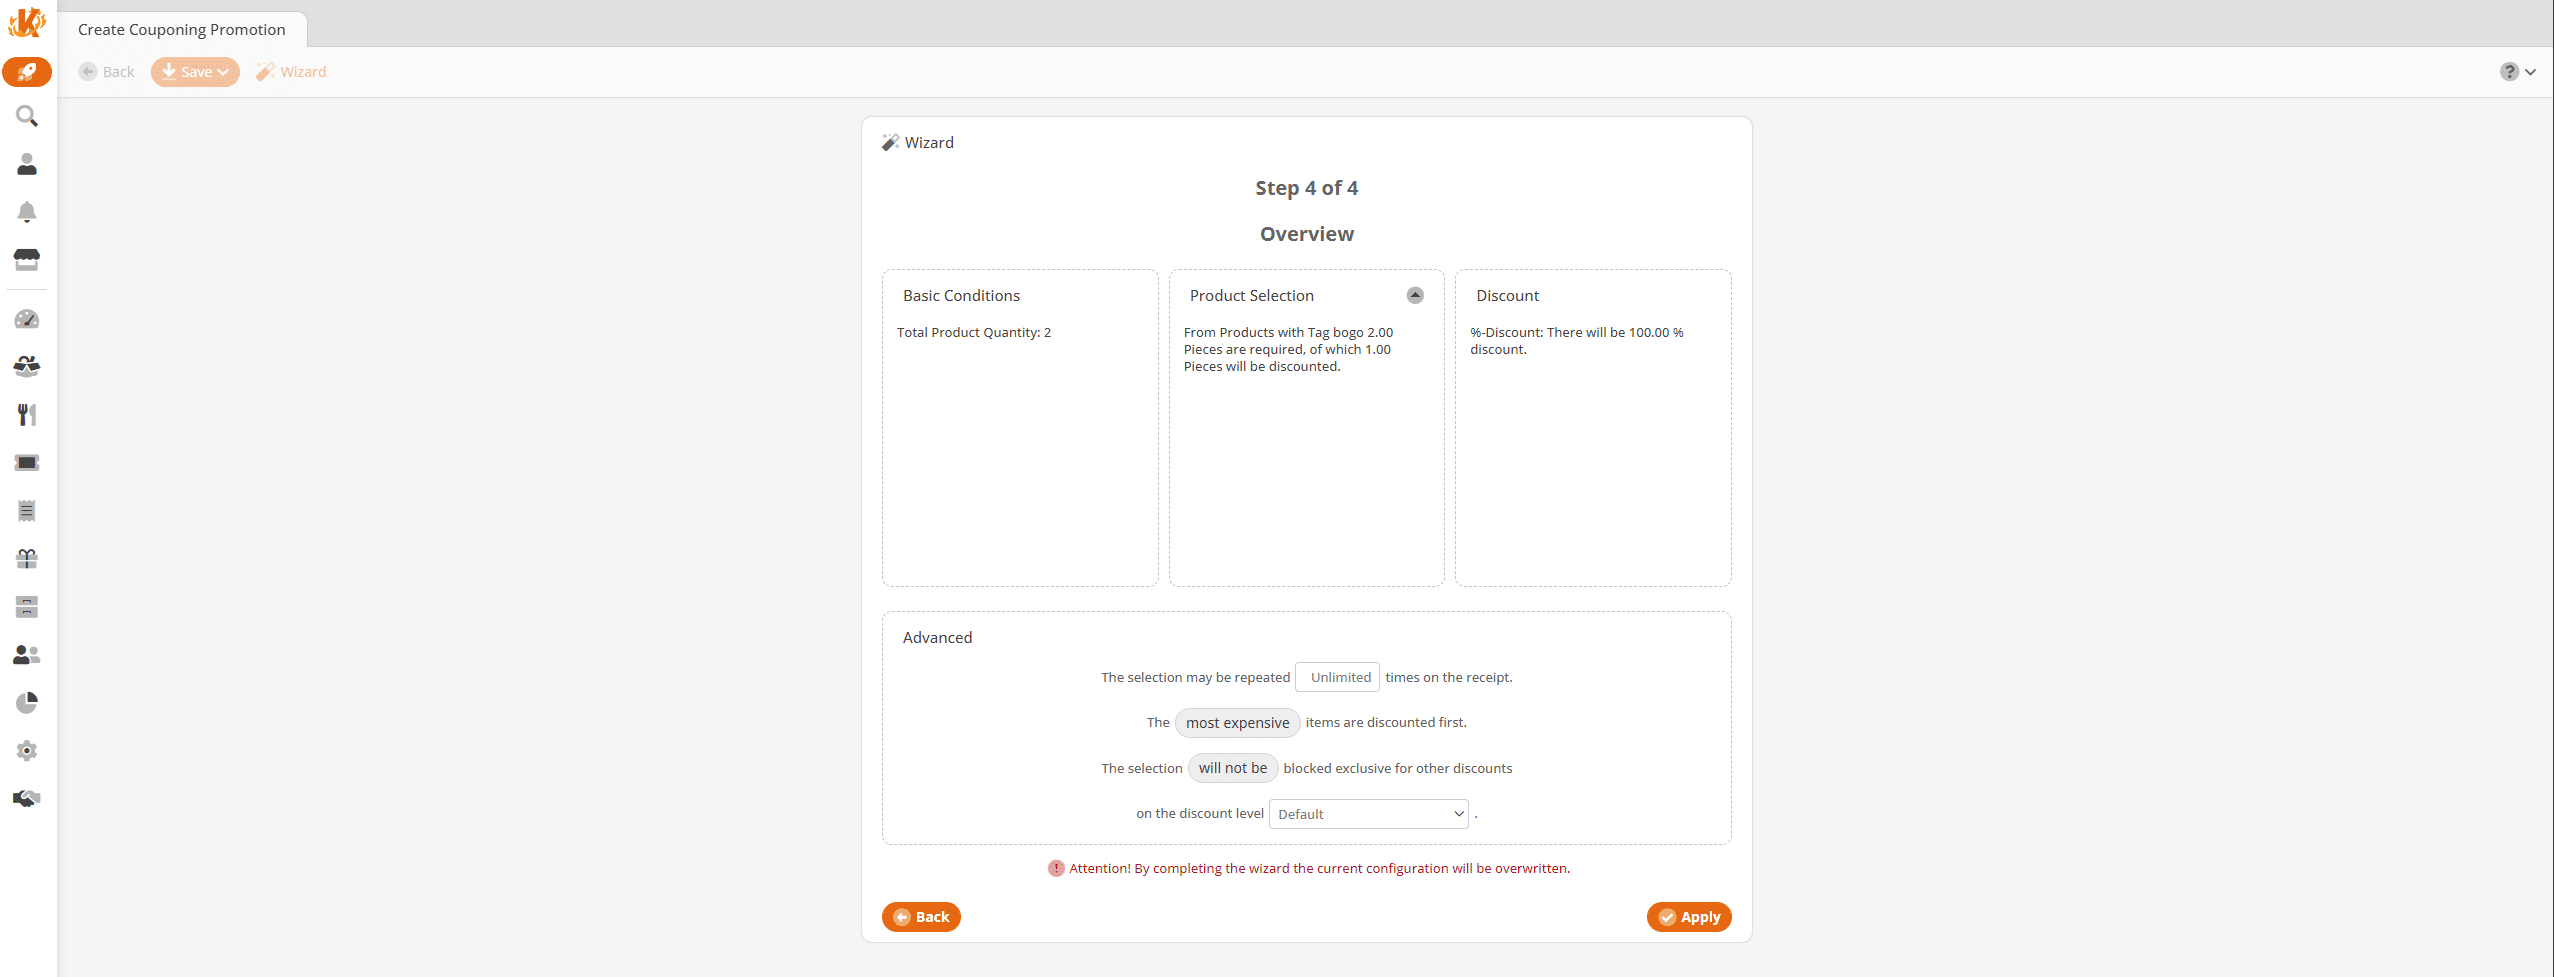
Step 4 Overview
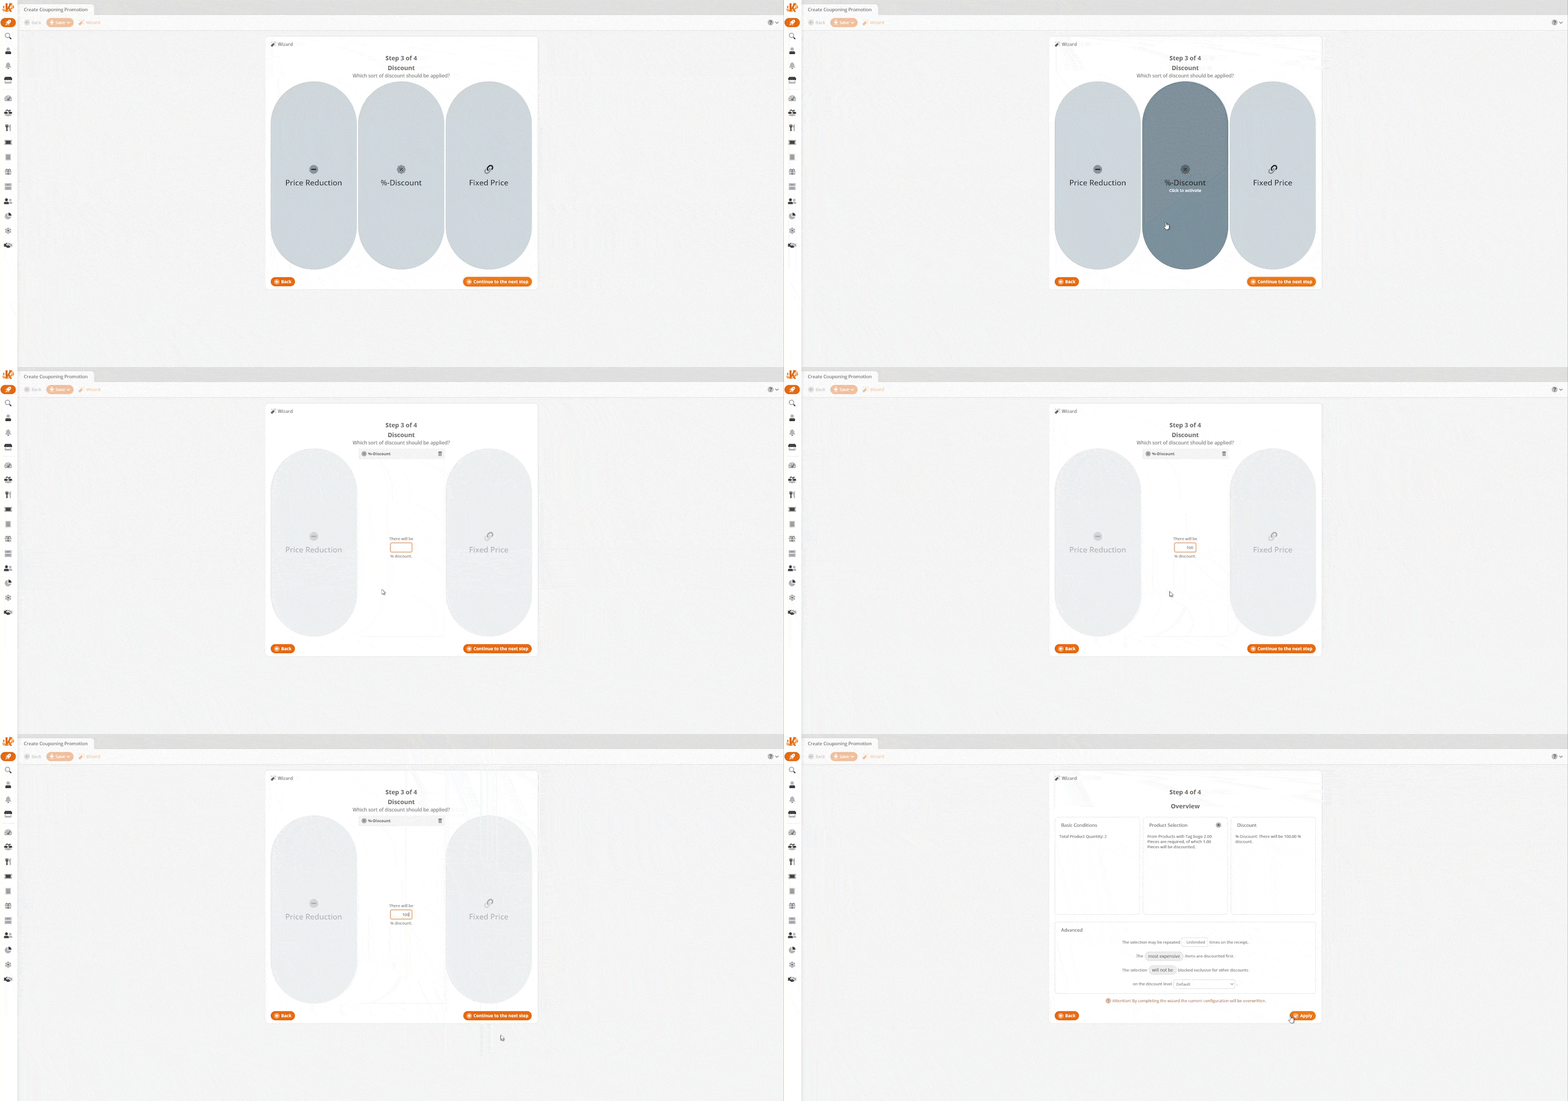
The promotion will then be laid out in plain language for you to check. This is where you would specify if you want the most expensive or cheapest items to be discounted first, how many times a promotion can be repeated on a single receipt, and if the promotion is exclusive or not.
Step 5 Save
After you hit apply, the promotion will be made for you and all you have left to do is give it a name, hit save, and then Retrieve Master Data at your point of sale.


