To find Product Descriptions, go to Inventory > Products > Edit to go to the Edit Product page.
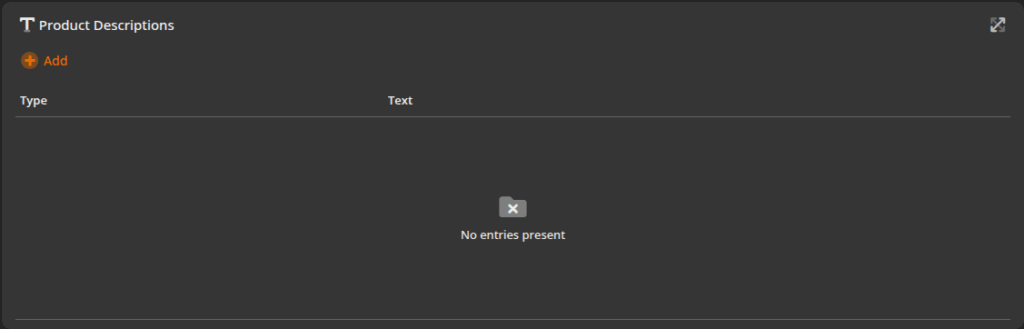
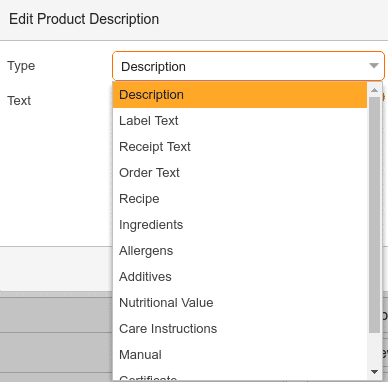
Scroll down until you see Product Descriptions, and click on + Add.
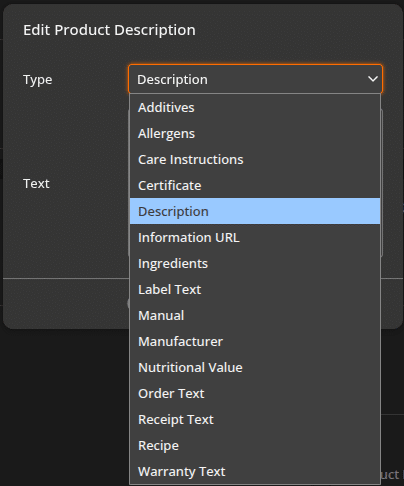
A drop-down menu will come up with all of your options. Here is the list with their functions:
- Additives – artificial flavors or dyes
- Allergens – use the function “Product Description Allergens”
- Care Instructions – for any product-specific instructions for best care, use the function “Product Description Care Instructions”
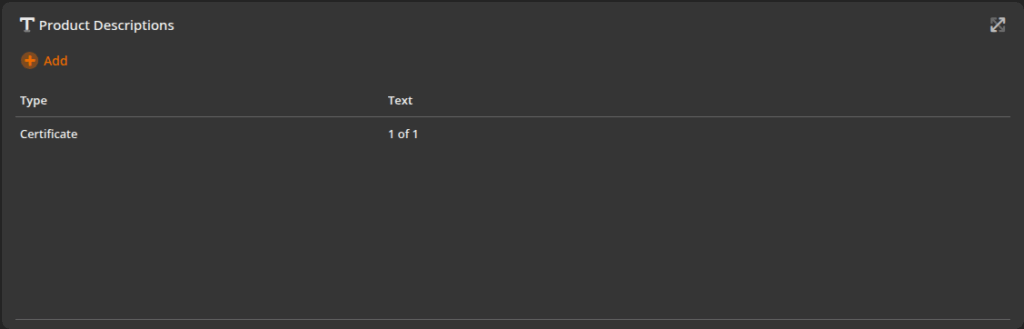
- Certificate – FEC, FDA approval (milk has these a lot of times), or other sign of approval – use the function “Product Description Certificate”
- Description – use the function “Product Description Description”
- Information URL
- Ingredients – create a button with the function “Product Description Ingredients”
- Label Text – once added, this will automatically be included on your labels printed for this product
- Manual – use the function “Product Description Manual“
- Manufacturer
- Nutritional value – list calories, fat, cholesterol, etc. per serving – use the function “Product Description Nutritional Value”
- Order Text – this will print on your production receipt
- Receipt Text – automatically replaces product name on the receipt
- Recipe – You can list the necessary steps to cook a product – create a button with the function “Product Description Recipe“
- Warranty Text – Automatically prints warranty terms on customer receipt
You can use any of these free info text fields for a different purpose if your desired purpose is not listed.
Configuration:
To use these descriptions at the POS, you will need to add a button for the specific description. The button type will be Function, and all the functions begin with “Product Description …”. Select whichever one you plan on using. Once you press the button at the POS, it will automatically print what you have in the product for that field.
Note
If you do not want it to automatically print, add the function “Enable Print Preview” before the Product Description function. This will show you what would print, and you will have the option to print it or go back to the previous screen.
You can find a full guide for creating POS buttons here: Create POS Buttons / Button Configuration
POS:
Add a product to the transaction. Go to the menu where you added your new button and select it. Either a receipt will print out with the description that you added in the Edit Product screen or you will be taken to a Print Preview screen where you can view the description.