
External System Calls are functions that allow KORONA POS to execute certain functions outside the scope of the software. You can have KORONA POS call a website or third-party appointment booking site or utilize a loyalty program with its own API.
For information about setting up your API with KORONA, please visit our KORONA POS Client API manual page.
Creating External System Calls
Begin by navigating to Settings > External System Calls. Once on the screen, click the +New button to create an External System Call.
Types of External Calls
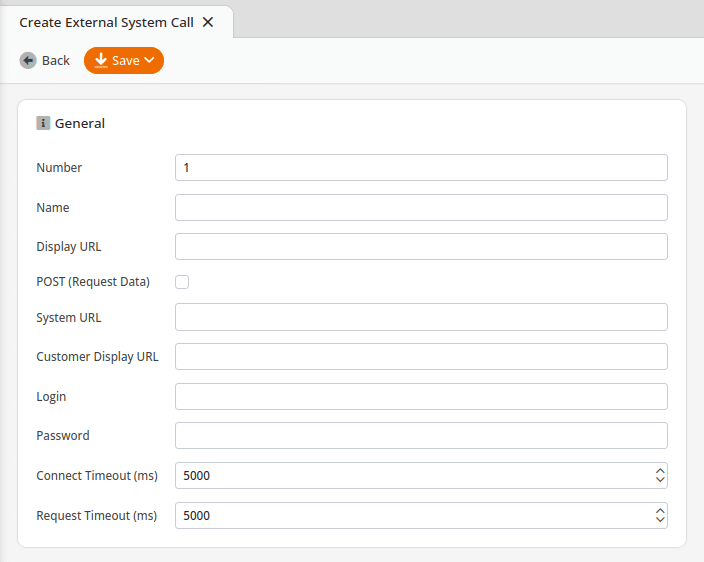
On this External System Call screen, you will have the following options to create your system call:
- Number: The unique number for your system call
- Name: The name for your system call
- Display URL: The URL will be loaded in the POS web browser
- POST (Request Data): This allows you to choose if the request data should be transferred by HTTP-POST (JSON) to display-URL. Otherwise, it will perform just an HTTP-GET-request without any request-data.
- System URL: This is a call made by the POS without opening a web browser and is used for API calls. For more information, please visit our API manual page.
- Customer Display URL: This would be used if a call is intended to display results on the Customer Display instead of the main Cashier Facing Display.
- Login: Sets the optional login for the HTML authentication
- Password: Sets the optional password for the HTML authentication
- Connect Timeout (ms): Sets the optional connection timeout for the system URL in milliseconds
- Request Timeout (ms): Sets the optional read timeout for the system URL in milliseconds
Create your system call by naming it and setting the proper parameters.
Once you have configured your system call, click the Save button at the top of the screen.
*Note: The create method can be used, among other things, for voucher creation in third-party systems via API. The voucher can be posted normally and is automatically activated when the document is closed and printed by the confirmation.
Adding the Function to the POS Terminal
Now, you must add the function to the point of sale. Alternatively, you can use the POS Profile if you need this to happen at a certain point in the transaction. For this example, we will be calling the function at the terminal.
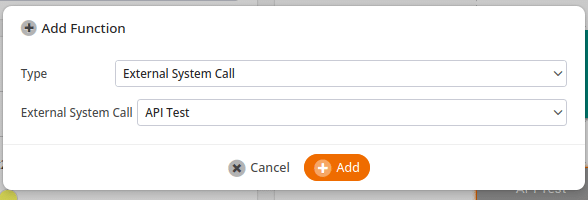
Go to the Button Configurations screen by navigating to Settings > Button Configurations. Select the button layout that you wish to add the button to. Right-click an empty square and select “Select External System Call.” The Type should already be selected for you.
From the following drop-down menu, choose the External System Call you created and click Add. Once you have finished adding the button, click the Save button at the top of the screen.
For detailed information on creating buttons for the POS Terminal, please visit our Create POS Buttons / Button Configuration manual page.
Use at the Terminal
Go to the screen where you have your button assigned and select it. If you have set up everything properly, KORONA POS will pull up the webpage or file. In the below example, we have the KORONA.pos Client API open:

Using External System Calls and Template Products
Going to Settings > POS Profiles allows you to change the behavior of the POS when an unknown product code is scanned. Found in the Product section, you will change the setting labeled Behavior during unknown product and change it to Open External System Call.

Using the “External System Call” option will allow KORONA to reach out to an external destination to query details about the Product Code that was scanned.
That external site can be configured to look through a list of available products from its own data source and pull that relevant information into KORONA. The external site would have to be custom developed to interact with the KORONA.pos Client API.
The External System Call should point to the correct call for that data source/website.
The Template Product exists to fill in data specific to KORONA that will probably not be pulled from an external site. Examples include commodity group, sector, tracking inventory, etc.