
Configuring your PAX Credit Card Terminal:
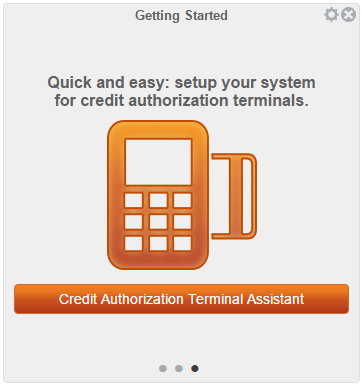
The easiest way to set up your credit card terminal is to use the Credit Authorization Terminal Assistant, a wizard located in the Getting Started box on your Dashboard in KORONA Studio.
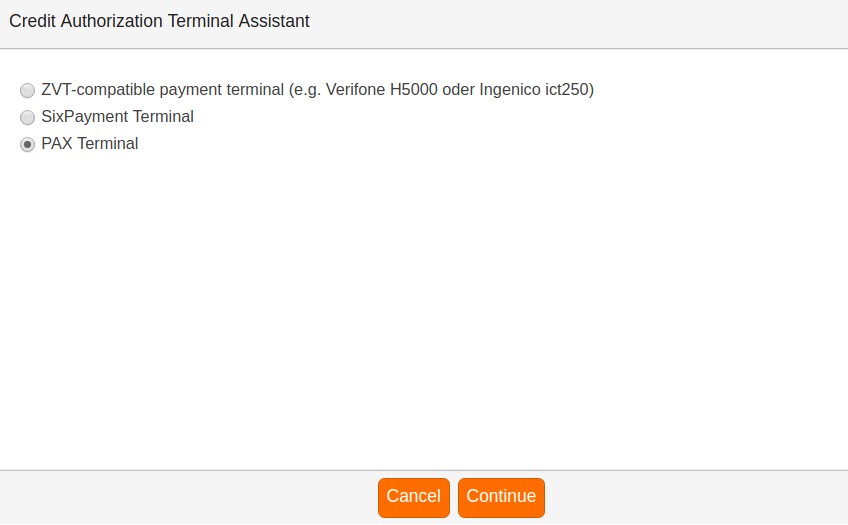
Step 1: Choose your terminal type. In this case, choose PAX Terminal, and then click Continue.
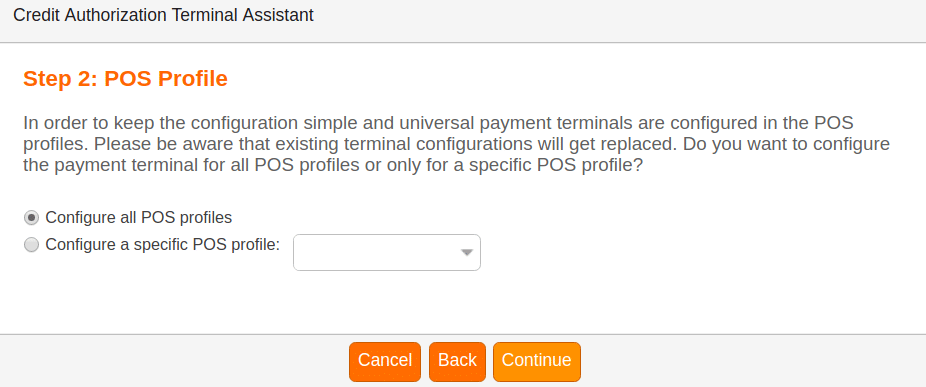
Step 2: Choose the POS Profile you’d like to apply the credit terminal to. The credit terminal will stay linked to a specific POS Profile and not a POS itself.
You can choose to use all POS Profiles or a specific one.
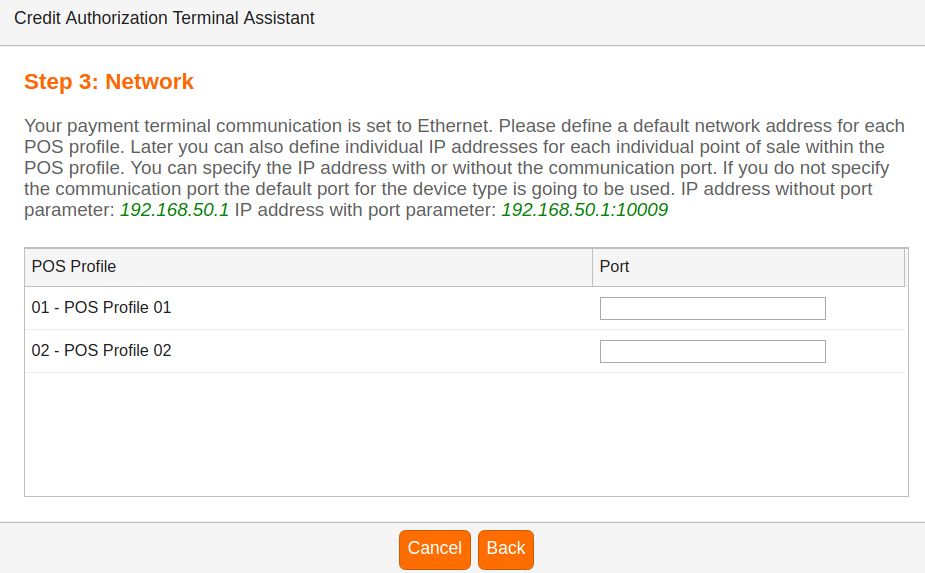
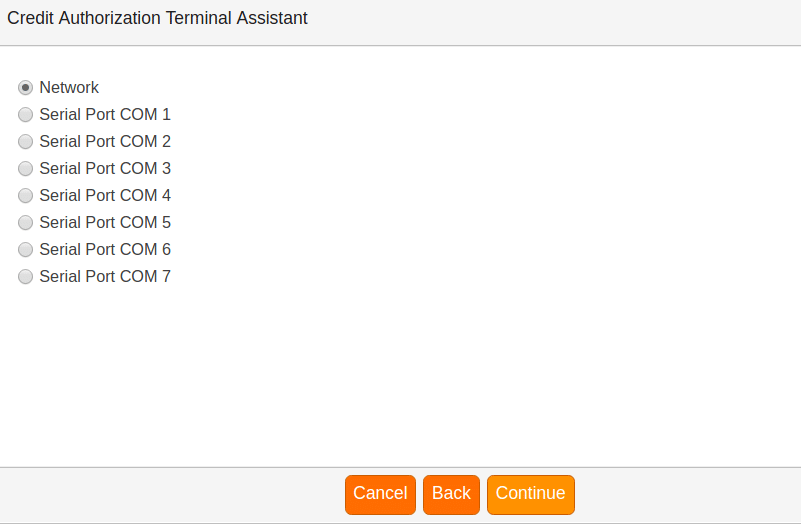
Step 3: Choose your connection type. In our case, we will choose Network. Next, enter the credit terminal IP address into the Port field and click Continue.
To find the IP address of your credit terminal, first, make sure it is connected to the same network as your POS terminals. Next, power the device on and hit Menu.
The credit terminal will then ask for a password. The password varies by device and can be obtained from the company through which you obtained the device. After entering the password, touch the down arrow until you see Communication and select. It will ask for the password again. Enter it and touch the down arrow again until you see LAN Parameters and select.
Next, select IP Address. The credit terminal will display its IP address. This will be a 12-digit number, each set of three numbers separated by a period. Eliminate all leading ZEROs from this number (leaving a single ZERO if necessary) and enter it into the Port Parameter area as described above. EXAMPLE: If your credit terminal displays 010.001.000.247, enter 10.1.0.247 into the Port section.
Step 4: This will only prompt for certain payment terminal types as they may need additional settings.
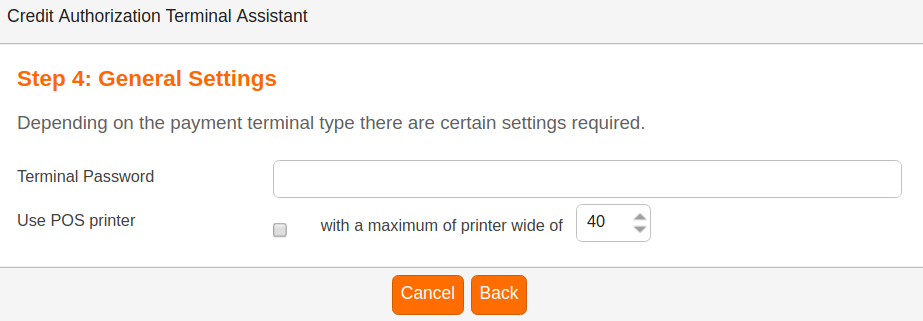
Enter a terminal Password, define if you will be using a POS printer, and choose the maximum printer width. Click Continue.
Finally, click Save and then Close.
