
KORONA POS allows you to create and assign price groups. This is great for having separate prices for different customers as well as different stores.
Creating Price Groups in the Back Office
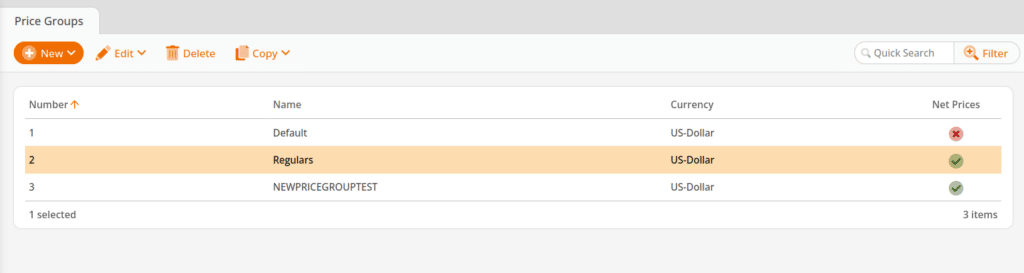
Go to the Price Groups screen by navigating to Sales > Price Groups.
Once you are at this screen, click on the +New button to be taken to the Create Price Group screen.
Here you can give your new price group a name and a number. You can also determine what currency you would like to use with that group, as well as set the net price. This is when you need to use VAT prices, but still would like to manage their prices as net prices in the back office. The POS will then calculate line item prices that include the tax.
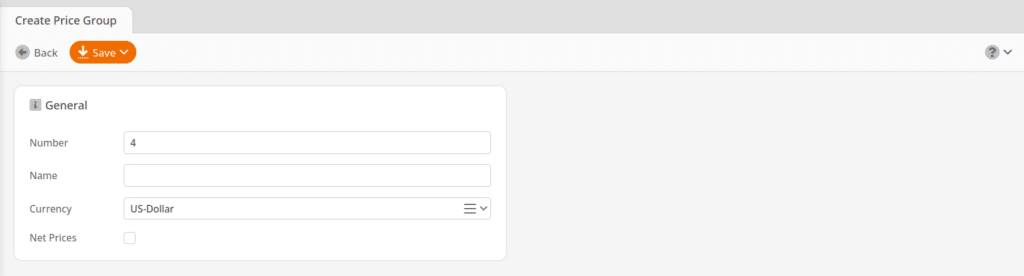
When you have finished creating your price group, you will need to save it. Do so by clicking the Save button at the top of the screen.
If you have not done so already, you will need to have a customer group ready that you wish to assign the price group to. For more information on how to create a customer group, see the customer group creation manual page
Assigning Price Groups to Customer Groups
Go to the Customer Groups screen by navigating to Settings > Customer Groups. Once you are on that screen, you will need to select the customer group you wish to assign the price group to, or you can create a new one.
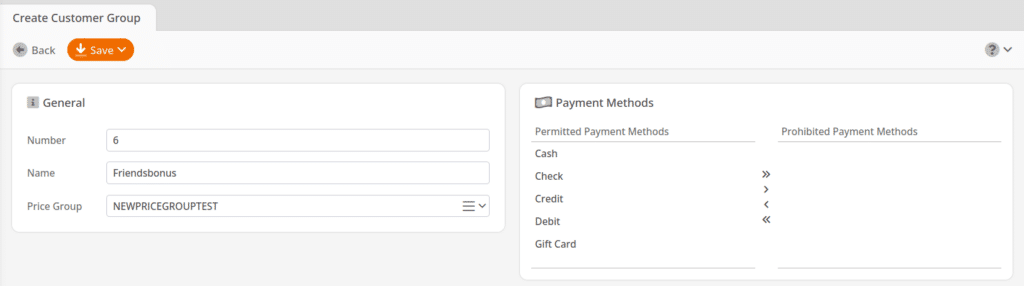
Once you have selected the customer group that you wish to edit, assign it to your price group by selecting the price group from the drop-down menu.
Once you have assigned a price group to the customer group, save your changes by clicking on the Save button at the top of the screen.
If you have not done so already, you will need to have the organizational unit ready to which you wish to assign the price group. For more information on how to create an organizational unit, see the organizational manual creation manual page.
Assigning Price Groups to Organizational Units
Navigate to Settings > Organizational Units to access the organizational units screen. Once there, select the organizational unit to which you wish to assign the price group.
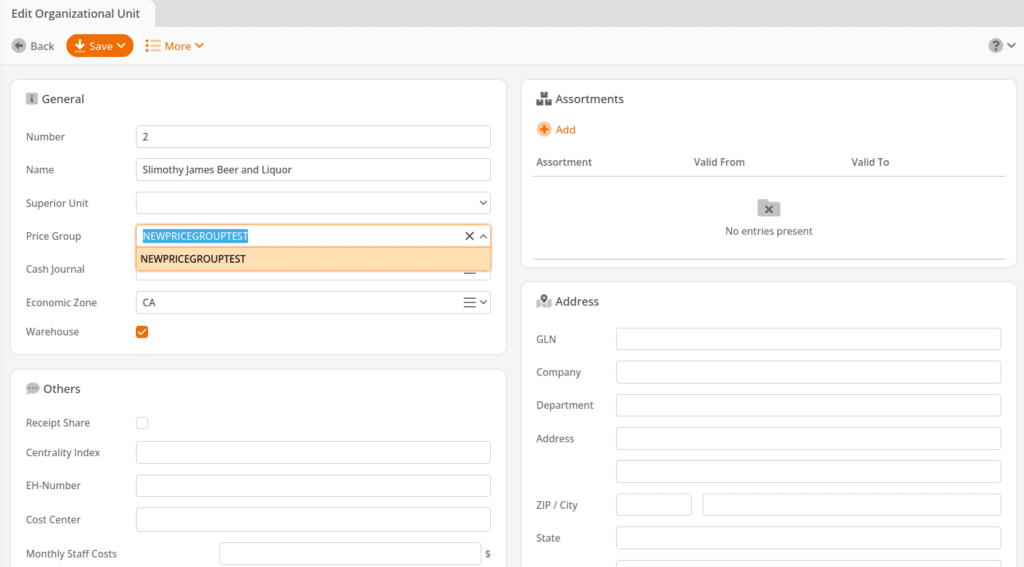
Once you have selected the organizational unit that you wish to edit, select the price group you wish to add selecting it from the price group drop-down menu.
Once you have assigned a price group to the unit, save your changes by clicking on the Save button at the top of the screen.
You can also assign prices to an organizational unit by editing the product’s store price. For detailed information on setting store prices, please visit our Store Prices manual page.
Setting Prices in a New Price Group
Now that the price group has been added to the Store and Customer groups (as needed), you will need to add the price for that price group to the product.
Navigate to the products screen by going to Inventory > Products. From there, select the product you wish to edit.
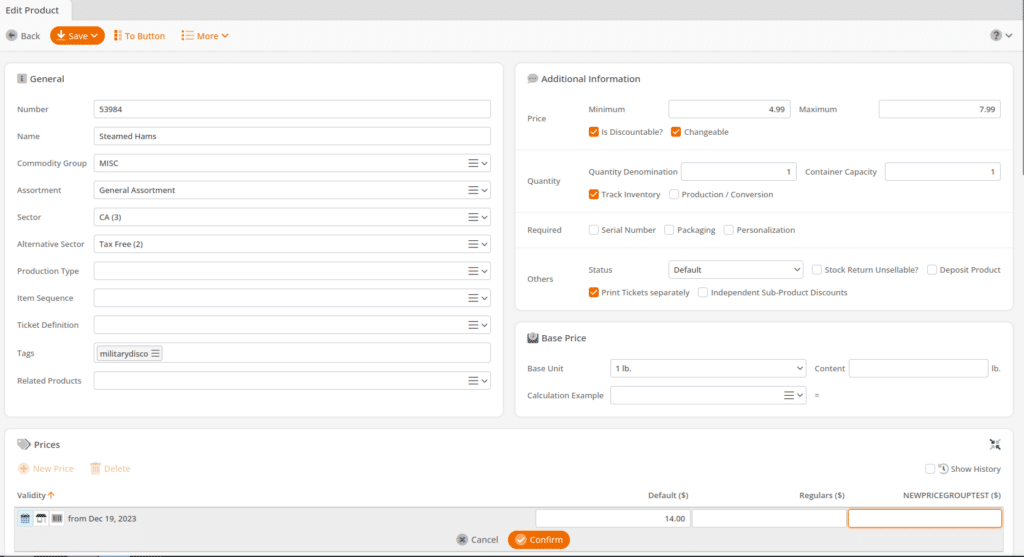
When you have selected your product, you will notice the newly created price field. In this field, you can set the price you want that price group to pay for that product. This is also based on the settings you have defined in the earlier sections of the setup process. When you set your price, you will need to save the changes to your product. Do so by clicking the save button at the top of the screen.
Limiting Users to a Specific Price Group
If you have multiple locations, you may want to limit users from one location from editing the prices of another location.
To limit the ability for a user to edit a price group, you will need to set up these 3 settings:
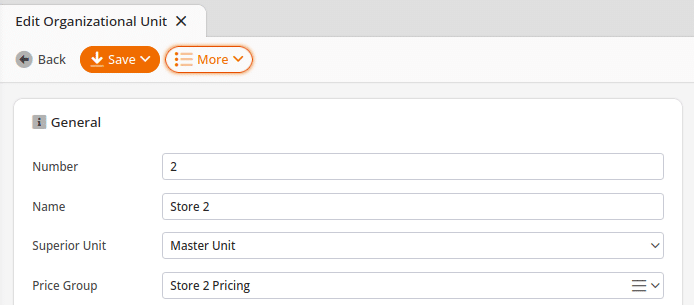
- Go to Settings > Organizational Units. Edit the organizational unit you wish to have its own price group. Make sure this price group is only used for this specific organizational unit. You can see below we have selected the price group “Store 2 Pricing” for Store 2

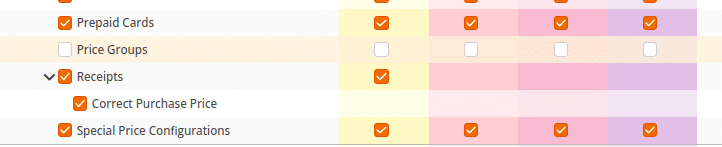
- Edit the User Role for the user, and remove their ability to modify Price Groups

- Limit the user to that specific organizational unit in Employees > Users

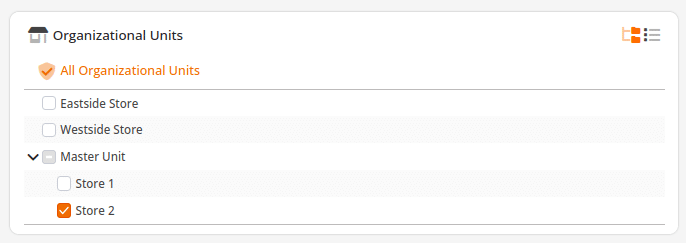
After that is complete, the user will be limited to only seeing the prices for Store 2.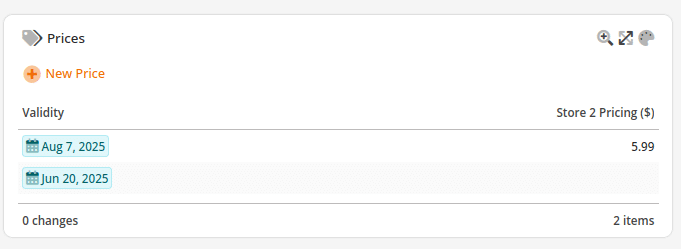
Automatic Price Adjustment (KORONA POS Plus)
Navigate to Sales> Assortments. If this option is activated, a minimum margin and a price pattern can be defined for each price group, such as a 50% margin and all products must end in .99. When the margin is changed, for example when a Stock Receipt is posted, a price is automatically added if it falls below the minimum margin set on the Assortment page.
This feature makes it easier to manage and ensure appropriate margins for each assortment by automatically making price adjustments to ensure the defined minimum margin.
*This feature is only available with the KORONA POS Plus package
*Note: Remember, you will need to "Retrieve Master Data" any POS that this price group applies to. Also - the Point of Sale has a default Customer Group assigned to it. Customer Groups have a Price Group assigned to them. If the POS default Customer Group has been changed, and has a different Price Group, it won't use the left-most price that we consider the default price in a product.