
This allows for a POS Balance from KORONA Studio. It is typically used when running a 24-hour business with no time for the POS to be turned off or when you want the cash counting to be done in a secure area. These statements may be found under Sales >Balance Statements.
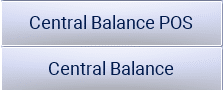
To perform a Central Balance for a cashier or Central Balance POS, the button functions must first be created. For more about creating buttons, please visit our Create POS Buttons / Button Configuration manual page.
Once you have done so at the POS, if you would like to balance for an individual cashier, you will need to use the Central Balance button function. To balance the entire point of sale and take into account all employees, simply use the Central Balance POS button functions.
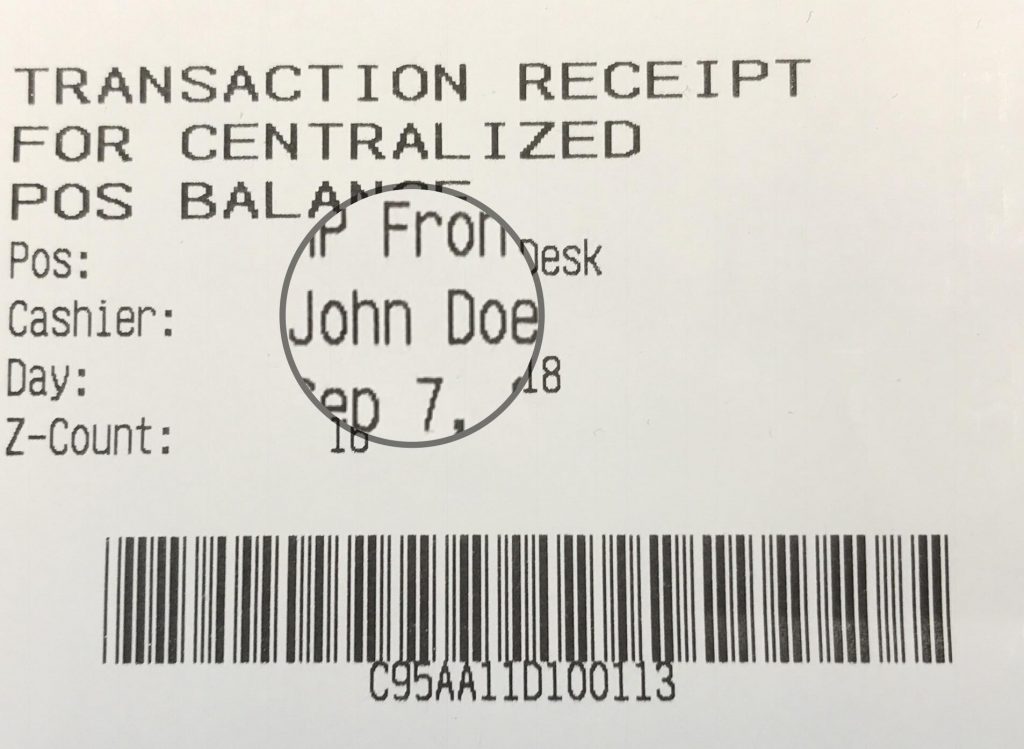
Once the button is pressed, the system will automatically log you out and a small receipt will print.
As KORONA POS has a few different cloud instances, you will need to look at the address of the backend website at the top of your browser.
The first few numbers will either be 167, 185, or 420.
Depending on which cloud you are on on your PC browser, you will need to navigate to:
- https://167.koronacloud.com/web/CPBTWeb.html
- or https://185.koronacloud.com/web/CPBTWeb.html
- or https://420.koronacloud.com/web/CPBTWeb.html
Note
As this is balanced in the cloud and does not communicate back to the POS, this balance will not be reflected on the POS end-of-day statement.
You will then need to scan or type in the Receipt Barcode Number and Login Code.
Once logged in, you will automatically be directed to that specific POS balance where you may enter in an actual Amount and Comment.
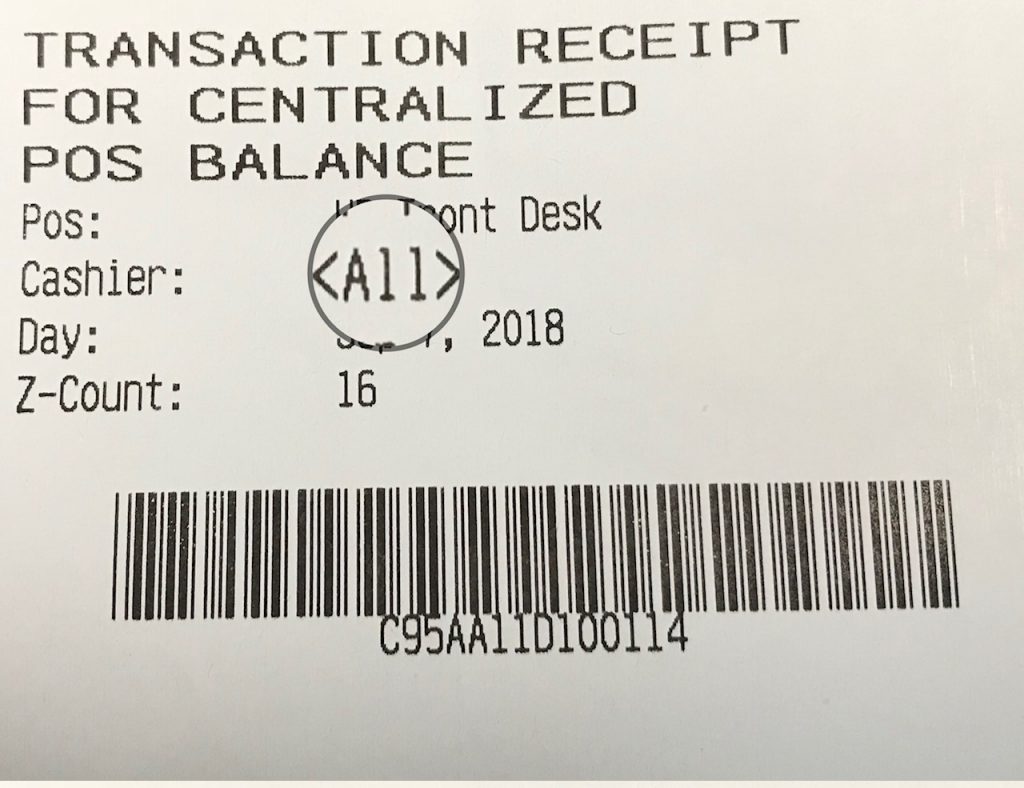
If the receipt is a Central Balance POS Receipt, an indication of <All> will appear next to the Cashier field. Once it is finalized, the expected amount, along with the actual amount, will appear.
If the receipt is a Central Balance Receipt, only that employee’s name will be listed on the receipt. (Please see the picture above).
You may then Print any finalized statements. The statement will print with the Payment Methods Used, Expected Cash Amount, Actual Cash Amount, and Balance/Difference. A field for the cashier’s signature and a signature of the person in charge will be listed at the bottom.
Once done, simply click on the Logout button on the upper right-hand corner.