
Now that your account has been created and activated, your next step is to set up Commodity Groups to sort your products into. This guide provides a quick tutorial on creating your first commodity groups in KORONA Studio.
What are Commodity Groups and how important are they?
Commodity Groups are a very important aspect of categorizing your products.
One of the most important aspects of Commodity Groups is that you can nest them, allowing you to create sub-commodity groups underneath each individual group. You can create as many subgroups as you wish, but remember that over-categorization can quickly complicate things.
Many retailers with large product databases set up their Commodity Group structure using Department > Category. Merchants with smaller product databases usually stick to a flat structure.
Creating Your First Commodity Group
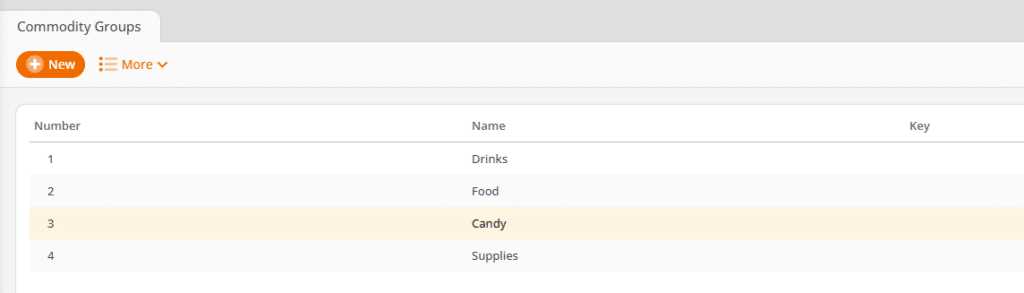
- Begin by going to the Commodity Groups page by navigating to Inventory > Commodity Groups.
- Click on the +New button to create a commodity group.
The only required setting is the Commodity Group Name. The Commodity Group Number is auto-generated but can be changed or assigned manually.
Once you have created your commodity groups, you can assign products to them when creating or editing products. Creating products is covered in the next step of this guide.
For a more detailed overview of setting up Commodity Groups and Sub-Commodity Groups structures, refer to our Commodity Group Set Up manual page.