
Now that you have your Commodity Groups created, you will need to create the products that you wish to sell. This guide will take you through the process of creating your first products.
Initial Setup for Creating Products
Create a Product
Only a few basic product settings are required to set up a new product.
- Navigate to Inventory > Products from the main menu.
- Click on +New and create a name for your product.
- Select a commodity group (department/category) for that product.
- Select the desired sector (tax category) for each product.
*Notes:

- If the desired selection just doesn't appear in the drop-down list try entering part of the name to filter the result list. Only the first 15 options will show.

- If you have to navigate to a different section you can do that in a new tab to prevent losing your current progress.  Simply, click on the desired navigation item with the right mouse button and select "Open in New Tab".
Tracking a Product
If you wish to track the inventory, order, and receive a product a few additional things must be configured.
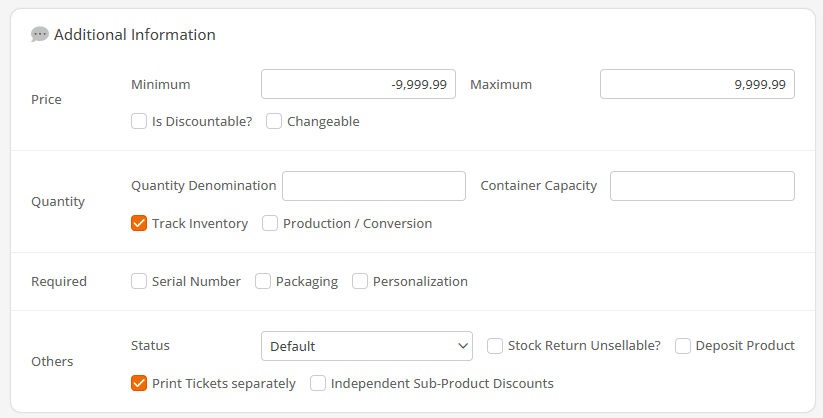
- First, make sure Track Inventory is enabled.
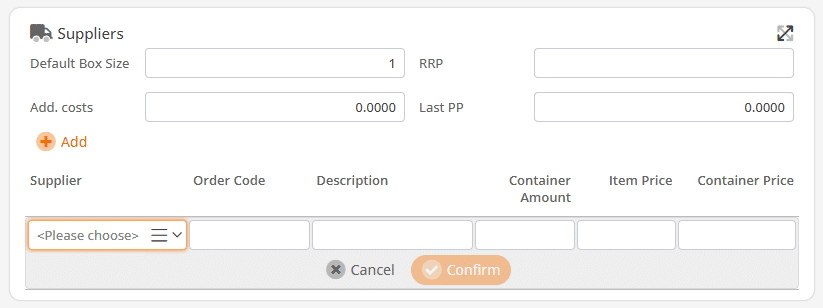
- Next, click the supplier’s box and fill in the relevant information.
More information regarding suppliers can be found here.
Several additional configuration options are worth noting. This guide will only focus on the two important things to consider while creating your first products. More detailed instructions are covered in the Creating Products page.
Product Codes
Product codes can be used as product aliases. At the POS, any of the product codes can be used to add a product item to the receipt. You have the option to define a specific item quantity with each product code. This is especially useful if you sell an item as a single item and by case.

Price
The price section allows you to set prices for the product by date or product code. If the product has no prices configured, the point of sale will handle items as open items. This means that the Point of Sale will require the cashier to enter the item price each time the item is sold.
- To add a new price, select Add Price.
- You will have an option to set a price by date, or by product code.
- Setting a Price by Product Code, will only apply that price to the specifically selected Product Code.
- Applying a Price by Date would always be the price for all product codes, unless a specific product code is configured to have a price otherwise.
- If you would like to schedule the price change in advance, select a future date and the point of sale will start applying the new price at the set date.

For more in-depth information on creating products, please refer to our Creating Products page.