
Create Supplier
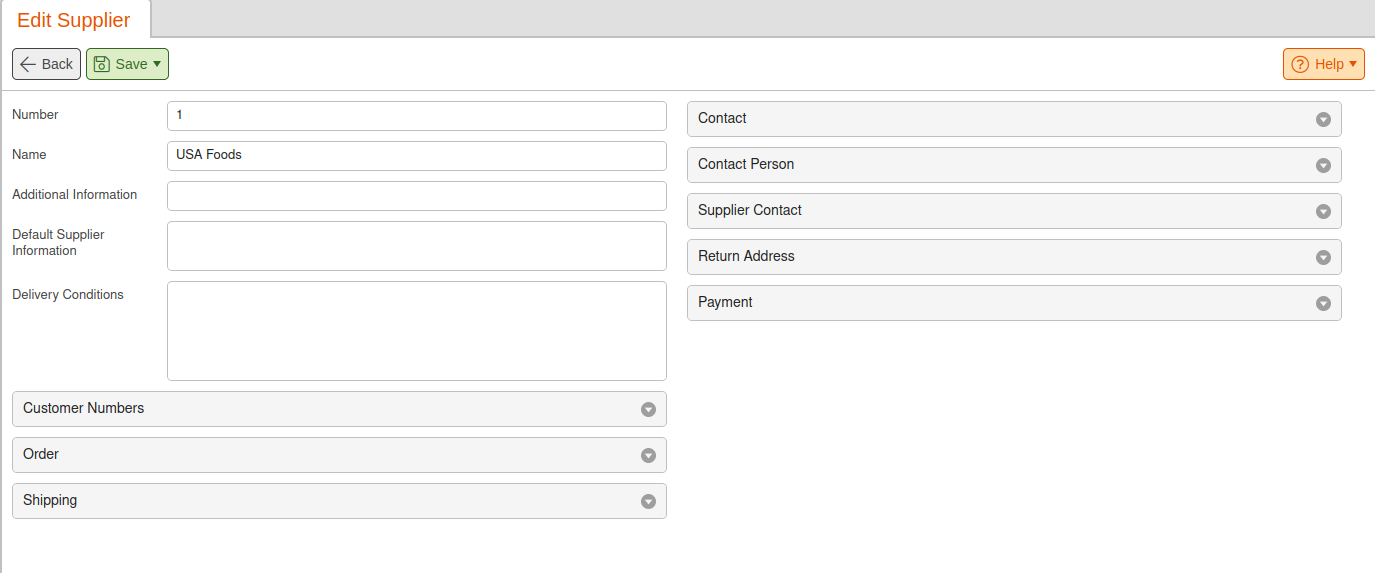
To create a supplier navigate to Inventory > Suppliers. Click on +New and the create supplier page will launch. The number field self-generates but you can manually change it. Name the supplier and add any additional supplier information you may need, and then once you are done click Save.
*Note: On the supplier you can now enter the delivery conditions. This information is displayed in the stock order so that you are always informed at the crucial moment.
Applying Supplier to Products

To apply a supplier to a product simply navigate to Inventory > Products.
On the Edit Product page scroll down to the suppliers’ tab and click +Add select the supplier associated with that product. There are a few more helpful tabs that can be filled out in this section as well.
Default Box size: the amount in which the container carries
RRP: the manufacturer’s suggested retail price or also known as the MSRP.
Add Costs: any additional costs that might be associated with this supplier
Last PP: Last known Purchase Price
Once you are done filling in all the necessary information click on Save.
*Note: A product can have more than one supplier.
Advanced Filters
Customer Numbers

The customer number is the account number assigned to you by your supplier once you open an account with them.
Order
Master Product: Main Product Order from the supplier.
Order Portal Address: Web address for supplier order portal. This is very useful when using the Instant Order Portal.
Deposit Product: Automatic deposit system for disposable and reusable containers.
Automatically update supplier item prices: Click on the Check box if you wish to have the supplier item prices update automatically.
Order Interface: You have 2 options
Precasted(PDF-File)- importing a PDF file
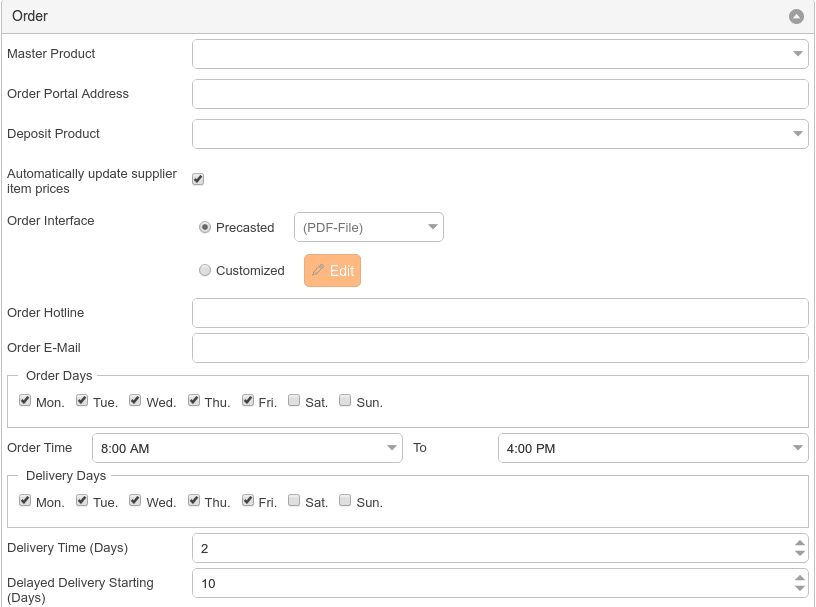
Customized- You have the option to create your own. If you want to choose this click on the Edit button. The Edit Order Interface window will launch. Select the type of document that you would like for it to be. Enter in a Header, Body, and Footer, and then click verify. A verification page should appear to choose your Stock Order that is associated with this Interface. Make sure the format of the document is appropriate or it will not work.
Order Hotline: Phone number associated with placing an order.
Order E-Mail: Email address associated with the supplier.
Order Days: Days the order would be entered on.
Order Time: The time range of day when you can place the order.
Delivery Days: days your order will be delivered by.
Delivery Time (Days): Expected delivery days.
Delayed Delivery Starting (Days): Pushes the start of delivery for however many days chosen.
Shipping
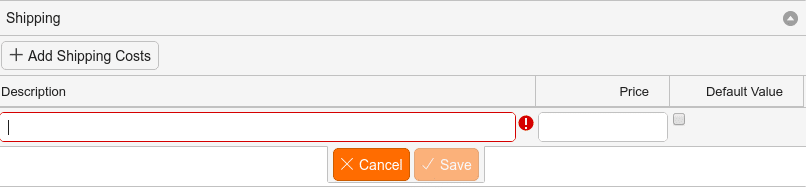
Any associated shipping cost with the supplier should be entered here as well as any other forms of shipping and costs for that supplier.
Payment
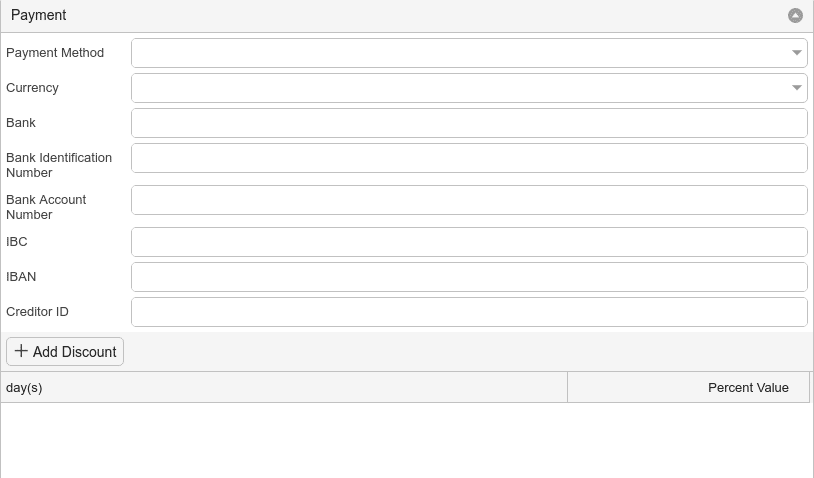
Payment Method: Select your payment method from the drop-down.
Currency: Choose your currency if the currency you would like to use is not in the drop down you will need to create a new. Please refer to our Currencies Manual Page.
Bank, Bank Identification Number, Bank Account Number, IBC- International Bank of Commerce, IBAN- International Bank Account Number.
*Note: In the event that the QuickBooks integration is used, the payment method chosen will impact how stock receipts are imported into QuickBooks.