The Dashboard is the default screen you load into when you first sign into KORONA Studio.
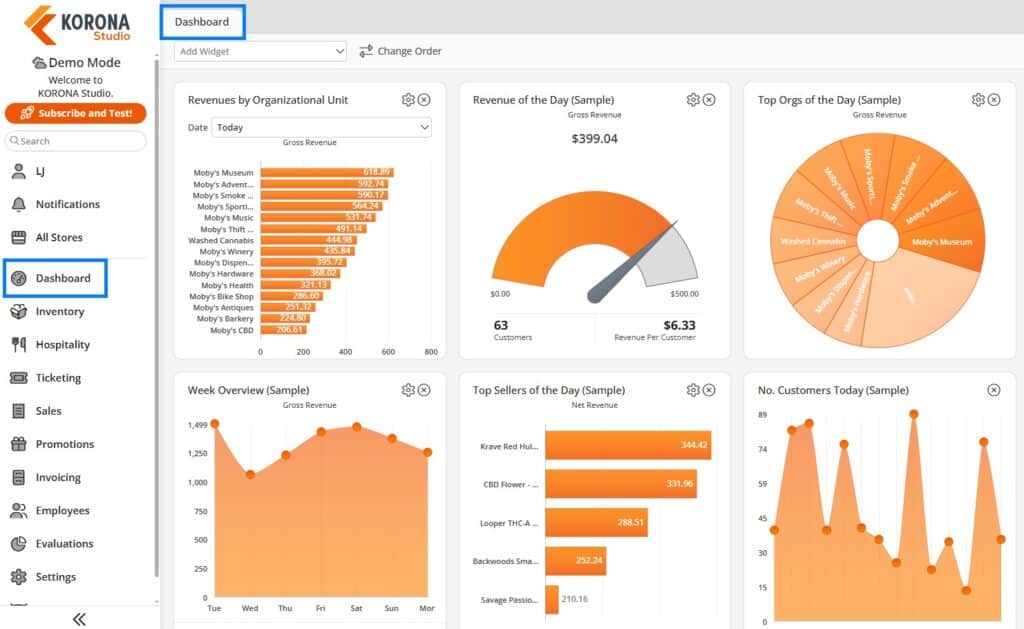
The Dashboard has data windows called “widgets” that can be enabled/disabled based on business needs. These are just snapshots of various data fields for the business that can be quickly reviewed.
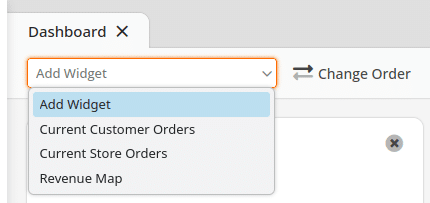
Widgets can be added to the Dashboard by using the drop-down menu in the top left.
Widgets can be removed from the Dashboard by pressing the X button at the top right of each widget.
The position of widgets can be changed by pressing the Change Order button at the top left. This allows you to set which order the widget shows up in. For example, setting the widget to 1 would make it the first widget in the list.
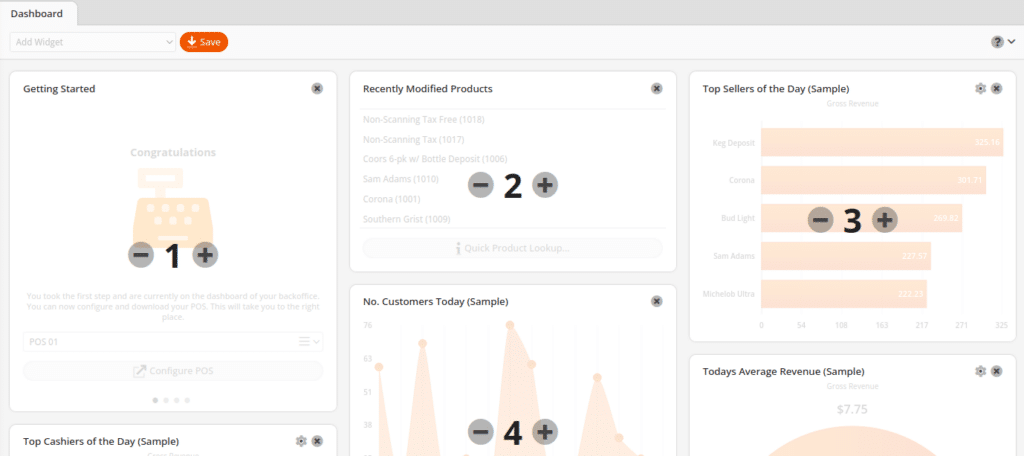
Most Used Widgets
Getting Started
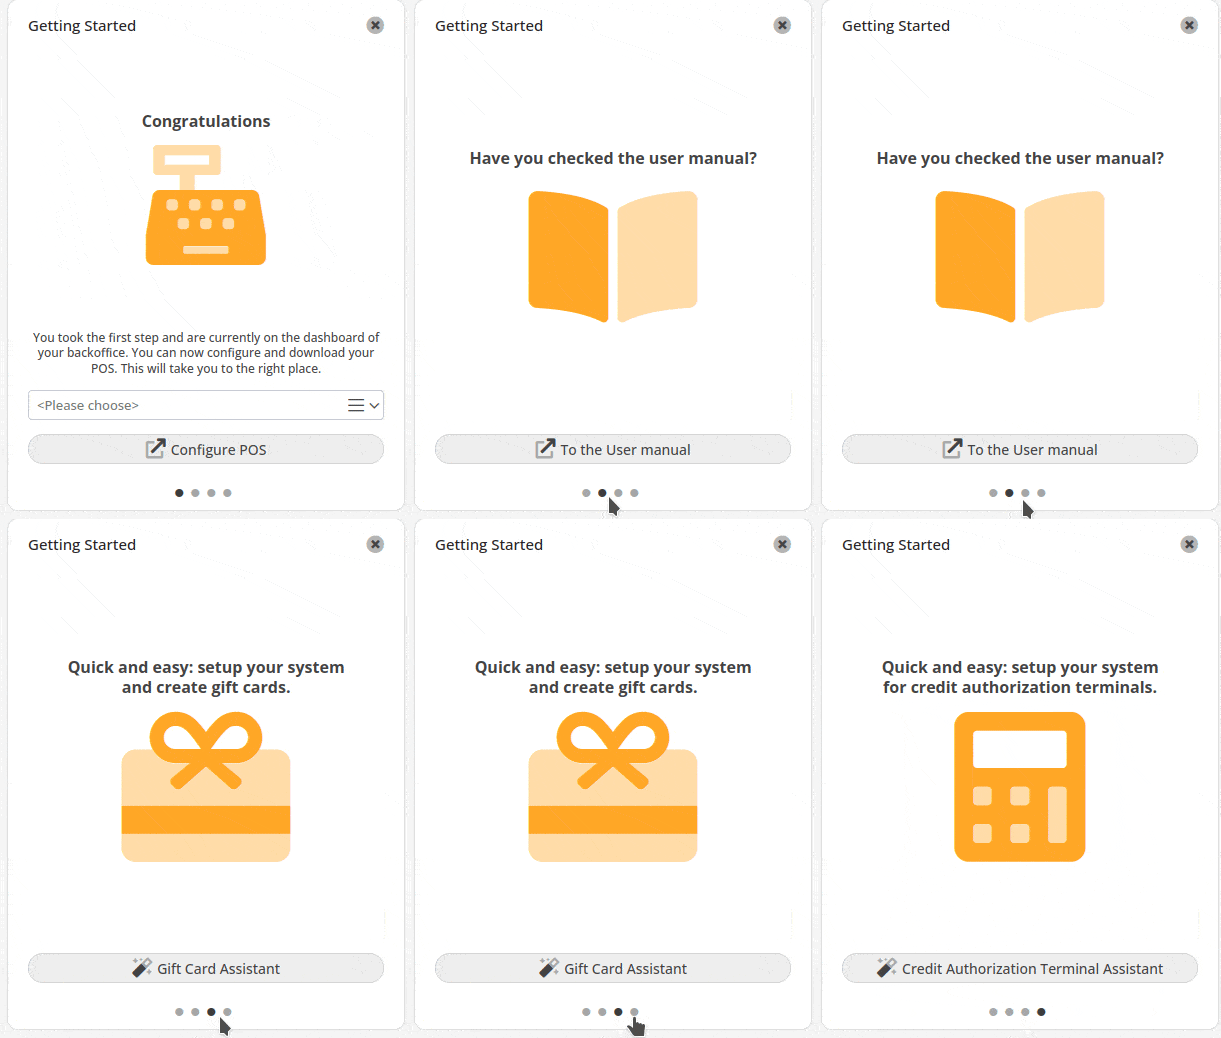
The first widget we see is Getting Started. This is a quick look field with 4 options:
- Option 1: Configure POS – if it’s your first time setting up the POS on a Windows PC, you can assign the available POS license from <Please choose> and then Configure POS to take you to the download page.
- Option 2: A quick link to our user manual
- Option 3: A link to the quick tool for Gift Card setup
- Option 4: A link to the quick setup for your Credit Card Terminal
Recently Modified Products
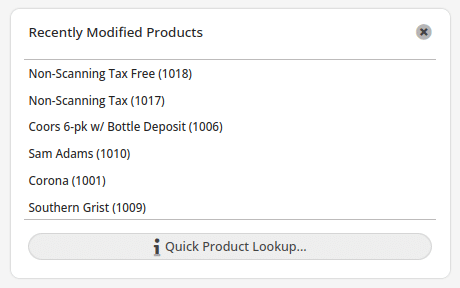
This is a quick way to see any products that have been edited most recently. You can also press the “Quick Product Lookup…” to quickly scan a product and see information such as stock and price
Today’s Average Revenue
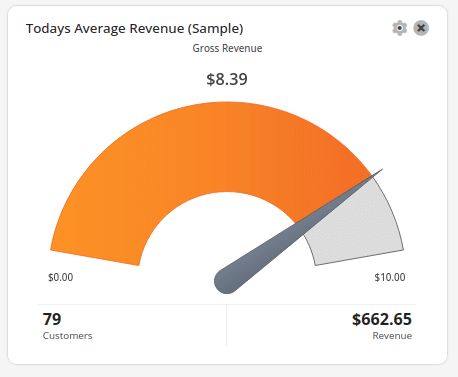
Quickly see the revenue for all locations. You can also modify it to be Net Revenue, or set a target goal.
Short Stocks
Shows you if any products are low in stock. Pressing the Show details button will take you to the short stocks page, where you can create stock orders.
Other Widgets
To learn more about what other widgets are available, read this manual page.