
This page will help you set up locations where different languages need to be presented on the POS or on Receipt texts. You must create a Dialect/Language as the first step before the other options become available.
Creating the Language
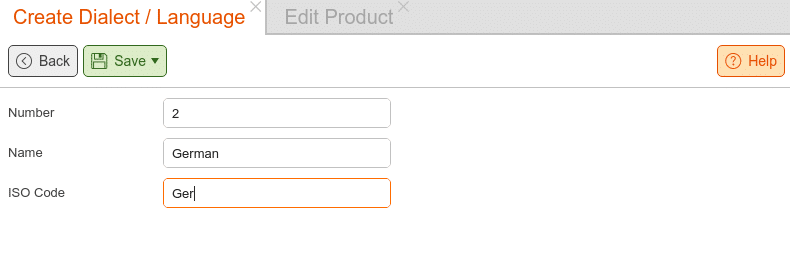
To set up the different languages, you will need to attach the language to a product and also to a specific point of sale. Begin by navigating to Settings > Dialects/ Languages. Once there, click on +New. Give the language a Name and put in the ISO Code for that language. This code can be anything you wish, as it does not determine anything and is used for notation.
Applying Language to POS Settings
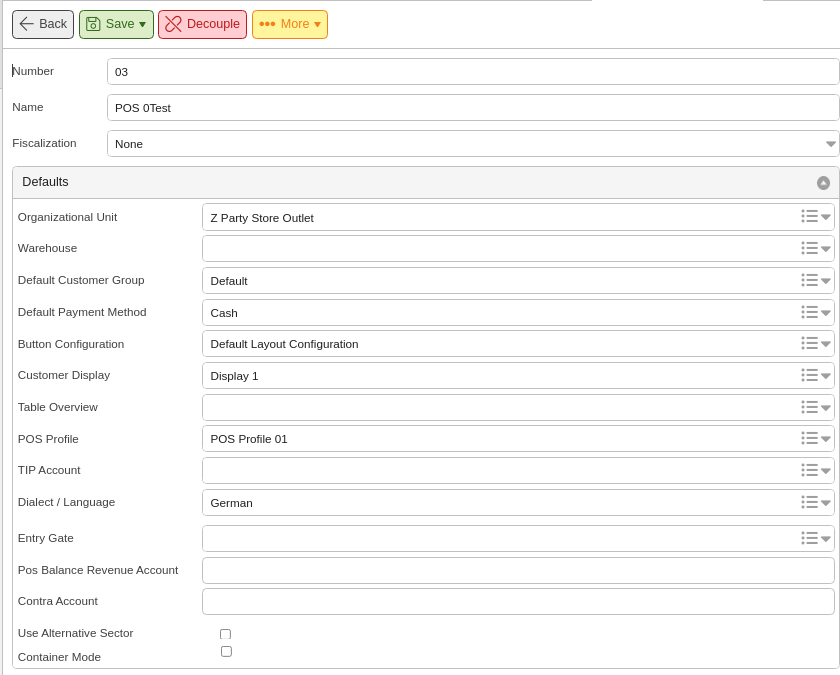
Once finished, click Save. Now, navigate to Sales > Point of sale. Under the Dialect /Language, select the Dialect/language you have just created and click save.
Applying Language to Products
You will need to apply the language to the products as well. Navigate to Inventory > Products.
On the Edit Product page, you will need to add the language in the Product Description box in the bottom left corner. Click on +Add New Text and select the Type of text it will be. This will determine where the language change occurs. From the Dialog/ Language drop-down menu, select the appropriate language and add the Text below.
*Note: The system will show the text exactly how you type it here.
Once your selection has been made, do not forget to click Save.
Once you ring up the product at the POS, the language that is set for it should reflect automatically.
