
This guide will walk you through the steps of setting up your Aures Yuno POS terminal. Please follow this guide closely to avoid damaging the equipment or peripheral malfunction.
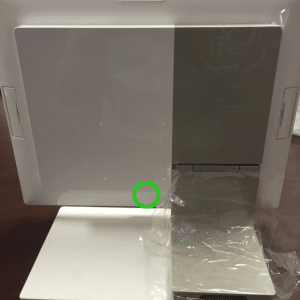
1) Remove the Back Cover
Please use the button at the bottom of the back cover to release the lock.
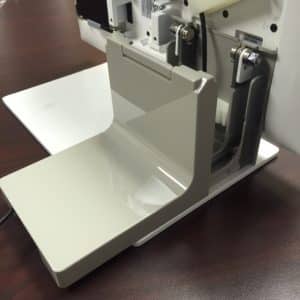
2) Remove the Cable Cover
This cover slides off to the back.
3) Plug In the Ethernet (LAN) Cable
Please plug the network cable into the “LAN” slot.
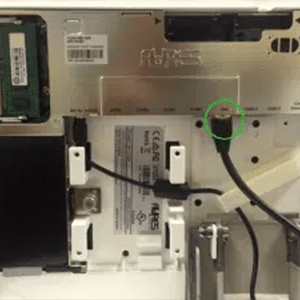
4) Plug In the Printer via USB / Cash Drawer
The USB slot is located to the right of the LAN slot. Please make sure to plug in the printer’s power cable. Also, plug your cash drawer into the back of the printer.
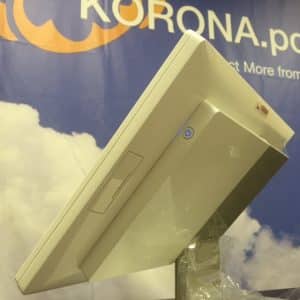
5) Connect the POS to the Power Outlet
Put the covers back on and connect the POS to a power outlet. Then press the power button. Once the POS login screen appears, you can log in using login code “1” (one).
Need Help?
Call (702) 997-7672 – Mon-Fri 9AM to 6PM Pacific Time