Connecting QuickBooks to KORONA POS
The first step in setting up your new QuickBooks connection is to go to the KORONA.appcenter, a new hub for different integrations, and sign in via your KORONA.studio account (same as your normal account login):
https://appcenter.koronacloud.com/application/37b75a0b-ac2a-445d-b660-29d4bf3bbac8
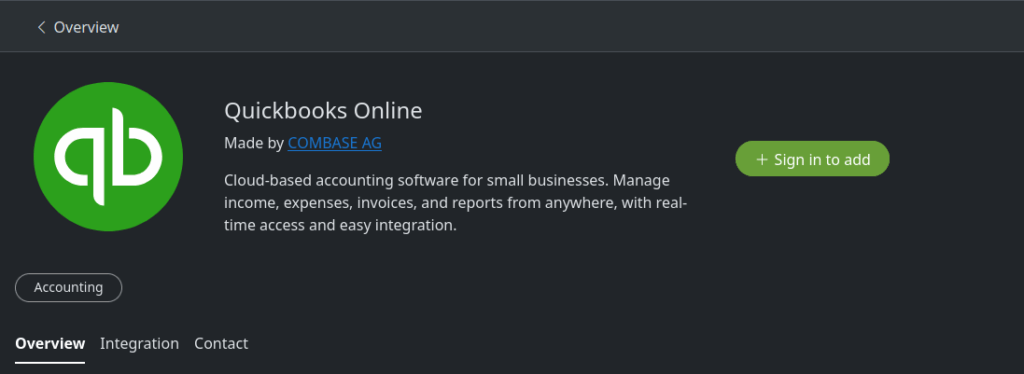
All you have to do is press “Sign in to add”, or “Add” if you are already signed in. Once it is added, the icon will change to “Subscribed”.
Now log in to KORONA.studio and your Quickbooks connection will be an option under Settings>Quickbooks Online. Click on it, and you will see the following page:

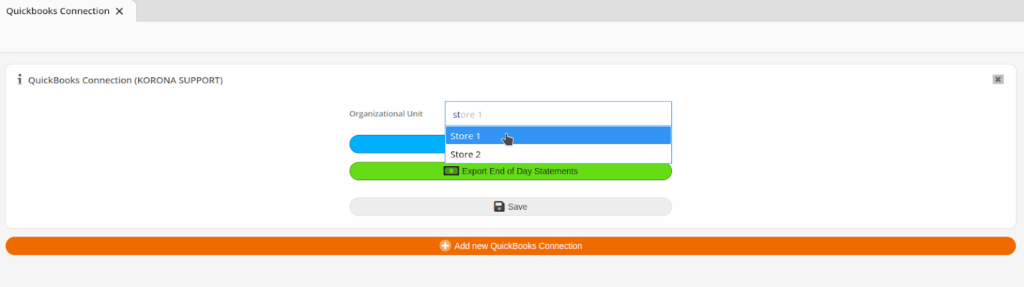
Click on Add new QuickBooks Connection and a window will pop up allowing you to log into your QuickBooks account. You may create multiple connections to QuickBooks on this page, but you cannot use the same QuickBooks account for more than one connection. After the authentication process is complete, you will see a new QuickBooks Connection panel appear.
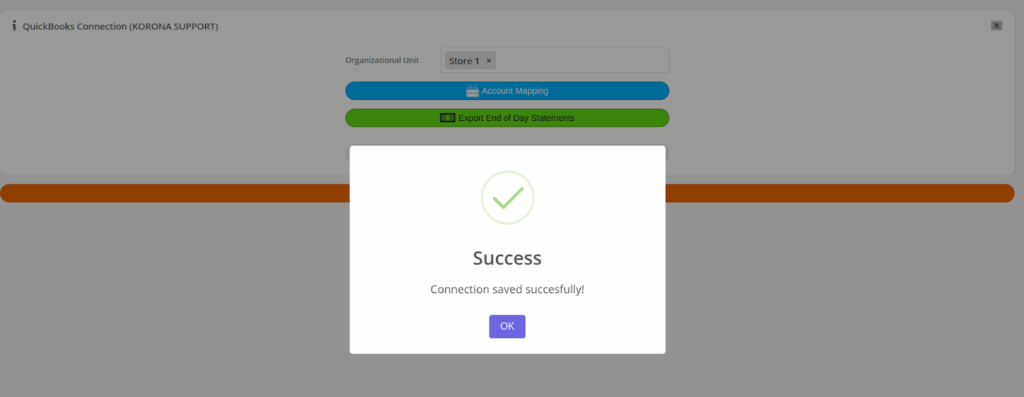
In the blank field, select the organizational unit you want to start syncing and press Save. You can use a different organizational unit later on so long as you select it and press Save as well.
Account Mapping
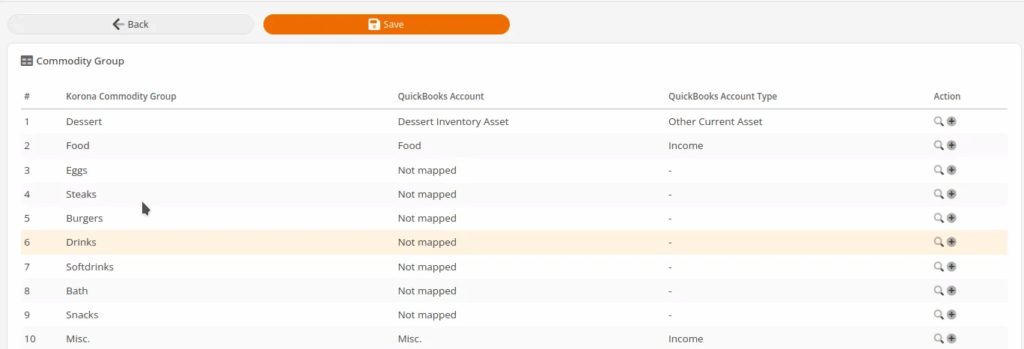
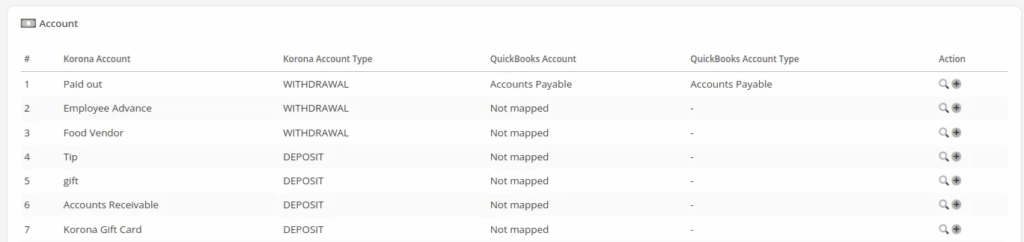
Once the connection has been saved, click Account Mapping to match each end of day statement section to their QuickBooks account. You will be taken to a page that lists your commodity groups, accounts, and payment methods. On the right-hand side, you can use the magnifying glass icon to search for the QuickBooks account related to that row. If you don’t have an existing account for that row, you can click the + icon next to the magnifying glass to create a new connection. When using the + icon, an income account will be created automatically for commodity group rows. For account and payment method rows, you must select what type of account it will be then proceed.
An example of a list of Commodity Groups and Accounts with some mapped and some un-mapped:
Creating a new QuickBooks account using the plus button:
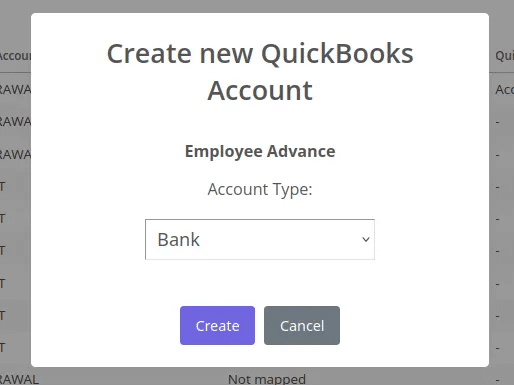
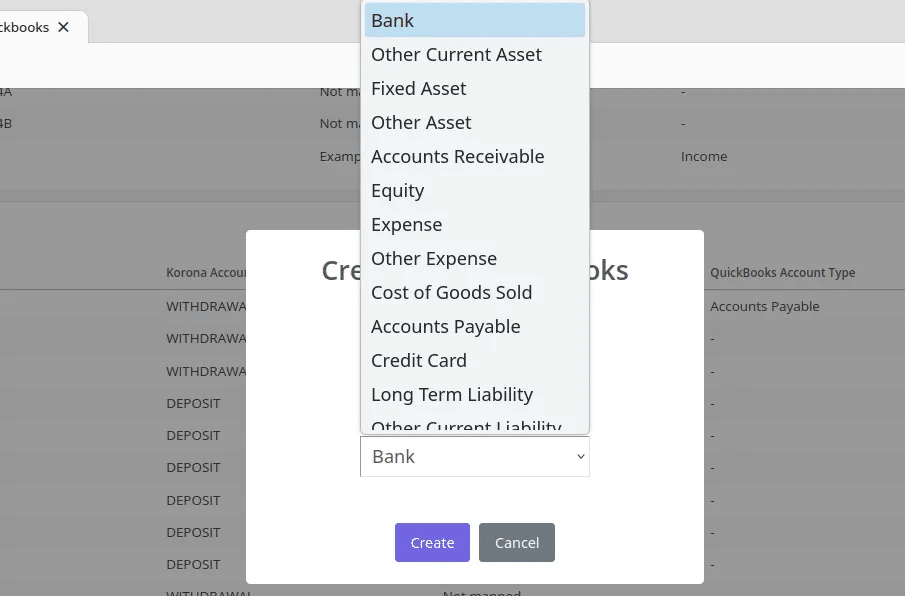
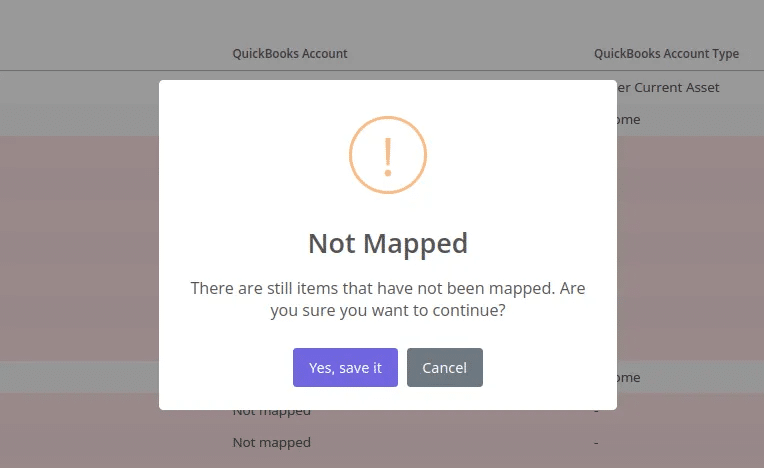
You must match an account to each row otherwise the end of day statements may not sync correctly. If you press Save while having any un-mapped lines, you will receive an error letting you know.
Exporting End of Day Statements
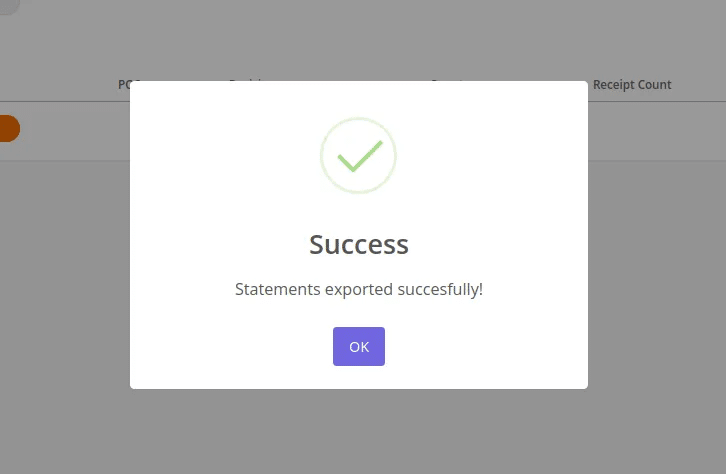
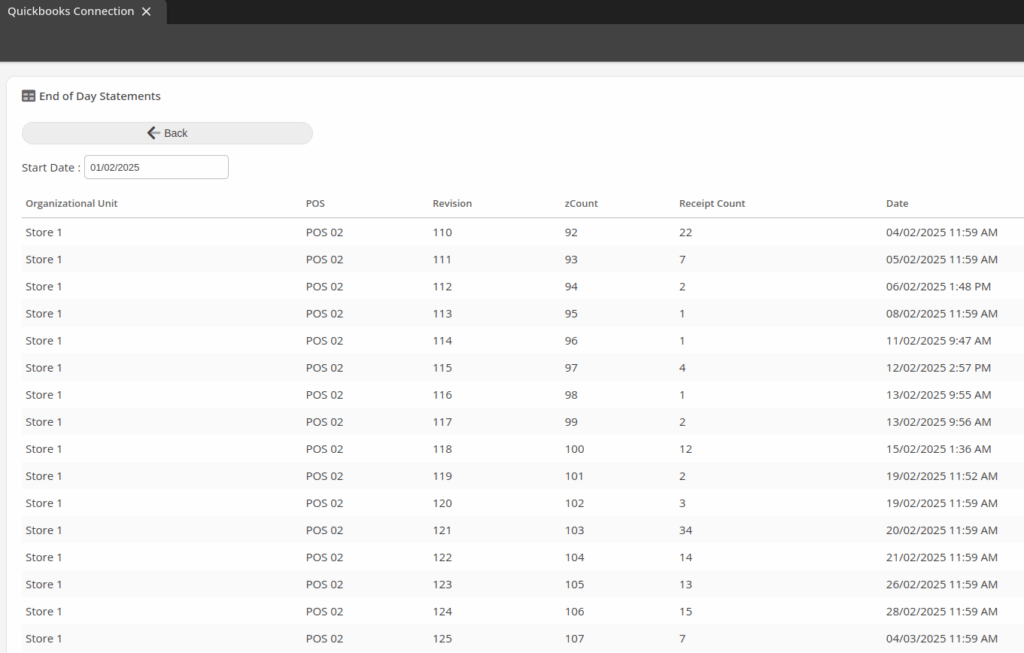
Once you are finished mapping all accounts, click Save and then press the Back button. Now, on the previous page, click Export End of Day Statements to begin syncing your end of day statements. The next page will ask you to input a Start Date from when you want to start syncing the statements over. Selecting the date will allow you to see what end of day statements have occurred since that date. Once you have the desired date, click the Export to Quickbooks button at the bottom of the page to start syncing the statements. You only need to run the export once, then the Quickbooks will run in the background and execute an end of day statement sync at 1:00AM every day.
Original Integration Setup
OLD Integration
Your KORONA software has an integration with QuickBooks Online that makes it simple to balance your books. In just a few simple steps, you can import your sales data, commodity groups, sales tax, payments, shortages, and inventory asset values. Unfortunately, it is important to note we are unable to import discount tracking with the QuickBooks integration.
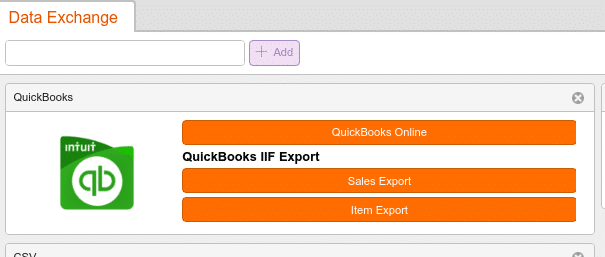
First, make sure you already have a QuickBooks Online account and log into it. Second, log into your KORONA cloud account and then navigate to Settings > Data Exchange. To enable the QuickBooks Online sync, simply type QuickBooks into the text field and click +Add.
Choose QuickBooks online, and then add a New Connection followed by Connect to QuickBooks. If you are already logged into your QuickBooks account, simply click on it, and the two will integrate. If you are not logged in, do so here, and if you have multiple QuickBooks accounts logged in, choose the appropriate one.
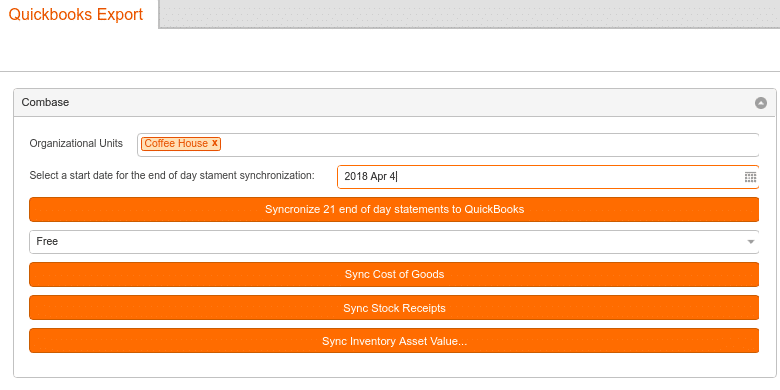
Organizational Units
At this point, you will need to choose your Organizational Units. If you don’t choose one, the system will choose all of your units. Do this by typing the name of the Organizational Unit. After you start typing, the full name will appear, and you can press the Enter key to fill in the rest.
Next, you should select a start date for syncing end of day statements. It is not recommended to go back in time for more than one week. Choose the date to which you want to sync. After the initial sync, the system will keep track of which statements have been synced already. Each subsequent sync will only sync the end of day statements that you have not yet uploaded.
Changing the Income Account
You can see your end of day statements in QuickBooks by navigating to Sales > All Sales. You will see each end of day statement listed, and by clicking on them, you can see the sales from each commodity group, the tax collected, payment types, and shortages.
You might also want to take a look at the Profit and Loss report, found under Reports > Recommended Reports. This will show you a simple breakdown of your income from your commodity groups as well as your expenses.
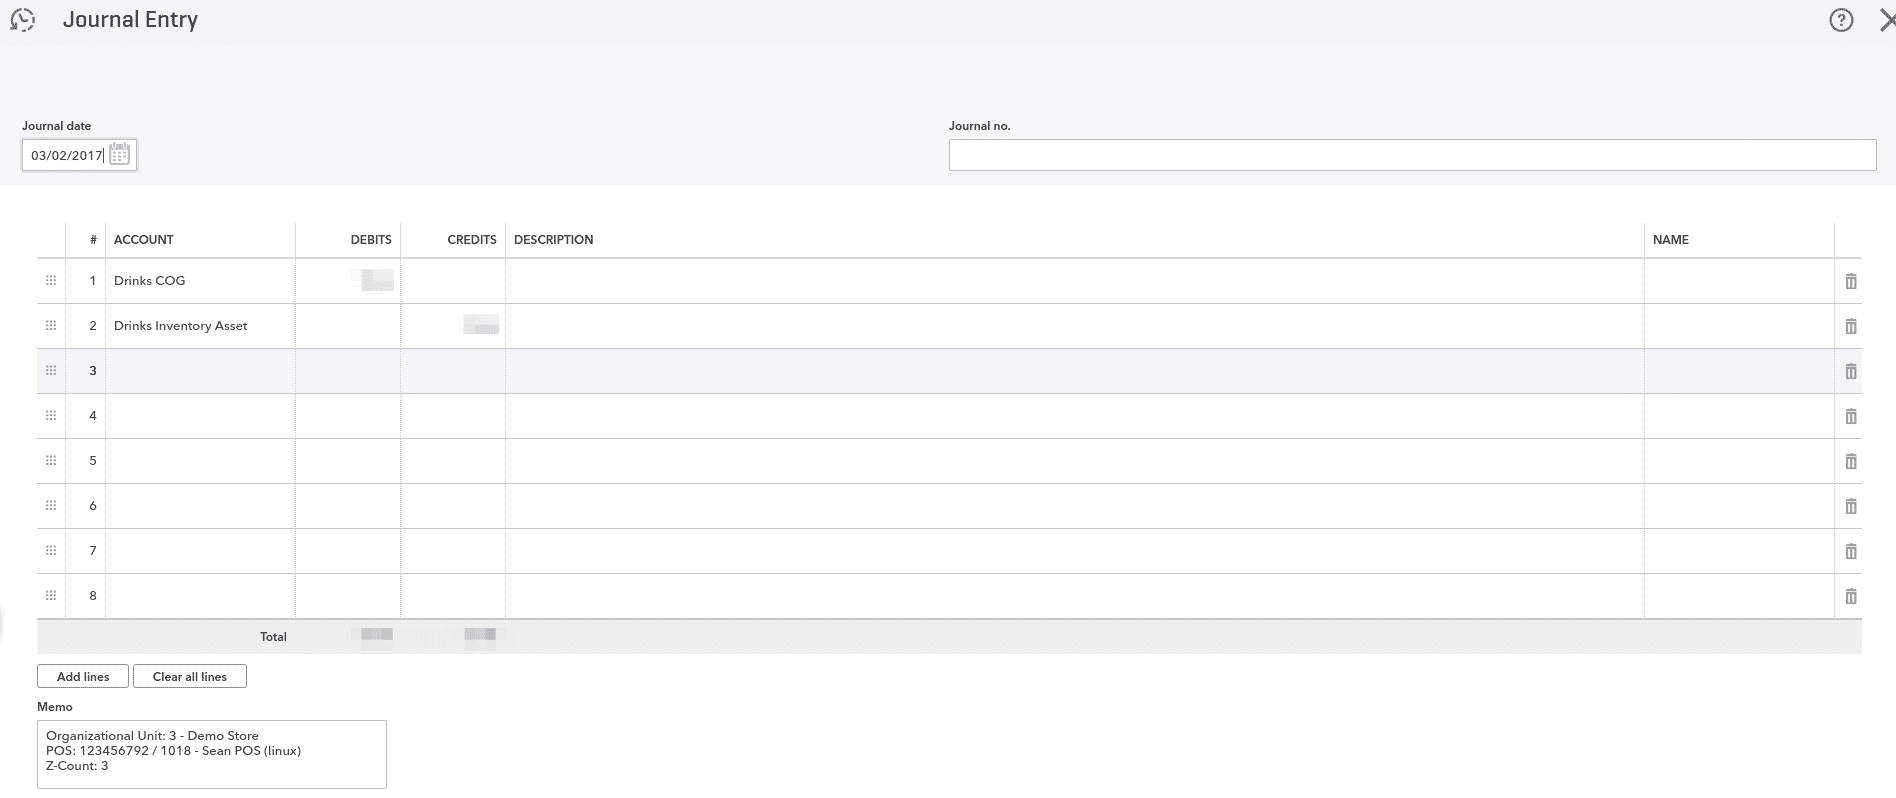
Most likely, you will want to change the income account for sales revenue. You can do that in QuickBooks under Sales > Products and Services. Select a commodity group from the list and click Edit. In the edit screen, you have the option to set a specific income account. If you are changing the income account after you have already uploaded sales data, make sure to enable it.
Your collected payments will, by default, go into undeposited funds. You can find a report for this in the QuickBooks reports section under Balance Report. If you would like to use a different account type for collected payments or account transactions, you can change the mapping under products and services, just as we did with the commodity groups.
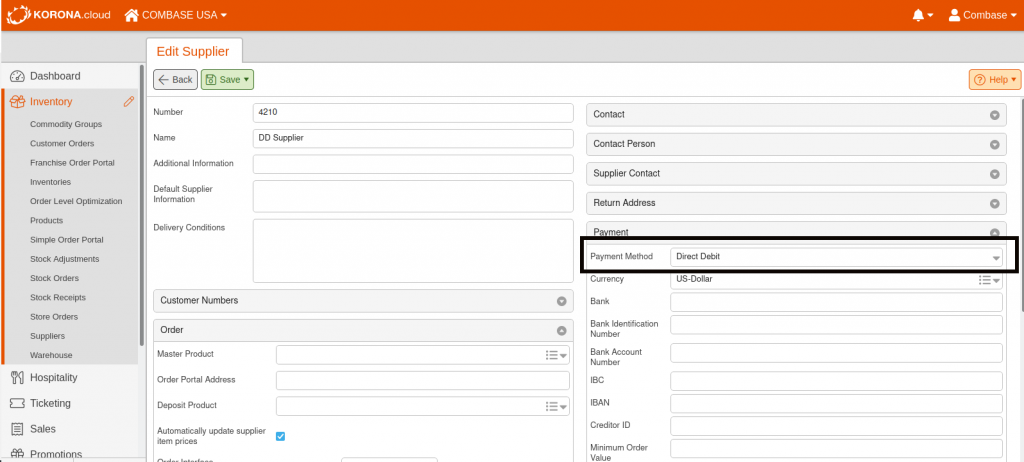
The payment method you have selected for your supplier controls how stock receipts are imported into QuickBooks. Cash on Delivery and Direct Debit are sent over as expenses, and Invoice is sent over as Bill.
Account transactions in KORONA are imported to QuickBooks as income accounts. Also, under accounting, you can see any undeposited funds you may have: cash, check, or credit cards. By choosing the account and clicking “Add Deposit,” you can reconcile these numbers. By default, all of this money will go into undeposited funds, but you can choose to map them wherever you like, for example, a clearing account.
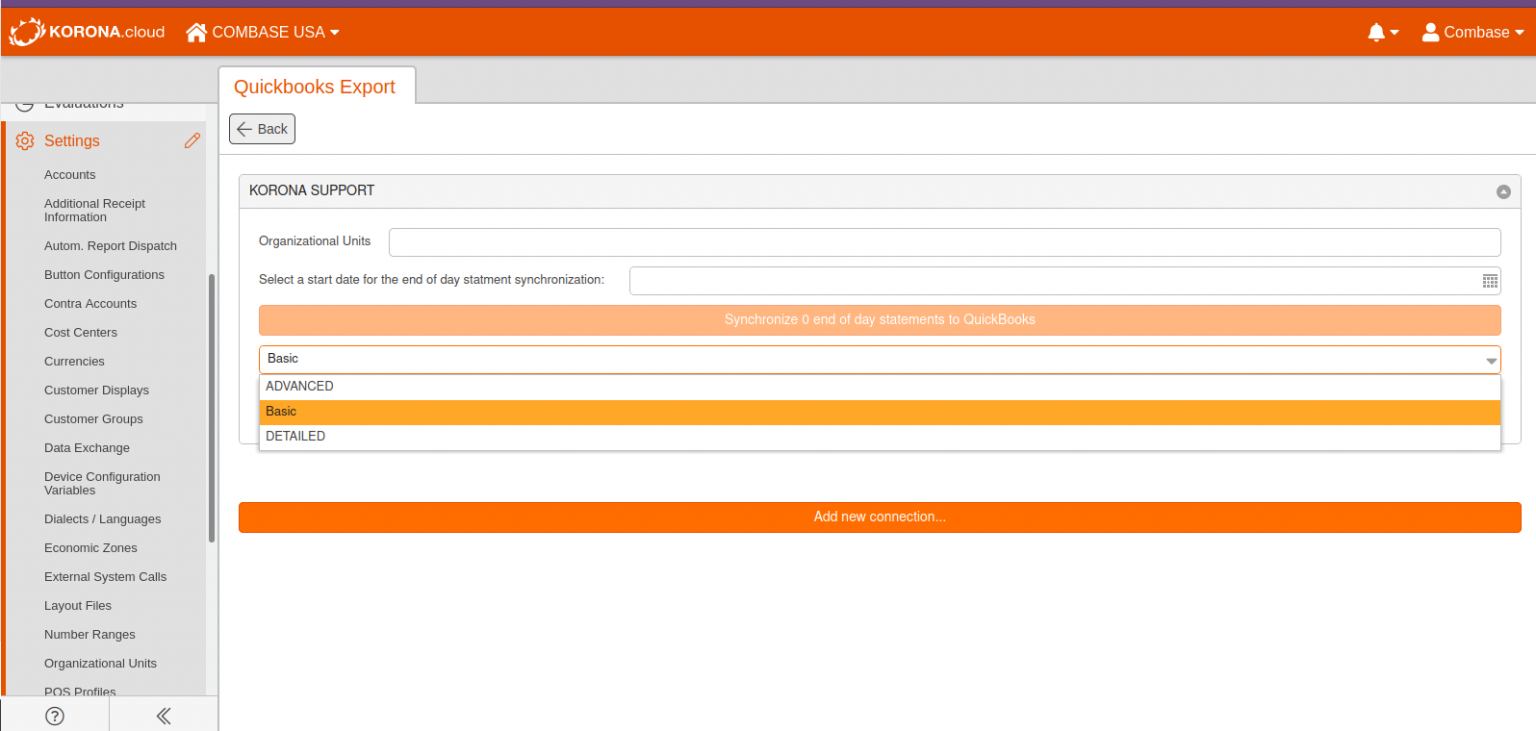
Syncing Inventory
When syncing inventory from KORONA you have the choice of three different options: Basic, Advanced, and Detailed. Choosing Basic creates one asset account named KORONA Inventory.
Advanced breaks down the assets into your master commodity groups, and Detailed shows the exact commodity groups. For example, if you have a product, coffee, in the commodity group “hot drinks,” which is nested inside of “beverages,” Advanced would show the group beverages, while Detailed will show hot drinks.
After your initial inventory sync, you will be given more options, such as importing the cost of goods, stock receipts, as well as Inventory Asset Value.
You have to sync inventory asset value before you sync stock receipts. Stock receipts will only sync from AFTER when you hit ‘sync inventory asset value’.
Syncing Stock Receipts
You can sync your stock receipts from KORONA to QBO as well. Stock Receipts will sync to QBO as ‘Expenses.’ The type of expense will be determined by the payment method you have assigned to your supplier. Suppliers with the payment method of Invoice and Prepayment will sync as Bills, whereas suppliers with the payment method of ‘Direct Debit’ and ‘Cash on Delivery’ will sync as ‘Checks.’