KORONA Integration is an add-on tool that can be linked to your KORONA Cloud account to help you do a variety of tasks with data from KORONA POS and KORONA Studio. For any questions, please email us at support@koronapos.com or call 833.200.0213.
Getting Started
KORONA Integration allows you to set up your own data to export and re-arrange as you see fit. In the examples below, we demonstrate how to set up custom data to export from KORONA POS to a CSV that is then sent out via email.
Important Note
If you are a developer and want to use some of the more intricate options not covered under the “Workflow” section, please email us – support@koronapos.com.
Jobs
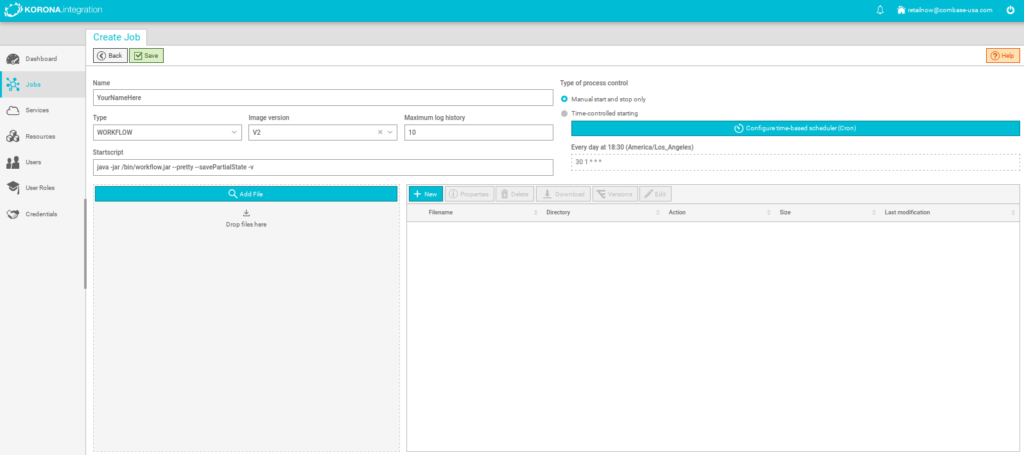
On the left side, click ‘Jobs’ and then ‘New’. You must give it a name and select the ‘Type.’ The Image version and Maximum Log History should not change. If you accidentally change them, they should be set to V2 and 10.
On the right side under Process Control, you can leave it at ‘Manual.’ (if you want to trigger the Job), or you can set a schedule via the Cron tool. Then hit ‘Save’, and the ‘Workflow’ button will appear.
Workflow
Now click the purple ‘Workflow’ button. In this instance, we’re going to create a request for certain data fields to be returned from KORONA POS as a CSV.
HTTP Request
First, add the HTTP Request through this link.
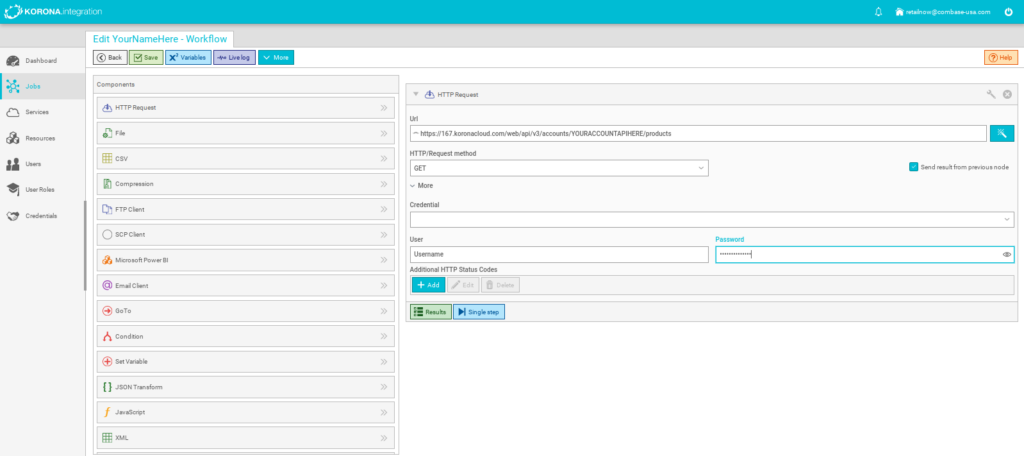
In this instance, let’s choose “Products” because we’re going to be querying products. The HTTP/Request method should autofill but it is “GET” if you accidentally changed it. The ‘User’ and ‘Password’ information is found underneath your API Key in Settings>Data Exchange>API. You must set up a user and password if you have not already done so.
CSV
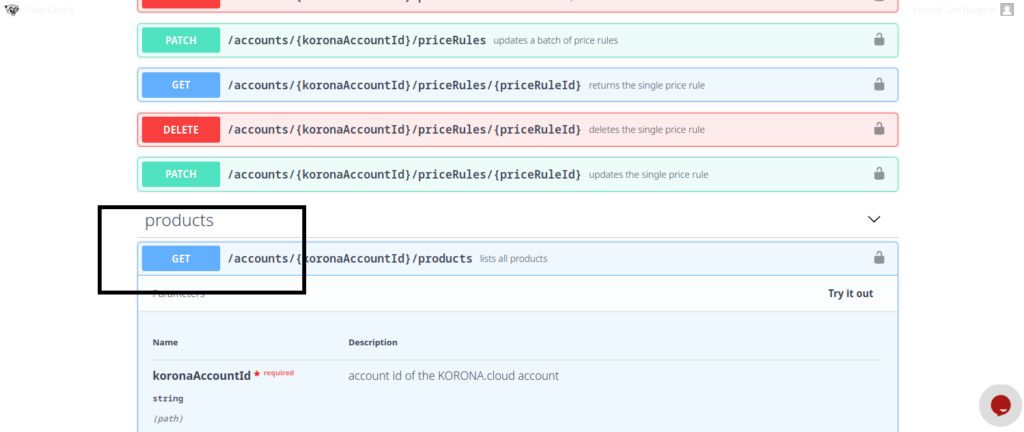
The next step is to add the CSV parameters we want to return from KORONA Cloud. Object Selector should autofill with ‘results.’ Underneath ‘Columns‘ select ‘Add Column‘ and then give it a name, and a Json key name. The Json key names will come from our APIv3 page.
On the APIv3 page, find the call for products and the keys in the results as shown above.
The column name is whatever you want to call the column. To get Commodity Group name use commodityGroup “.name”. If you want number or key, use “.number” or “.key”.
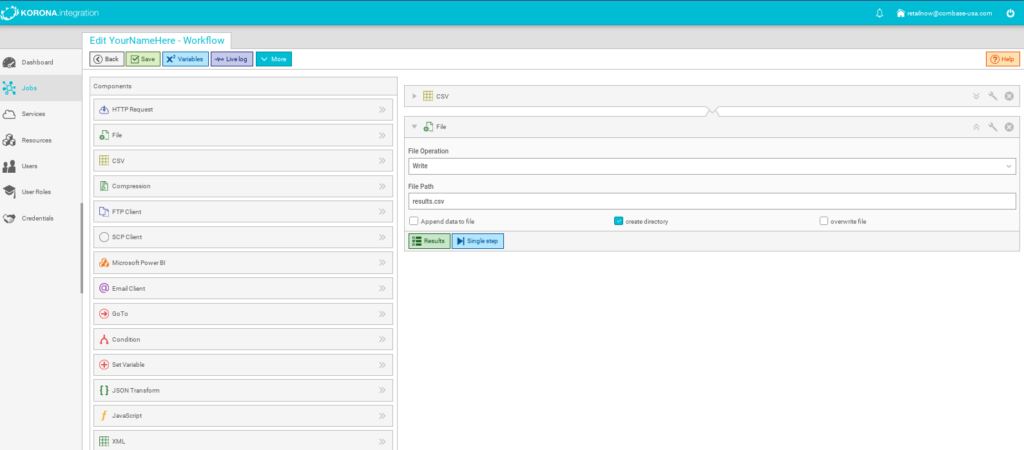
File
The next step is to add ‘File.’ The operation should be ‘Write‘ and the File Path will be the file name. If you do not give it a name, Integration will not create the file.
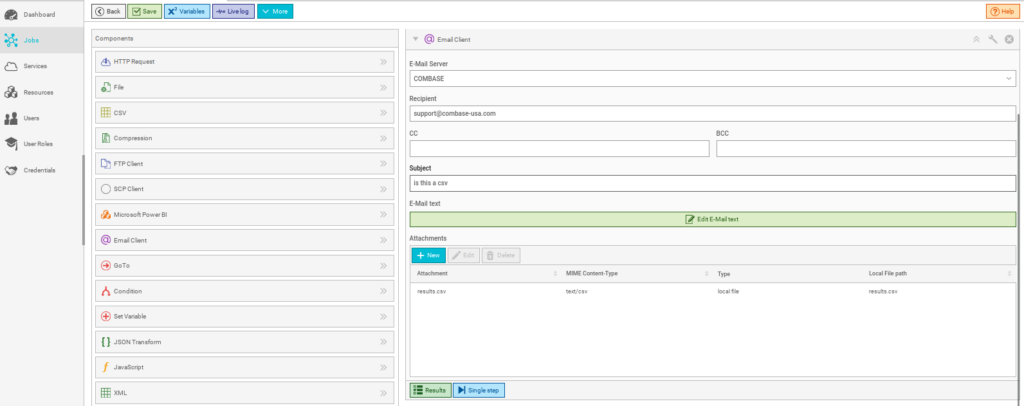
Email File
If you would like the CSV Emailed to a specific address, add ‘Email Client‘ from the left, set a recipient’s email address, and add a subject.
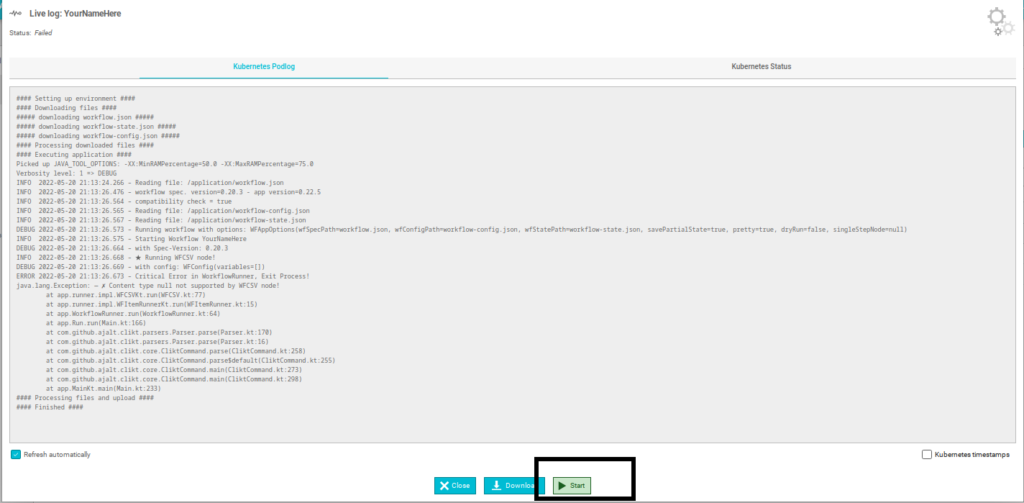
Live Log
If your Job is a manual launch like ours, you will need to click ‘Live Log’ at the top, and then start as shown below.