Gift cards are a great way to increase revenue through sales and your customer base. KORONA POS features its own gift card system that is not only easy to set up but easy to use. This page will guide you through setting up the gift card system. This page will also provide steps for using the gift cards to make payments and check the balance of the gift cards.
Setting Up Gift Cards
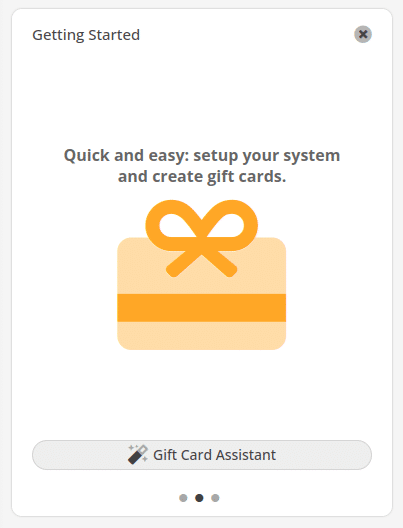
To access this wizard, make sure you are on the dashboard of your back office, which is normally visible upon logging into the back office. Locate the Getting Started widget and use the three dots at the bottom of it to locate the Gift Card Assistant. Click the large orange button to begin.
If the Getting Started widget is not visible to you, you can make it available by going to the Add Widget drop-down menu. This is located in the gray bar at the top of the screen. Open the menu and select Getting Started to add it to the dashboard. Once it is added, you may position it to your liking by dragging it by the edges of the widget.
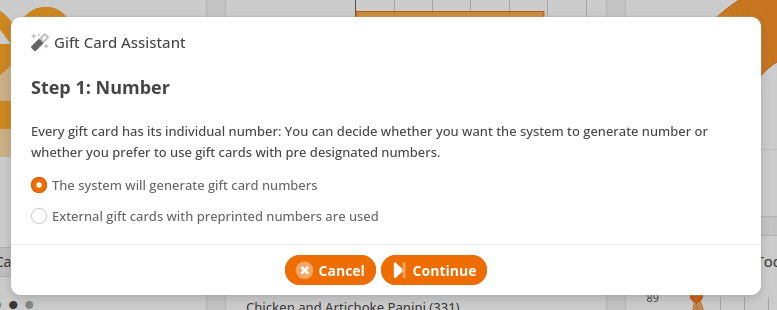
Step 1: Number
You will be presented with a screen to determine whether KORONA POS generates the gift card numbers or if you have preprinted cards with numbers you would like to use. Select one of the two options. Then, click Continue to proceed to Step 2.
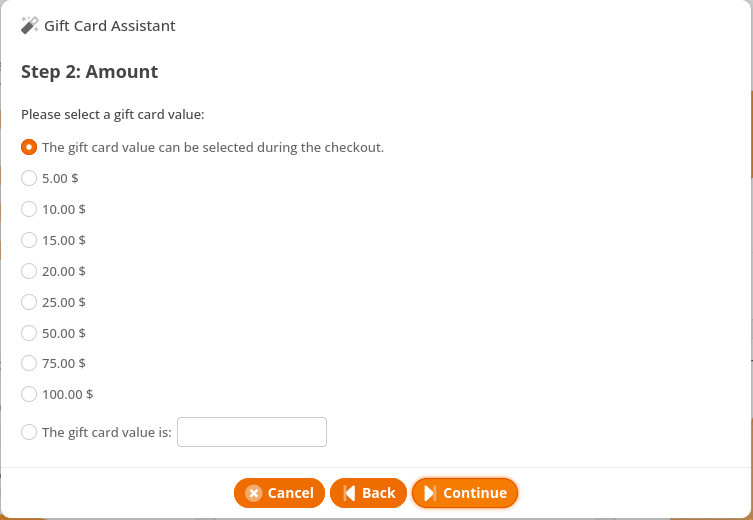
Step 2: Amount
On this screen, you can specify if the card is a predetermined amount or if the card’s value can be entered during its sale at the POS terminal. Choose the desired option and click Continue to proceed to the next step.
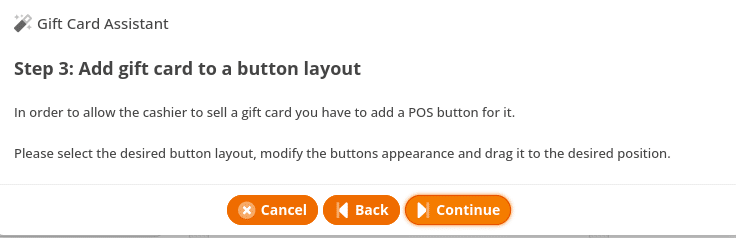
Step 3: Add Gift Card to a Button Layout
This screen will tell you that you will need to add a button to a layout to use it at the POS terminal. Click Continue to advance to the next screen.
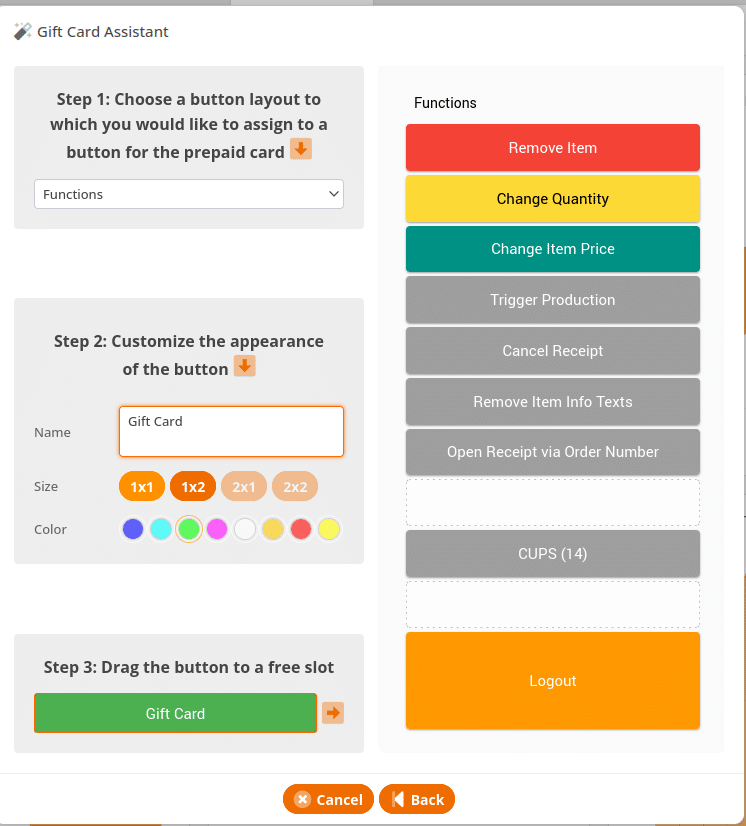
On this screen, you will need to do the following:
- Choose a layout to assign the button to use the drop-down menu. If the desired layout is not visible, you may search for it by typing in the name of the layout. KORONA POS will search for it and display the closest matches. You can then select the layout you prefer.
- Customize the appearance of your button. Use the Step 2 box to give your button a name, color, and size.
- Finally, drag your button from the Step 3 box to the layout you selected from step 1 and click Continue to proceed to the final step.
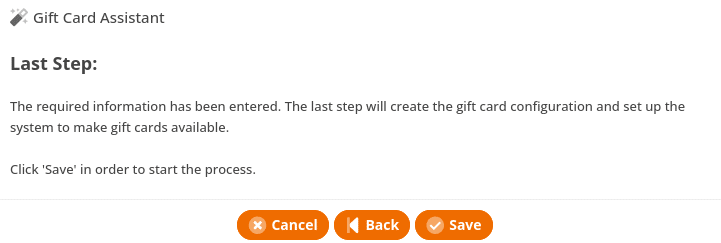
Step 4: Save
This final screen will inform you that the cloud is now ready to finish setting up your cards. Click on Save to begin the process. The process should take no more than a moment or two to complete.
Summary
This screen will inform you that your gift cards are created and ready to go.
Remember to Retrieve Master Data and restart the point of sale software on any terminal on which you wish to sell your gift cards.
Selling Gift Cards at the Point of Sale
Now that we have our gift cards set up, let’s look at an example of how they are created at the terminal. In this example, we will be using cards that have numbers preprinted.
We begin by adding our gift card to the receipt by pressing the new Gift Card button. The screen will ask you for a serial number. In this example, we will scan the barcodes on the preprinted cards. Once the card is added to the list, hit the Apply button.
On the next screen, enter the dollar amount you wish to add to the card – for instance, $25.00. Then press the enter key to finish creating the card.
Finally, press the total button and pay for our card with the desired method. In this example, we paid in cash.
With KORONA POS, you can easily check the balance of any gift card using either the terminal or the back office. The difference, however, is that the back office can list all of your gift cards and their balances.
Checking a Gift Card Balance
Begin by going to the button configurations screen of the back office and navigating to Settings > Button Configurations. Select the configuration to which you wish to add the button. In this example, we will add the button to the terminal’s main screen. Next, go to the drop-down in the center of the button preview and there is an orange button labeled “Edit.” Click that button to access the layout.
Once in the edit layout screen, select an empty slot on the layout. Use the boxes on the left to give your button a name, color, and size. For this example, we are naming our button “Check Prepaid Card.”
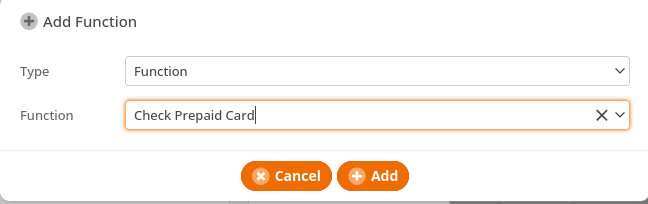
In the functions box, click on the add function button. In the box that appears, set the Function type to “Function.” In the new drop-down that appears, set the value to “Check Prepaid Card” and click on “Add.” Once you are done, click the Save button at the top of the screen.
You may also manually add prepaid cards in the back office by navigating to Sales > Prepaid Cards. Click New, enter the Amount, Comment, and Card Number, and click Create. This gift card may now be used at the POS.
Remember to retrieve master data on any terminal for which you add this button.
Use at the Terminal
Let’s take a quick look at how this function is used at the POS terminal. On the main screen where we placed our button, select “Check Prepaid Card. Since we are using the pre-made cards we set up earlier, we will scan the barcode on that card. KORONA POS will then display the available balance of that card.
You can also check the balance of your gift cards from the back office as well.
Checking gift card balance in the back office
To access your pre-paid cards, go to the sales tab on the left-hand side of the screen. Click “Prepaid cards” to be taken to a listing of all prepaid cards in the system. The listing will show the number of the card as well as its current value.
Clicking the New button in the gray bar will allow you to create a new gift card from the back office. The More button will allow you to access the Prepaid Card and Prepaid Transaction reports. It will also allow you to access the gift card assistant if desired. Selecting the individual card will allow you to access it to make any changes necessary. You can also view the POS that the card was sold on and its receipt number.
We also have a way to manage using gift cards as charge accounts or house accounts to be paid later by certain customers or business-to-business transactions.
Setting up Charge Accounts with Gift Cards
You can refer to our full guide on creating and managing gift cards for usage as Charge Accounts on our related manual page.
We have created our gift cards and learned how to check their balance. Now we will set up the ability to use them in our store.
Taking Gift Card Payments at the Terminal
This section will walk you through the necessary steps for setting up gift cards for payments on your POS terminal.
Creating the Payment Method
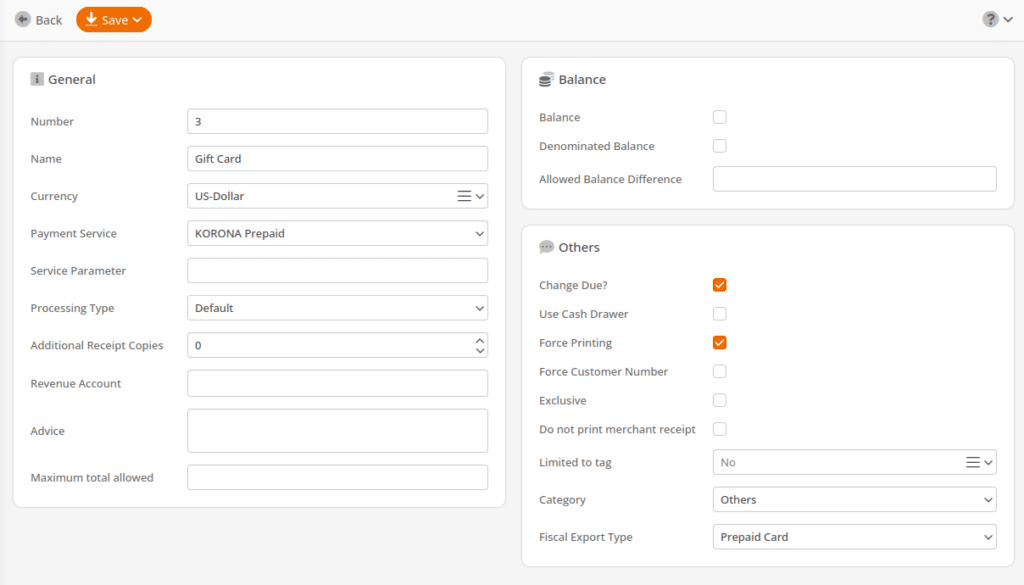
First, create your payment method in the back office. This is done by using the payment methods screen under settings. For our example, we are naming it “Gift Card.” Set the currency to what you are processing at the terminal. In this case, we are using USD.
In the payment service drop-down, select “KORONA Prepaid.” Set the processing type to “Default.” From there, feel free to customize the rest of the parameters as needed. When you are done, click on the Save button.
Creating the payment method button
Go to the button configuration screen located in the settings tab of KORONA Studio. Select the configuration you wish to edit and enter from there. Now, click on the button layouts button. Locate and open the Payment Layout.
Select an empty slot on the layout and then begin creating your button. For this example, we are making a 1×1 light blue button named “Gift Card.”
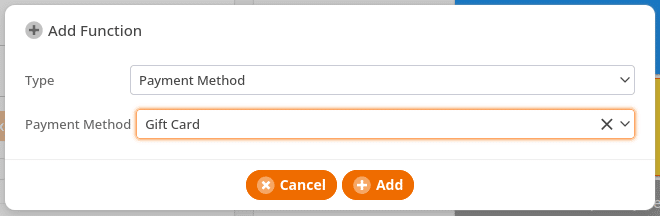
In the add functions box, click the Add function button. In the popup box that appears, set the Type to “Payment Method.” When the payment method drop-down appears, set that to the gift card payment method that we created earlier. When the button is ready, click the Save button at the top of the screen.
*Remember to Retrieve Master Data and restart the POS Software to add the payment method and the button to the terminal.
Use at the Terminal
Let’s briefly examine how we will be taking this gift card for payment at the terminal. The cashier has already added the items to the order and is ready to complete the receipt. The cashier hits the total button and is taken to the payment screen. From there, the cashier selects the gift card. They enter the amount that the customer wishes to use. In this case, the customer is paying the entire bill so the total amount is entered.
The cashier now scans the card. KORONA POS processes the payment, deducting the appropriate amount from the card. If necessary, KORONA POS will return to the payment screen to allow for additional payments. If not, the software will finish the transaction.
If you have set up KORONA POS to print a slip with the balance on the card after the transaction, it will be printed upon processing.