
Setting up the Handheld Ticketing Device
Depending on your device’s model, hold down either the red or the orange button on the side to power on.
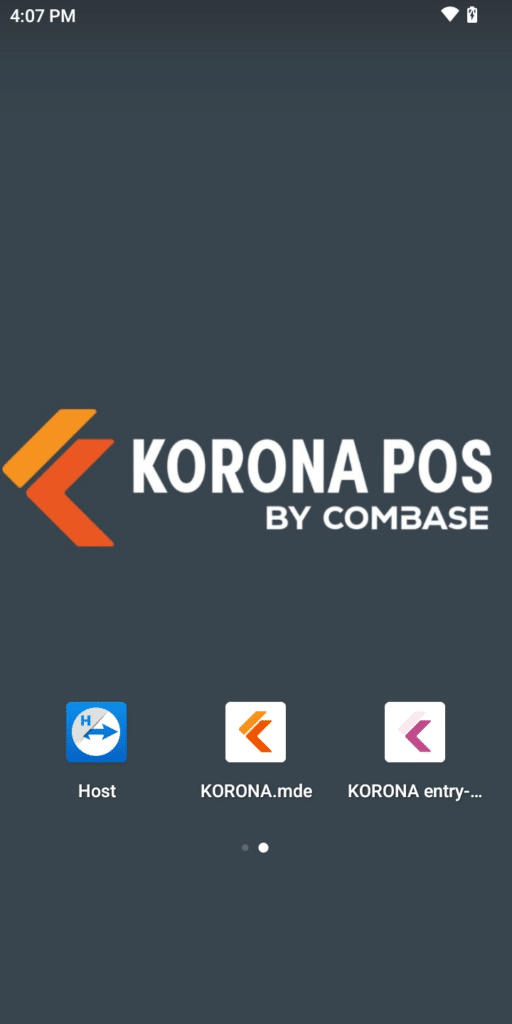
Once it is on, locate the KORONA entry-mobile app. It will have a purple icon (while our inventory-focused app is an orange icon).
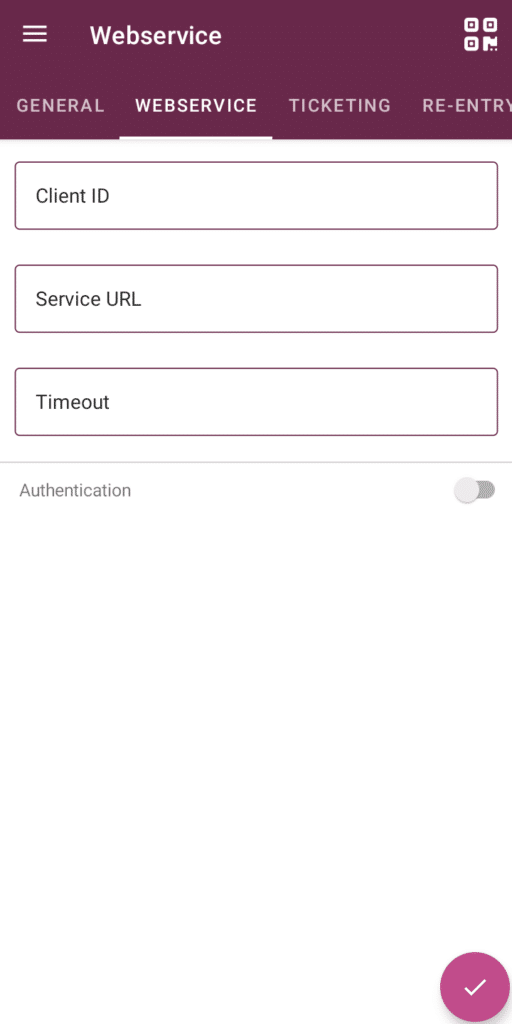
Once the app is open, use the hamburger menu (3 lines) in the top left to go to settings. In the settings, go to the WEBSERVICE tab.
To link the entry app to your KORONA Studio account, press the QR Code icon in the top right of the app.
Then, log in to KORONA Studio and go to Settings > Data Exchange.
Inside of Data Exchange there should be a “KORONA Entry” section
Note
If you do not see this section, contact KORONA Support to have them set up your ticketing server.
In the KORONA Entry section, in the top-right corner, there is also a QR Code (next to the “X” icon). Click that, and it will display a QR code to scan with the app.
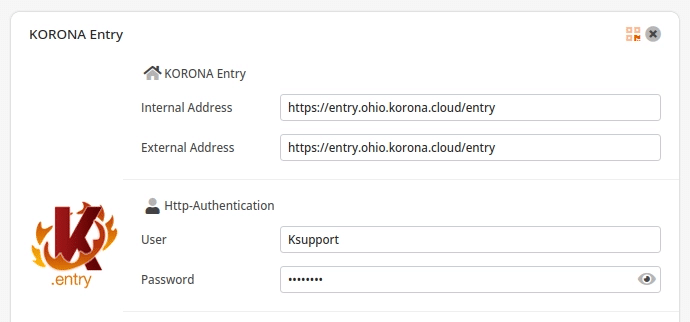
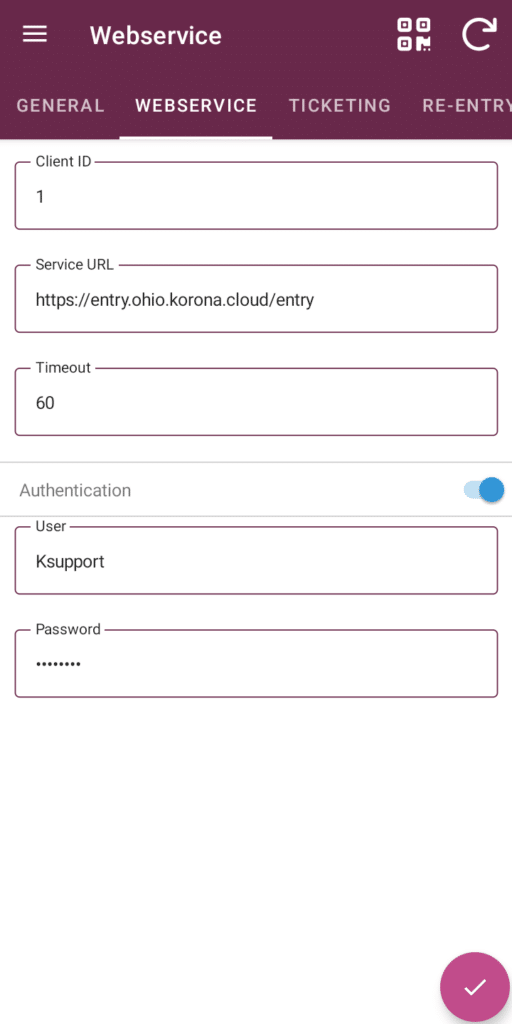
Once it scans the QR code it will put in the relevant information the app needs to sync. It should fill in the Service URL and the Authentication sections.
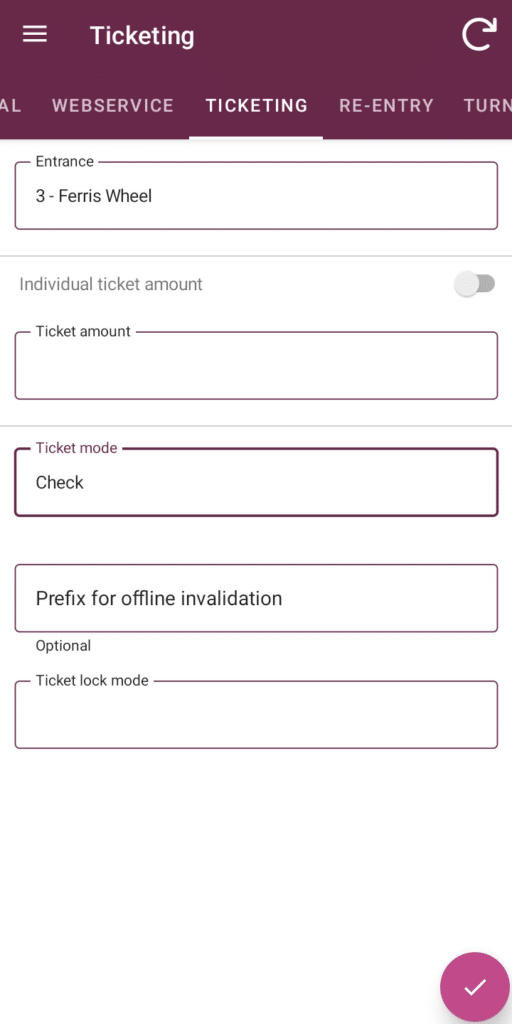
After that information is filled out, press the Check mark button in the bottom right corner of the screen to save the settings. Then go to the TICKETING section of the settings.
In the ticketing settings, select the Entrance. These are your Entry Gates in KORONA Studio. If you only have one, still select it so that it shows up in the Entrance box.
Then, select the Ticket mode. The two options are “Check” and “Check and Invalidate”. The “Check” option will only check if the ticket is currently valid (by date/uses/etc), while the “Check and Invalidate” option will use up one of the ticket’s uses.
After selecting the entrance and ticket mode, press the check mark in the bottom right again to save the settings.
If this setup was done correctly, once you go back to the main ticket check screen, you should see the name of your entry gate at the top and have the 2 icons in the top right for manually typing a ticket number and for scanning a barcode/QR code with the camera.
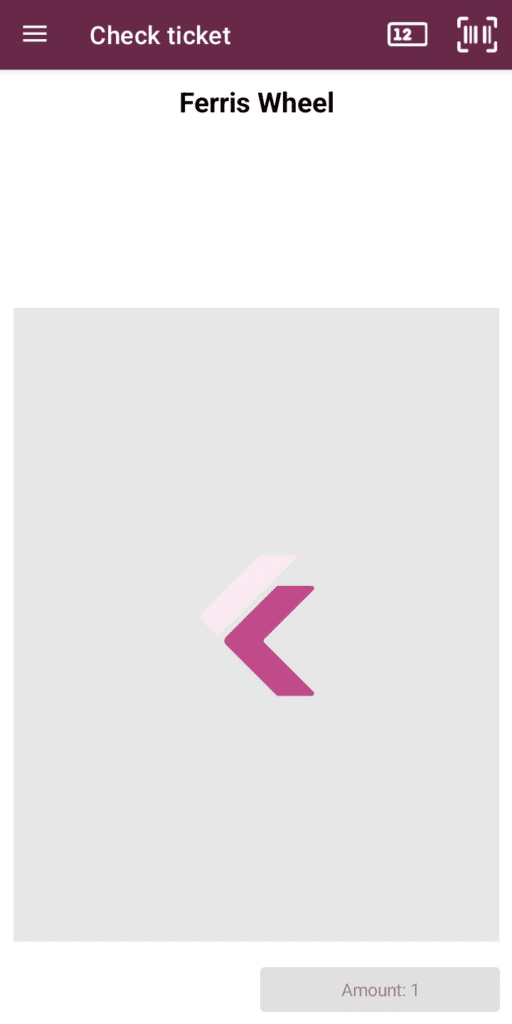
Using the Handheld Ticket Scanner
On the “Check ticket” screen, you can use either the green or orange (depending on your model) button on the side of the scanner to scan a ticket.
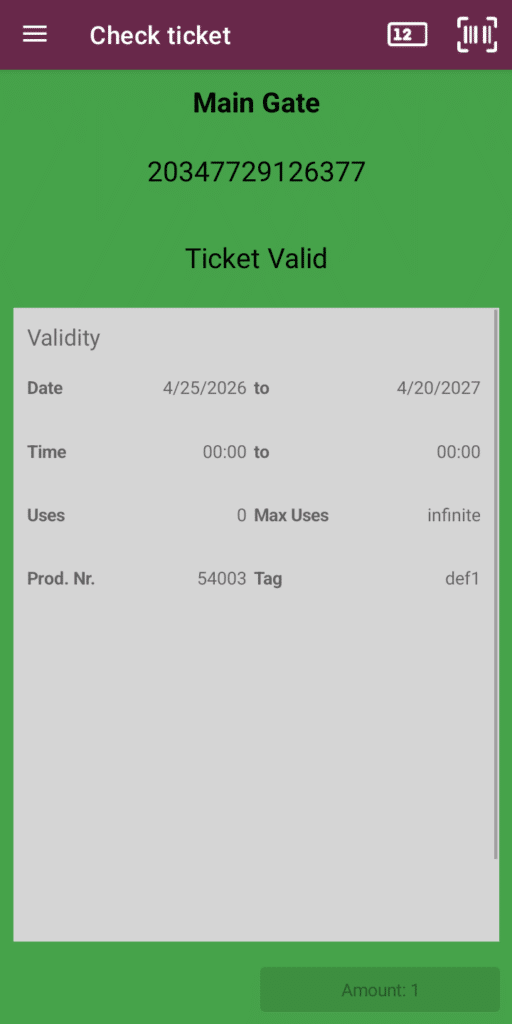
If the ticket is scanned successfully, it will pop up with a green border and show you the details of the ticket
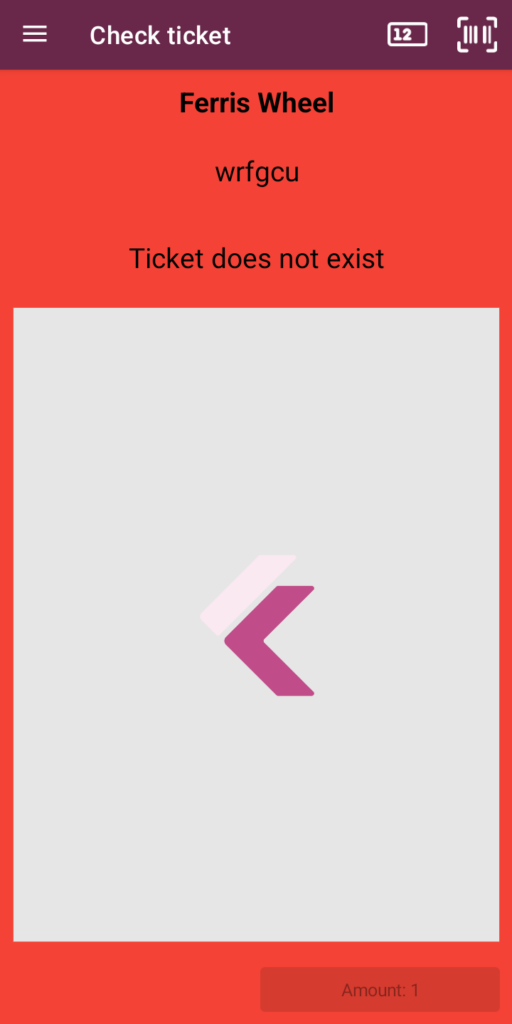
If the ticket is invalid, it will show with a red border and display a message explaining why it is invalid (does not exist, no more uses, etc.).
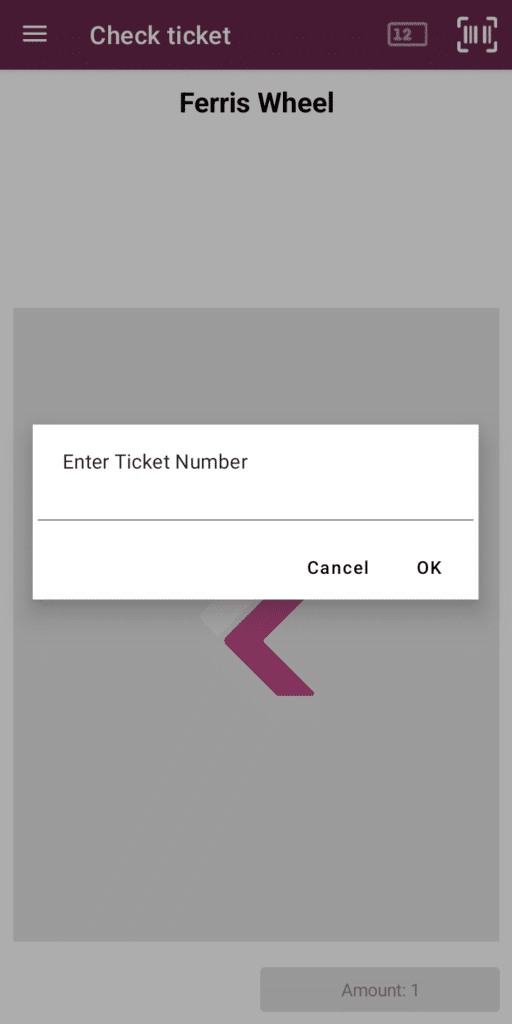
If you need to manually enter a ticket number, use the first icon in the top left (a box with “12” in it) to open the manual entry box.
The barcode icon to the right of the manual entry icon indicates that you want to scan a ticket with the camera rather than the built-in scanners. This means you can install the KORONA mobile entry app from the Google Play Store on any Android smartphone and use it to scan tickets.
The camera detection of barcodes is not as quick and accurate as the built-in scanners, however.
Counting multiple ticket uses in one scan
If you need one scan on the app to count as multiple uses of the ticket, go into the TICKETING portion of the settings. Change the “Ticket amount” box to how many uses you want to be used up on each scan.
An example of when you might use this is if you have a ticket that allows uses for “10 rides”, but your main roller coaster attraction uses up 2 uses. You can configure the scanner for your roller coaster entry gate, and set the “Ticket amount” to 2.
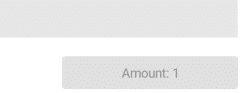
Once you set this, it will use 2 uses per scan until the setting is changed back. You can quickly see what the setting is by looking at the “Amount” box on the “Check ticket” screen.
Updating Entry Gates
If you have added on, renamed, or otherwise changed your entry gates, you will need to sync them again in the app. Go to settings, then press the curved arrow in the top right of the screen.

Updating the KORONA mobile-entry App
If you have any issues or if there are new features that you do not see in your app, then you should first try to update the app.
If you have a Custom brand P-Ranger scanner (it will say Custom above the screen in the front), you will want to open the Google Playstore app. Sign in if you have not before, and then search for the KORONA mobile-entry app and select it. If the button option says “Open”, then your app is up to date. If it needs to update, the button will say “Update.
If you have a Sunmi device (the buttons are orange and it will say Sunmi on the back) you will go to the list of apps and open the “App Store” (it is an orange bag icon). Search for the KORONA mobile-entry app and select it. If there is an update option, then select that. If no update option is available then your app should be up to date already.