This feature aids in the visual customization of receipts.
Receipt Layouts can be located under Settings > Receipt Layouts. If you can not locate it, you may need to Edit Menu Entries.
Once on the receipt layout page, click +New at the top of the screen, and the Create Receipt Layout page should launch. The Number field will self-generate. You must give it a Name and assign Item Grouping if one applies.
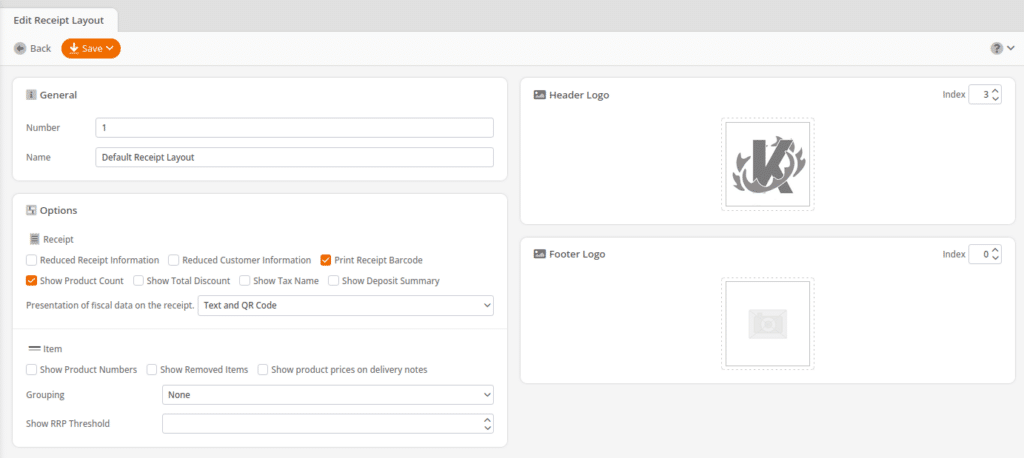
Receipt Layout Options
Below is a list of the options you have for displaying information on your receipts:
- Logo index: This indicates which logo in the printer storage will be printed. This would facilitate printing in cases of slow internet connection. Applying a number to the header and footer index will not change the receipt’s visual layout – it will only direct the printer to the correct logo in its storage.
- Show Product Numbers: This will list the product number above the product name on the receipt.
- Show Product Count: This will list the total number of products on the receipt.
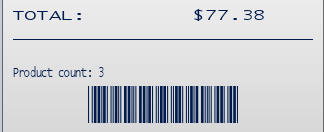
- Print Receipt Barcode: This will print a barcode at the bottom of the receipt.
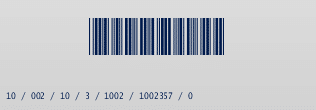
- Reduced Receipt Information: This will show a sequence of numbers at the bottom of the receipt in a (X / X/ X/ X/ XXXX / XXXXXXX/ X) format. These numbers represent (Organizational Unit Number / POS Number / Price Group Number / Cashier Number / POS ID / Full Receipt Number)
- Reduced Customer Information: This will only show the Customer Number on the receipt but not private data like name or address.
- Show Removed Items: Any canceled or voided items will show with a quantity and price at the bottom of the receipt.

- Show Total Discount: This will show an accumulation of discount percentage and reflect it in a monetary amount.

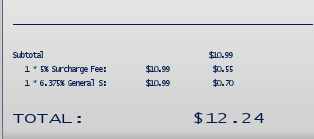
- Show Tax Name: This determines whether the name of the tax is displayed or just the rate.
- Show Product Prices on Delivery Notes: This determines whether or not you’ll see item cost/purchase price listed on products added to Delivery Notes.
- Show RRP Threshold: This shows the MSRP below the product name if the difference between the retail price and the RRP for that product falls within the selected percentage. For example, with the RRP threshold set to 10%, and you are selling a product for $1.50 with an MSRP of $1.99, then the MSRP will reflect below the product number since the difference between the two still falls within that percentage range.
On the left side of the page, you may choose an image to add to your header and footer simply by clicking on the box. The “Select Image” page should appear. Click on Upload Image and select the image you wish.
Once done, click Apply. Finally, click Save.

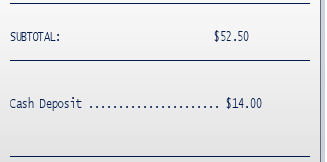
- Show Deposit Summary: This allows for displaying deposit information on receipts.
- Show Optional Fiscal Data: This allows for showing fiscalization (not available in the U.S.)
FAQ: How do I design my receipts?
You can add a logo or change what is viewed on the receipt by going to Settings > Receipt Layouts.
Here, you can add a logo to the top or bottom of the receipt. You can also select which information is shown on the receipt. To add text to the top or bottom of the receipt, navigate to Sales > Points of Sale, then click into a point of sale. On the right-hand side under Receipt, there are two fields that allow you to input text into the receipt.
Learn more about receipt logos.


