
Connecting the Printer
Typically, the kitchen printers are set up via Ethernet cable in a station away from the POS. If the printer was purchased through us, then it should already be set up to allow network connection via Ethernet. If you did not purchase the printer from us, you may need to enable that option. Please reach out to the printer manufacturer if you are unable to enable the printer to work over the network.
Once the printer is connected to the network:
- If the printer is on, power it off
- Hold down the feed button
- Power on the printer, while still holding the feed button
If this was done correctly, the printer should print a long status sheet. On there, look for “IP Address” or “IPv4 Address”. It should be a string of numbers in a format similar to 192.168.1.10 or 10.3.0.19. Keep this number on hand, as you will need it in the next step.
Now, log in to KORONA Studio, go to Settings > POS Profiles.
Edit the POS Profile used with the POS that will print to the Kitchen printer. If there are multiple POS that will print to it and use different POS Profiles, you will repeat the next steps for each of them.
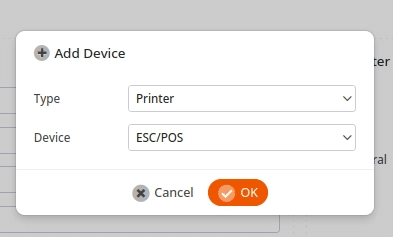
In the POS Profile, go to the Devices section and press Add. The “Type” will be “Printer” and the “Device” will be “ESC/POS”:
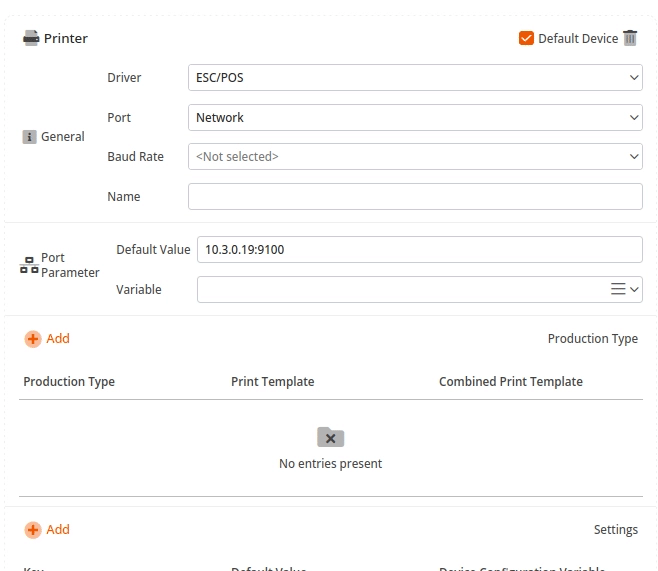
After adding the printer, change the “Port” to “Network”. Then, in the “Default Value” enter the IP address followed by :9100. This tells the POS that this printing is taking place over the network and not IP. When done, it should look similar to this:
Note
If you have multiple POS using the same POS profile AND multiple kitchen printers, create a new variable instead, then add it to each individual POS in Sales > Points of Sale. Please contact KORONA Support if you need assistance with this
Choosing which products get printed to the kitchen
This part of the guide explains how to choose which products to print on the kitchen “ticket”.
If you have a retail and a deli using the same POS, for example, you can set it up so that only deli items are sent to the kitchen. If all your products get sent to the kitchen printer, then you can still follow these steps to enable it for all products.
Create the Production Type
Production Types are assigned to the printer and products, so the kitchen printer only prints products with the same production type.
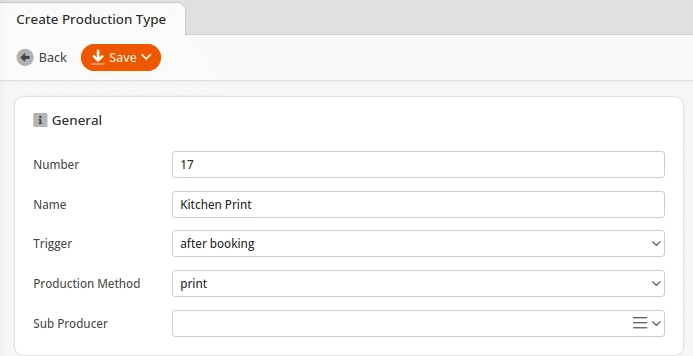
First, go to Settings > Production Types. Create a new one. Name it “Kitchen Print” or something similar.
For the trigger, either use “after payment” for the kitchen ticket to print once the customer has paid, or “after booking” if you want it to print when the cashier goes to the checkout page.
Finally, set the “Product Method” to “Print” and press save:
Assign the Production Type
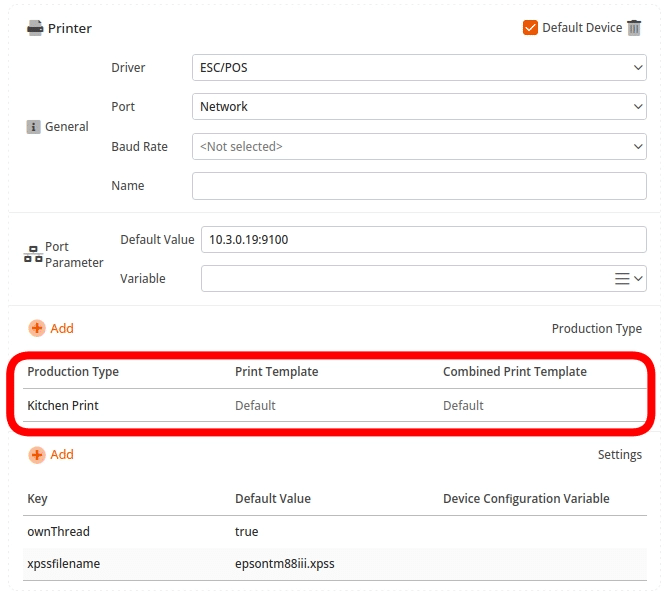
First, the production type needs to be added to the printer.
Go back to Settings > POS Profiles, where you initially added the printer. In the devices section, add the production type you created to the network printer
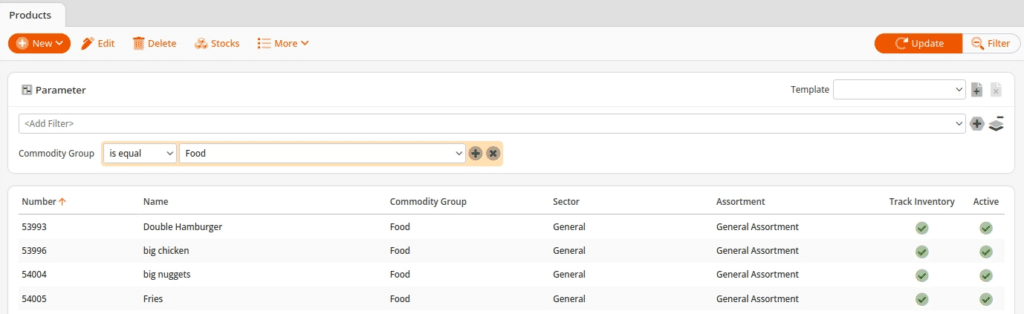
Next, the production type needs to be added to applicable products. Go to Inventory > Products.
You can edit products individually or do it in bulk via a filter. In this example, a filter is used. Once the filter is on, press Edit:
After pressing Edit, find the Production Type section and add the production type you created earlier.
Finally, press Save.
