An item sequence can be useful when you want to sort out items based on category. For example, restaurants can create sequences for Starters, Main Courses, and Deserts. This allows you and your customers to easily identify what they ordered.
Creating an Item Sequence
Go to the Item Sequence tab by navigating to Hospitality > Item Sequences. There, you will see a screen that can be populated with the sequences you would like to use.
From there, click on +New towards the top of the screen to be taken to the Item Sequence Creation screen.

You will be given the option to give your new sequence a Name and a Number by filling out the text input fields. Once you are satisfied with your settings, you can save your new sequence by hitting the Save button at the top of the screen.
To assign your product to a sequence. You need to go over to the product(s) you wish to assign by going to the Product screen. You can access products by going to Hospitality > Products and selecting the product you wish to Edit.

Once you are at the edit product screen, you can then assign your product to the item sequence you have created by selecting it from the Item Sequence drop down below the Production Type field. Remember to click the Save button at the top of the screen. Also, you will need to Retrieve Master Data to see the changes at your POS.
Once you have given your product an item sequence, be sure to click on the Save button located in the gray button at the top of the screen.
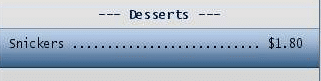
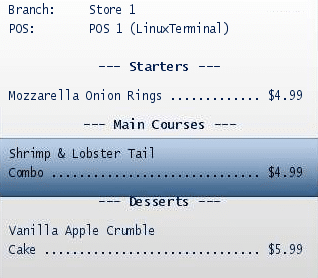
Every product you ring up with an attached sequence will now have the corresponding header on the receipt.
This will allow both you and your customer to easily find what was ordered and what it has been categorized as.
Assigning an Item Sequence from the POS Terminal
To assign an Item Sequence from within the point of sale, you must have that item selected on the receipt preview.

Tap the Item Sequence Button on the point of sale terminal. You will be taken to a button screen with all the available item sequences.
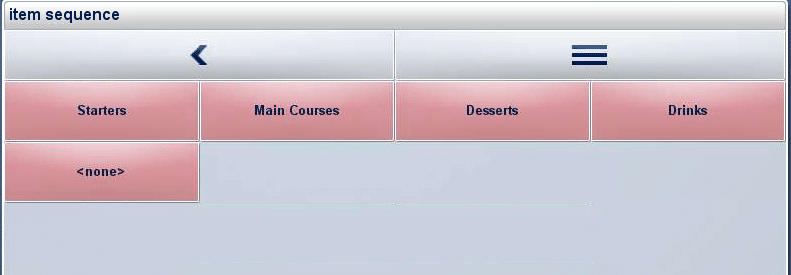
You also have the option to remove a sequence from an item. Make sure that item is selected and hit the <none> button.
*Note: If the item sequence button has not been added to your layout. You will need to add it to the Button Configurations settings Page. Visit Create POS Buttons / Button Configuration for detailed instructions.
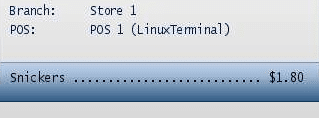
Tap the Item Sequence you would like to add your item to. The item sequence will now appear above the item that you wanted to assign the sequence to.