
Info texts allow you to add text prompts to any product being scanned at the register. Some common scenarios include special warning messages, attaching text to a receipt, or warning for items without a price.
Creating Info Text
First, you will need to navigate to Sales > Info Text. There, you will need to click+New at the top of the page. The Create Info Text page will launch a Number Field and should self-generate. Fill in the text you would like to have displayed and choose the Type of display it will be. Your three options are:
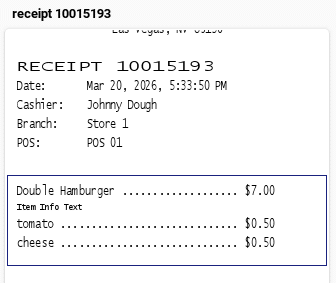
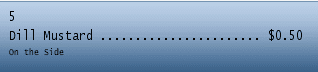
- Item: This is to add text as a note below the line item on the receipt. These are pre-made notes that the cashier can select from. If you want custom notes, proceed to the “Free Info Text” section of this guide.
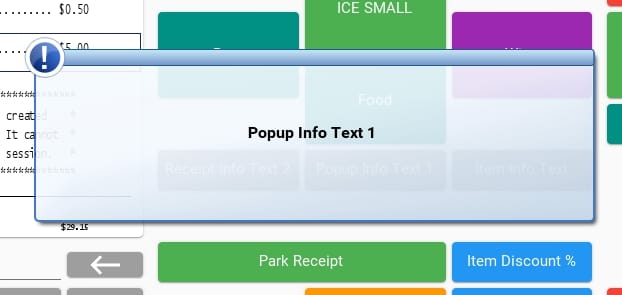
- Pop-up: This will be a pop-up text box that will appear on the POS as soon as the related items are selected for sale.
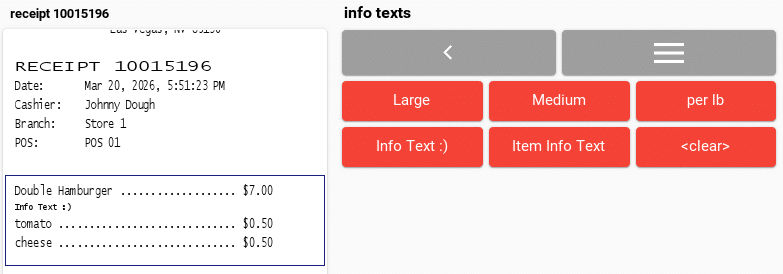
- Receipt: This will be text that appears at the bottom of the receipt, as shown in the picture.In addition, you can now add a picture to Info Texts of a receipt. This image is then printed on the receipt together with the text.
- Receipt Reversal Reasons and Return Reason: This is to allow the cashier to select pre-made reasons for Void receipts and Return receipts.
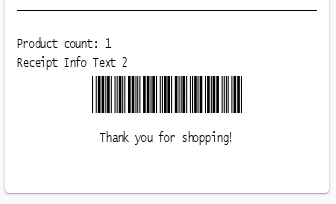
In addition, you can now add a picture to Info Texts type receipt. This image is then printed on the receipt together with the text.
Applying Info Text to Products
This method will make it so the Info Text is always applied when the product is added to the transaction. You may now apply the created Info Text by navigating to Inventory > Products. Select the product you wish to add the info text to, and click Edit at the top of the screen.
On the bottom right corner of the Edit Product Page, locate the Info Text tab. Once you have done so, click on +Add info text, and a popup dialog box should appear. Choose the type and the text you wish and click OK.

Using Info Text at the POS
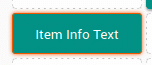
To be able to apply pre-made Info Text on the POS, you must first create the Item Info Text button. To do so, navigate to Settings > Button Configurations. For more information on creating buttons, please refer to our Create POS button/ Button functions manual page.
At the POS, the cashier must select the item and click on “Item Info Selection“. A second page will appear with the list of Item Info Text that exist on the account.
Creating and Using Free Info Text as a POS Function
To create the button “Free Info Text,“ navigate to Settings > Button Configuration.
For more information on creating buttons, please visit our Create POS Buttons / Button Configuration manual page. You will need the button function “Add Free Info Text.”

At the POS, the cashier can select the item and press the Free Info Text button. A window will appear with an empty text box. You may add any text you wish. Once done, click “add” in the bottom right corner. The text will now reflect on the receipt under the item name.
Removing Info Text at the POS
Removing info text may be done by using the button function “Remove Info Text.” At the POS, select the product and click the button.
Searching for Info Text
To search for certain info texts on receipts, start by navigating to Sales > Receipts. Locate the Add Filter drop down menu, and select Info Text. Without anything typed into the filter, it will show you all receipts that have info text applied. To search for a specific info text, type it into the filter bar and press Update at the top right.
