In the event of inventory breaking, items missing or miscounted, you will need to make a stock adjustment. To do that within the Korona back office, you will need to make a Stock Adjustment.
Creating a Stock Adjustment
To make a Stock Adjustment, go to Inventory > Stock Adjustments.
*Note: If the Stock Adjustments menu item is not accessible, you will need to edit the menu options by clicking on “Edit Menu Entries”.
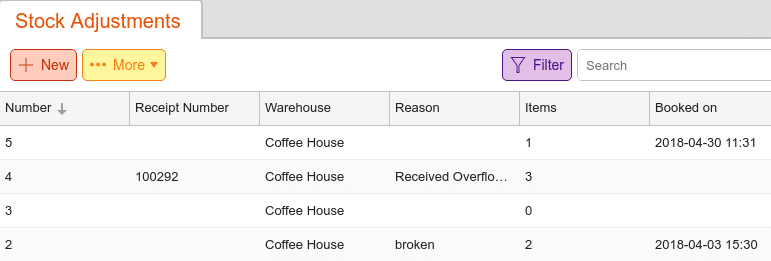
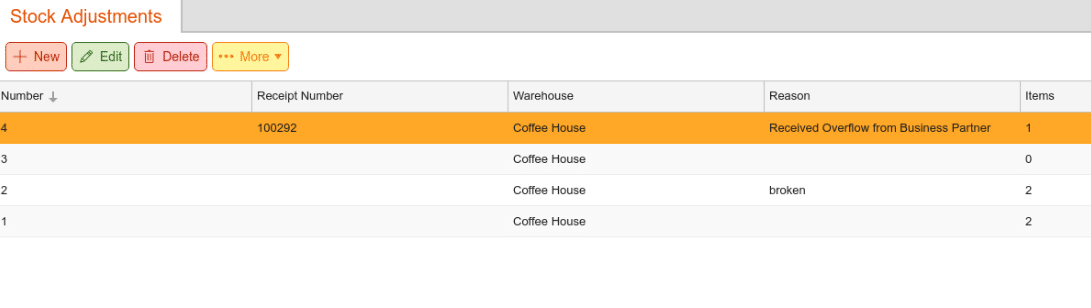
Once you have selected Stock Adjustments you will be taken to the Stock Adjustments screen. Here you can view all the adjustments you have made.
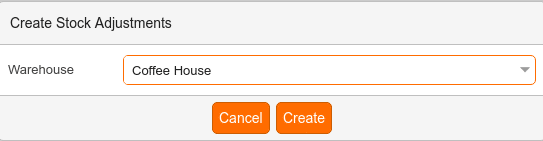
To create a new adjustment, click on the +New button. A popup dialogue box will appear. Use that to select the warehouse that you wish to make the adjustment for. Select that warehouse, and click Create.
You will then be taken to the Create Adjustment screen.
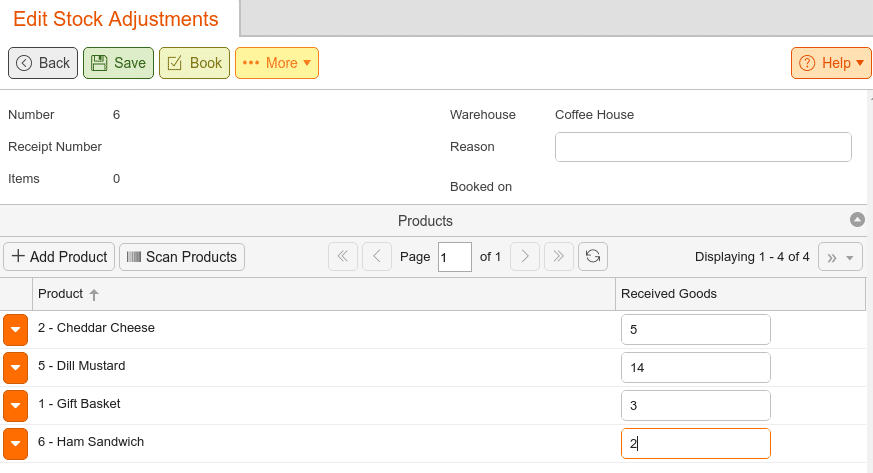
On this screen, you will see the Adjustment number, receipt number, the number of items on the adjustment, what warehouse is being adjusted, the reason for the adjustment, and when the adjustment was booked on.
A specific reason can be stored for each item in the inventory adjustment. You can choose between the following reasons:
- Not specified
- Other reason
- Best before expired
- Theft
- Fracture
You can use the Filter option to search among your Stock Adjustments and Reason is an available Filter. You can put any reason you want, but using consistent reasons makes them easier to filter through later.
You will need to click on +Add Product. You will be presented with a dialogue pop up box that will allow you to select from a variety of sources. For example, the source here is Product. Then you can select the product you wish to Add. To the right, you will see a received goods field. There, you can add the amount of product you wish to add or subtract from the inventory.

To save the list for later, you will need to click on the Save button located in the gray bar at the top of the screen. To commit the change to your inventory, you will need to click on the Book button.
You can also choose to export the adjustment list by clicking on the More button. You will have the option to either export the list as an Adobe PDF file or an Excel Spreadsheet.
*Note: You will need to have the appropriate software installed on your computer for the files to load.
Making a Stock Adjustment from the POS Terminal
Sometimes you will need to make a quick adjustment from within the terminal.
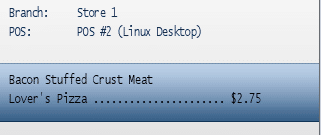
To do this, you will need to start on the main screen of the terminal. Navigate to the item you need to make the adjustment to and select it to add it to the receipt.
Then select List Stocks. Tap the re-adjust button towards the bottom of the screen.

Adjust the count as needed and add a reason for the adjustment if needed. To add inventory, just type in the number you need to add. To remove inventory, type in the number, making sure you have a negative(-) sign before the number.
Once you have set the adjustment and reason for the change, tap the re-adjust button to commit the change.
From there you will need to go to the back office to book the change and commit it to the inventory.
Go to the stock adjustment screen by navigating Inventory > Stock Adjustments. Once there select the adjustment that you have just made from the terminal. Unlike the adjustments made from within the back office, it will have a receipt number attached to it.
Select that adjustment to review it and make any additional changes. Once you are done, click on the book button to commit the inventory change.
Stock Adjustment Summary Report
Additionally you can view your Stock Adjustment Summary by going to Inventory > Stock Adjustments > More Dropdown > Stock Adjustment Summary. This will allow you to see all of the stock adjustments you’ve made within the selected time frame. You can even filter by which warehouse, product, and what you would like to group the stock adjustments by.